Viewing entries in
Travel Tips

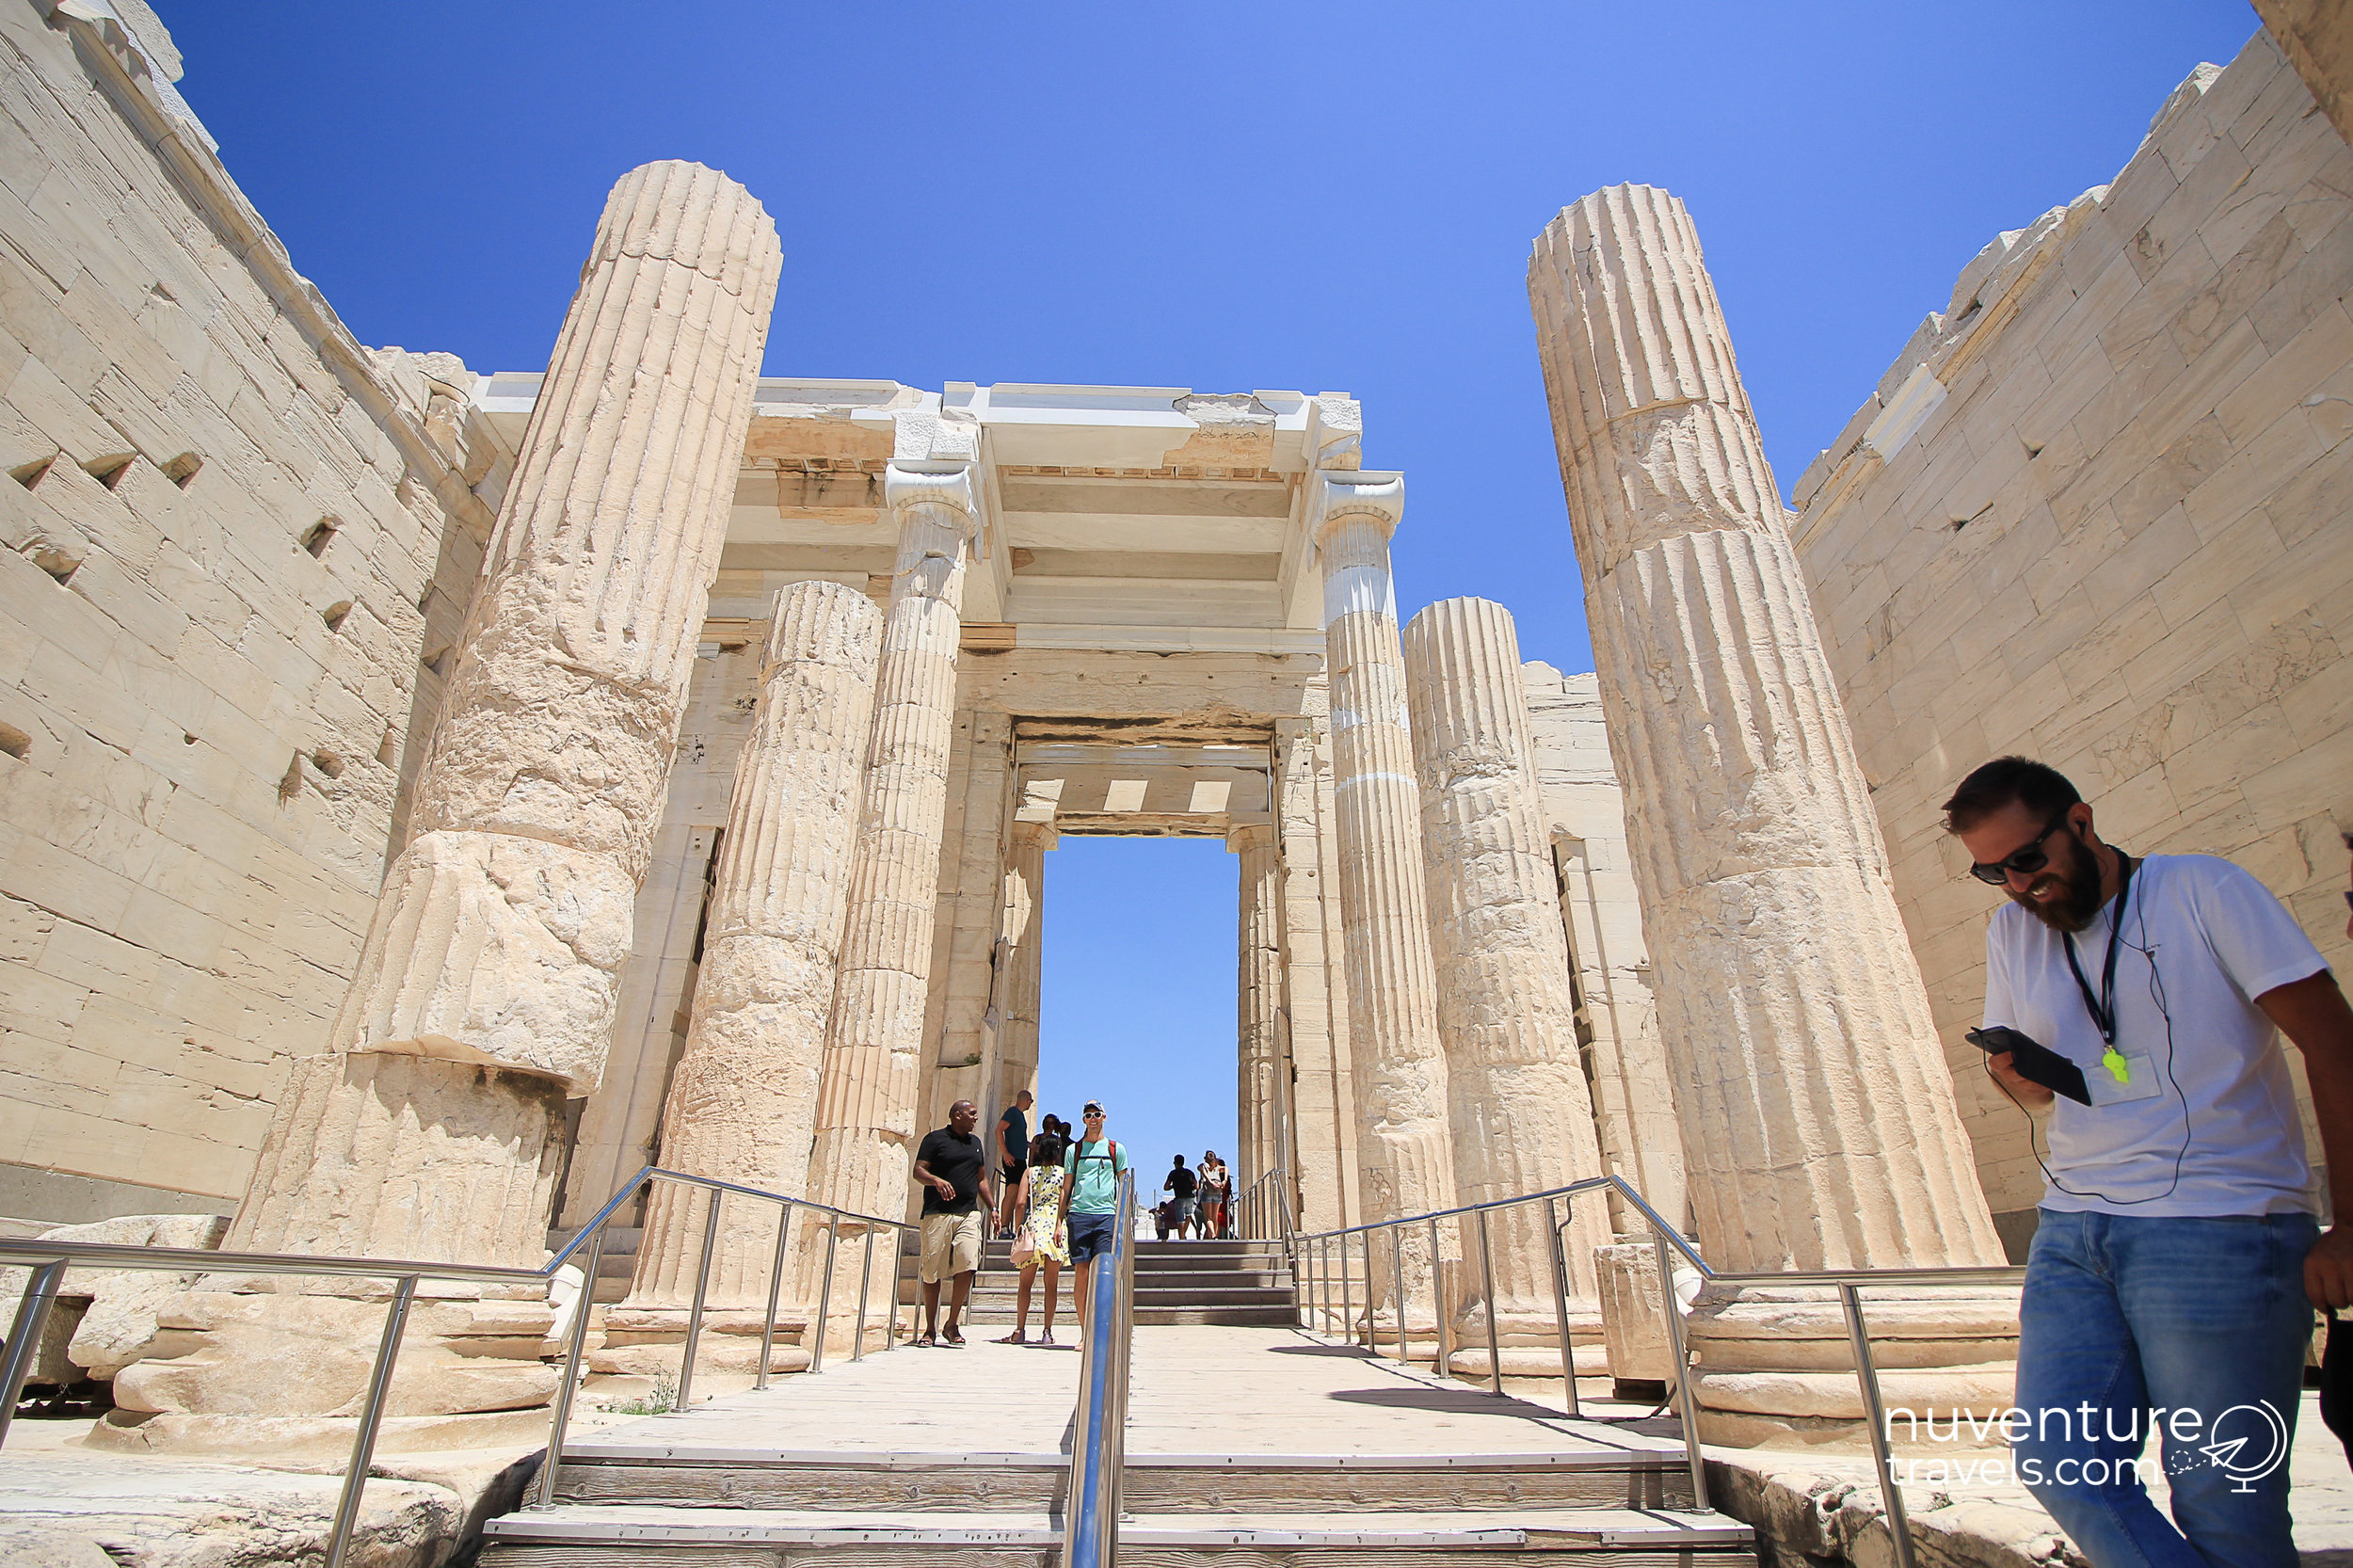
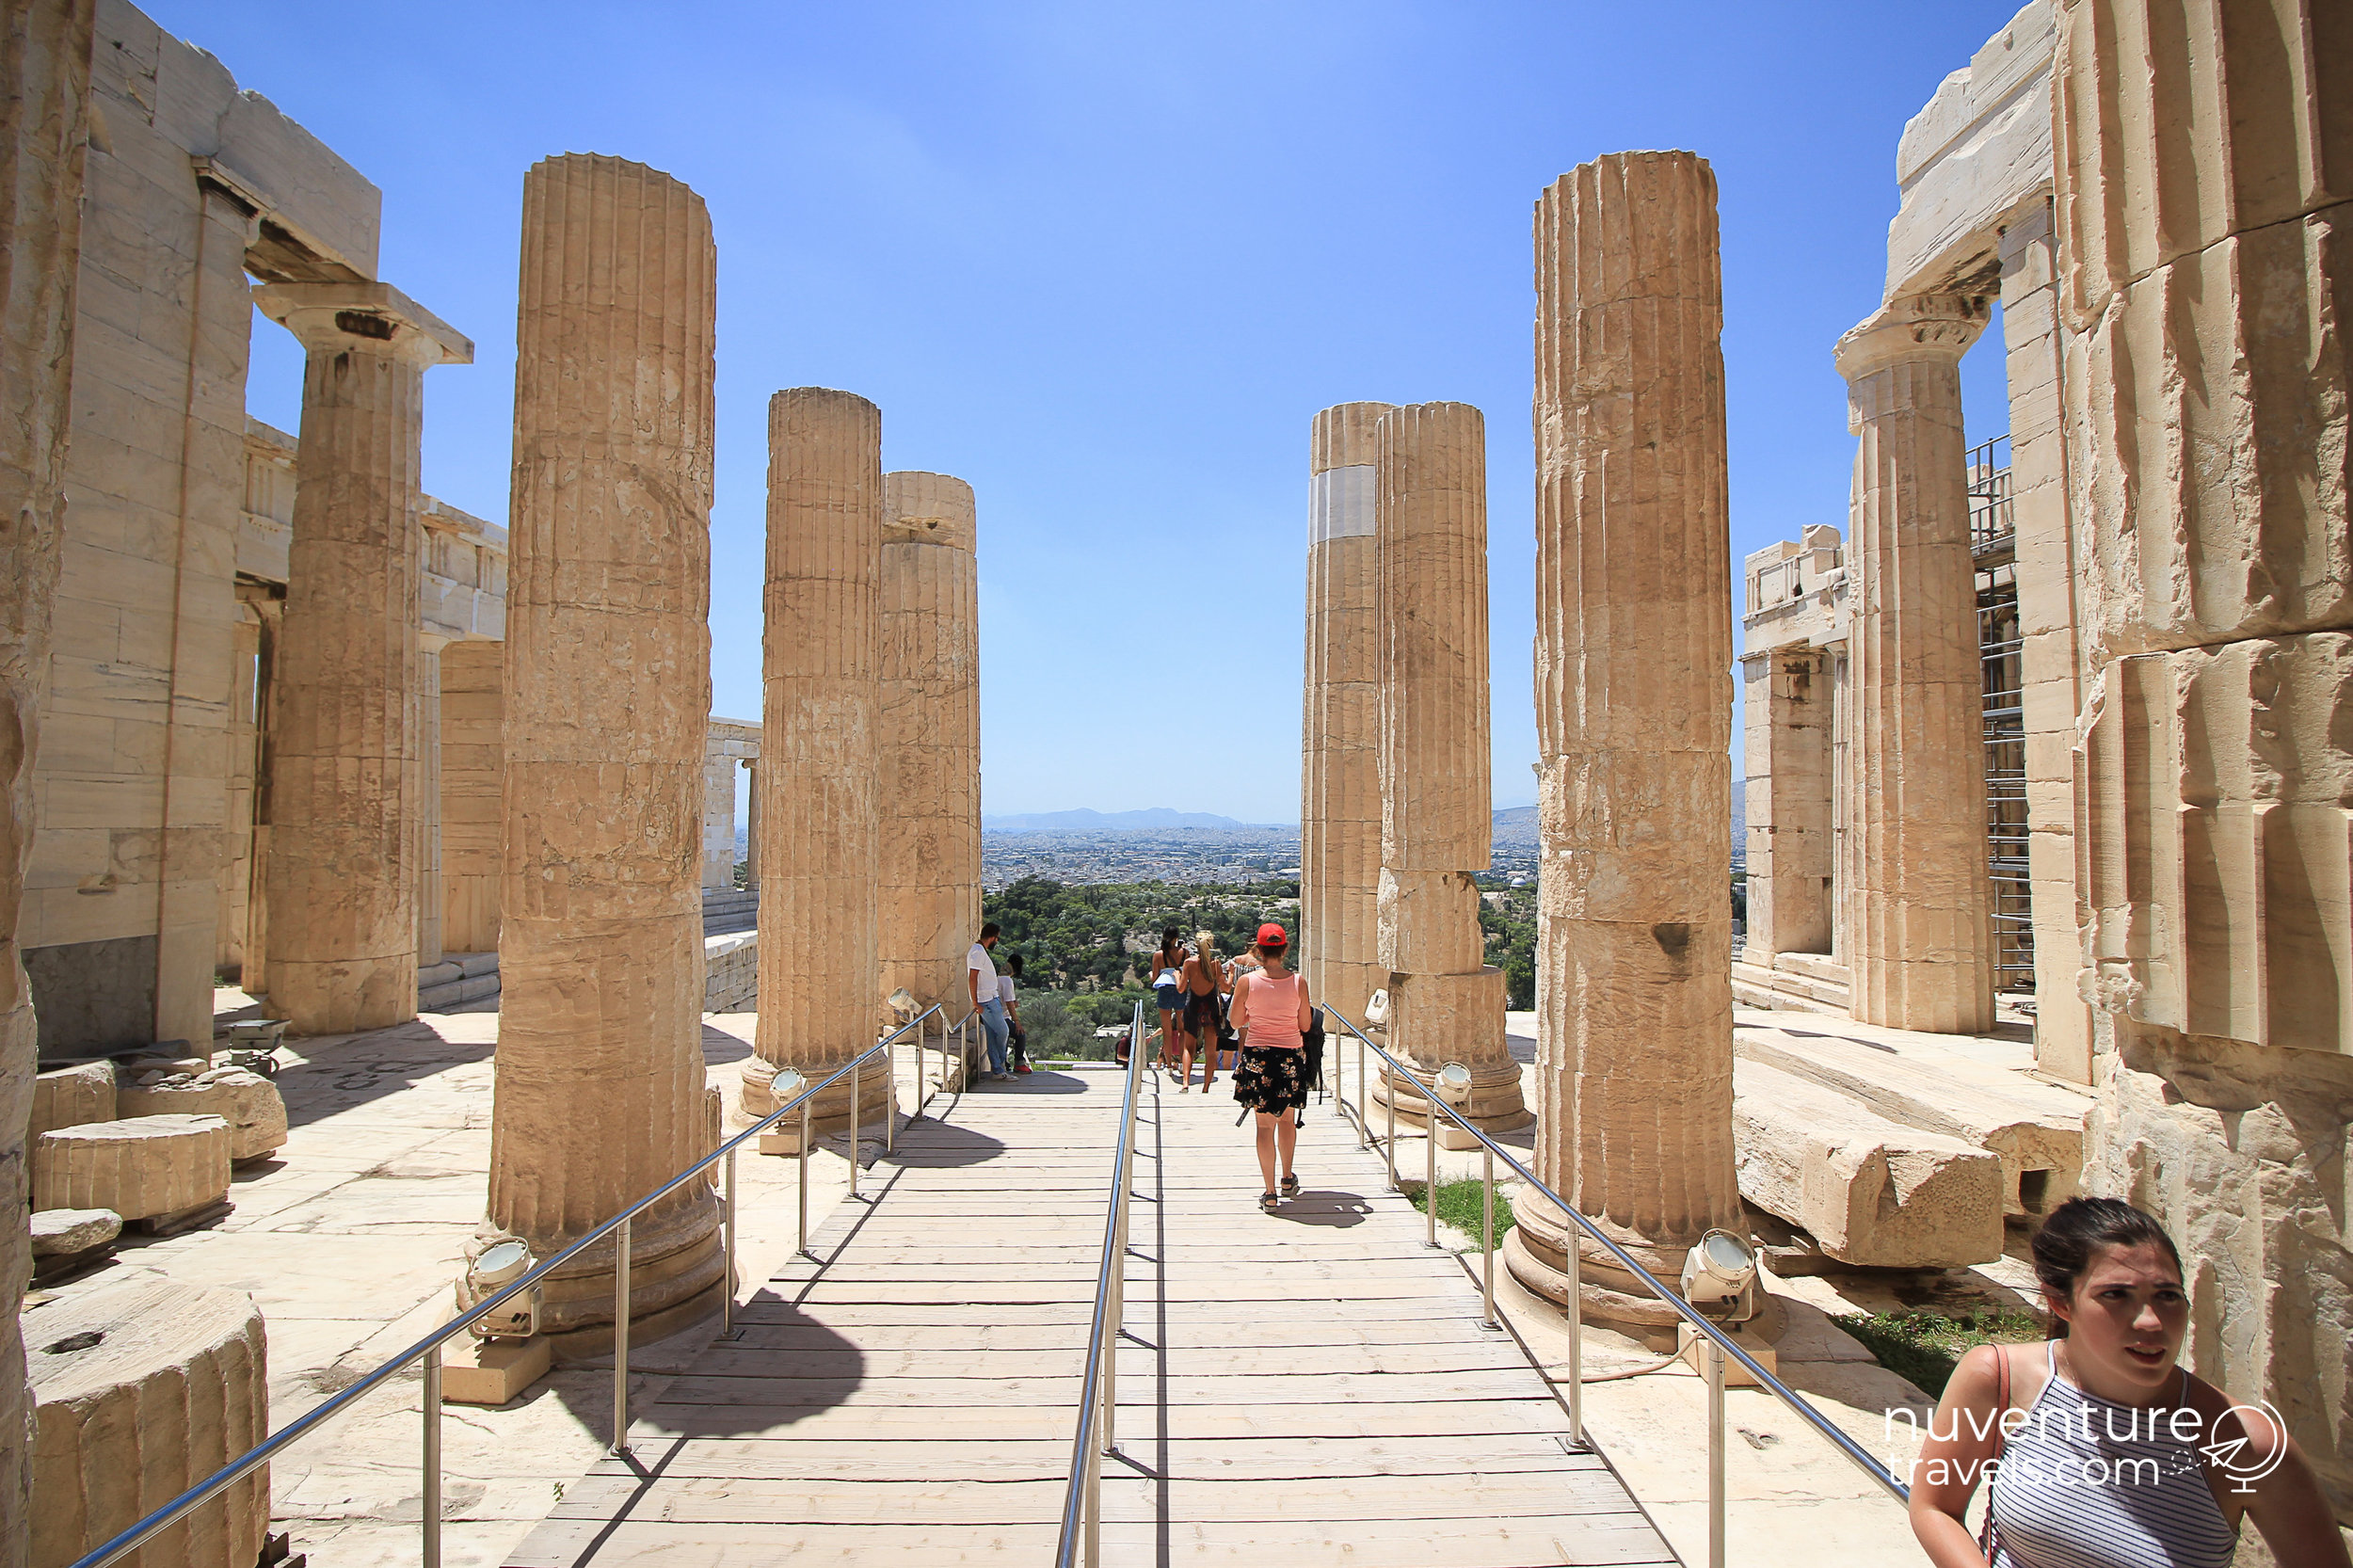
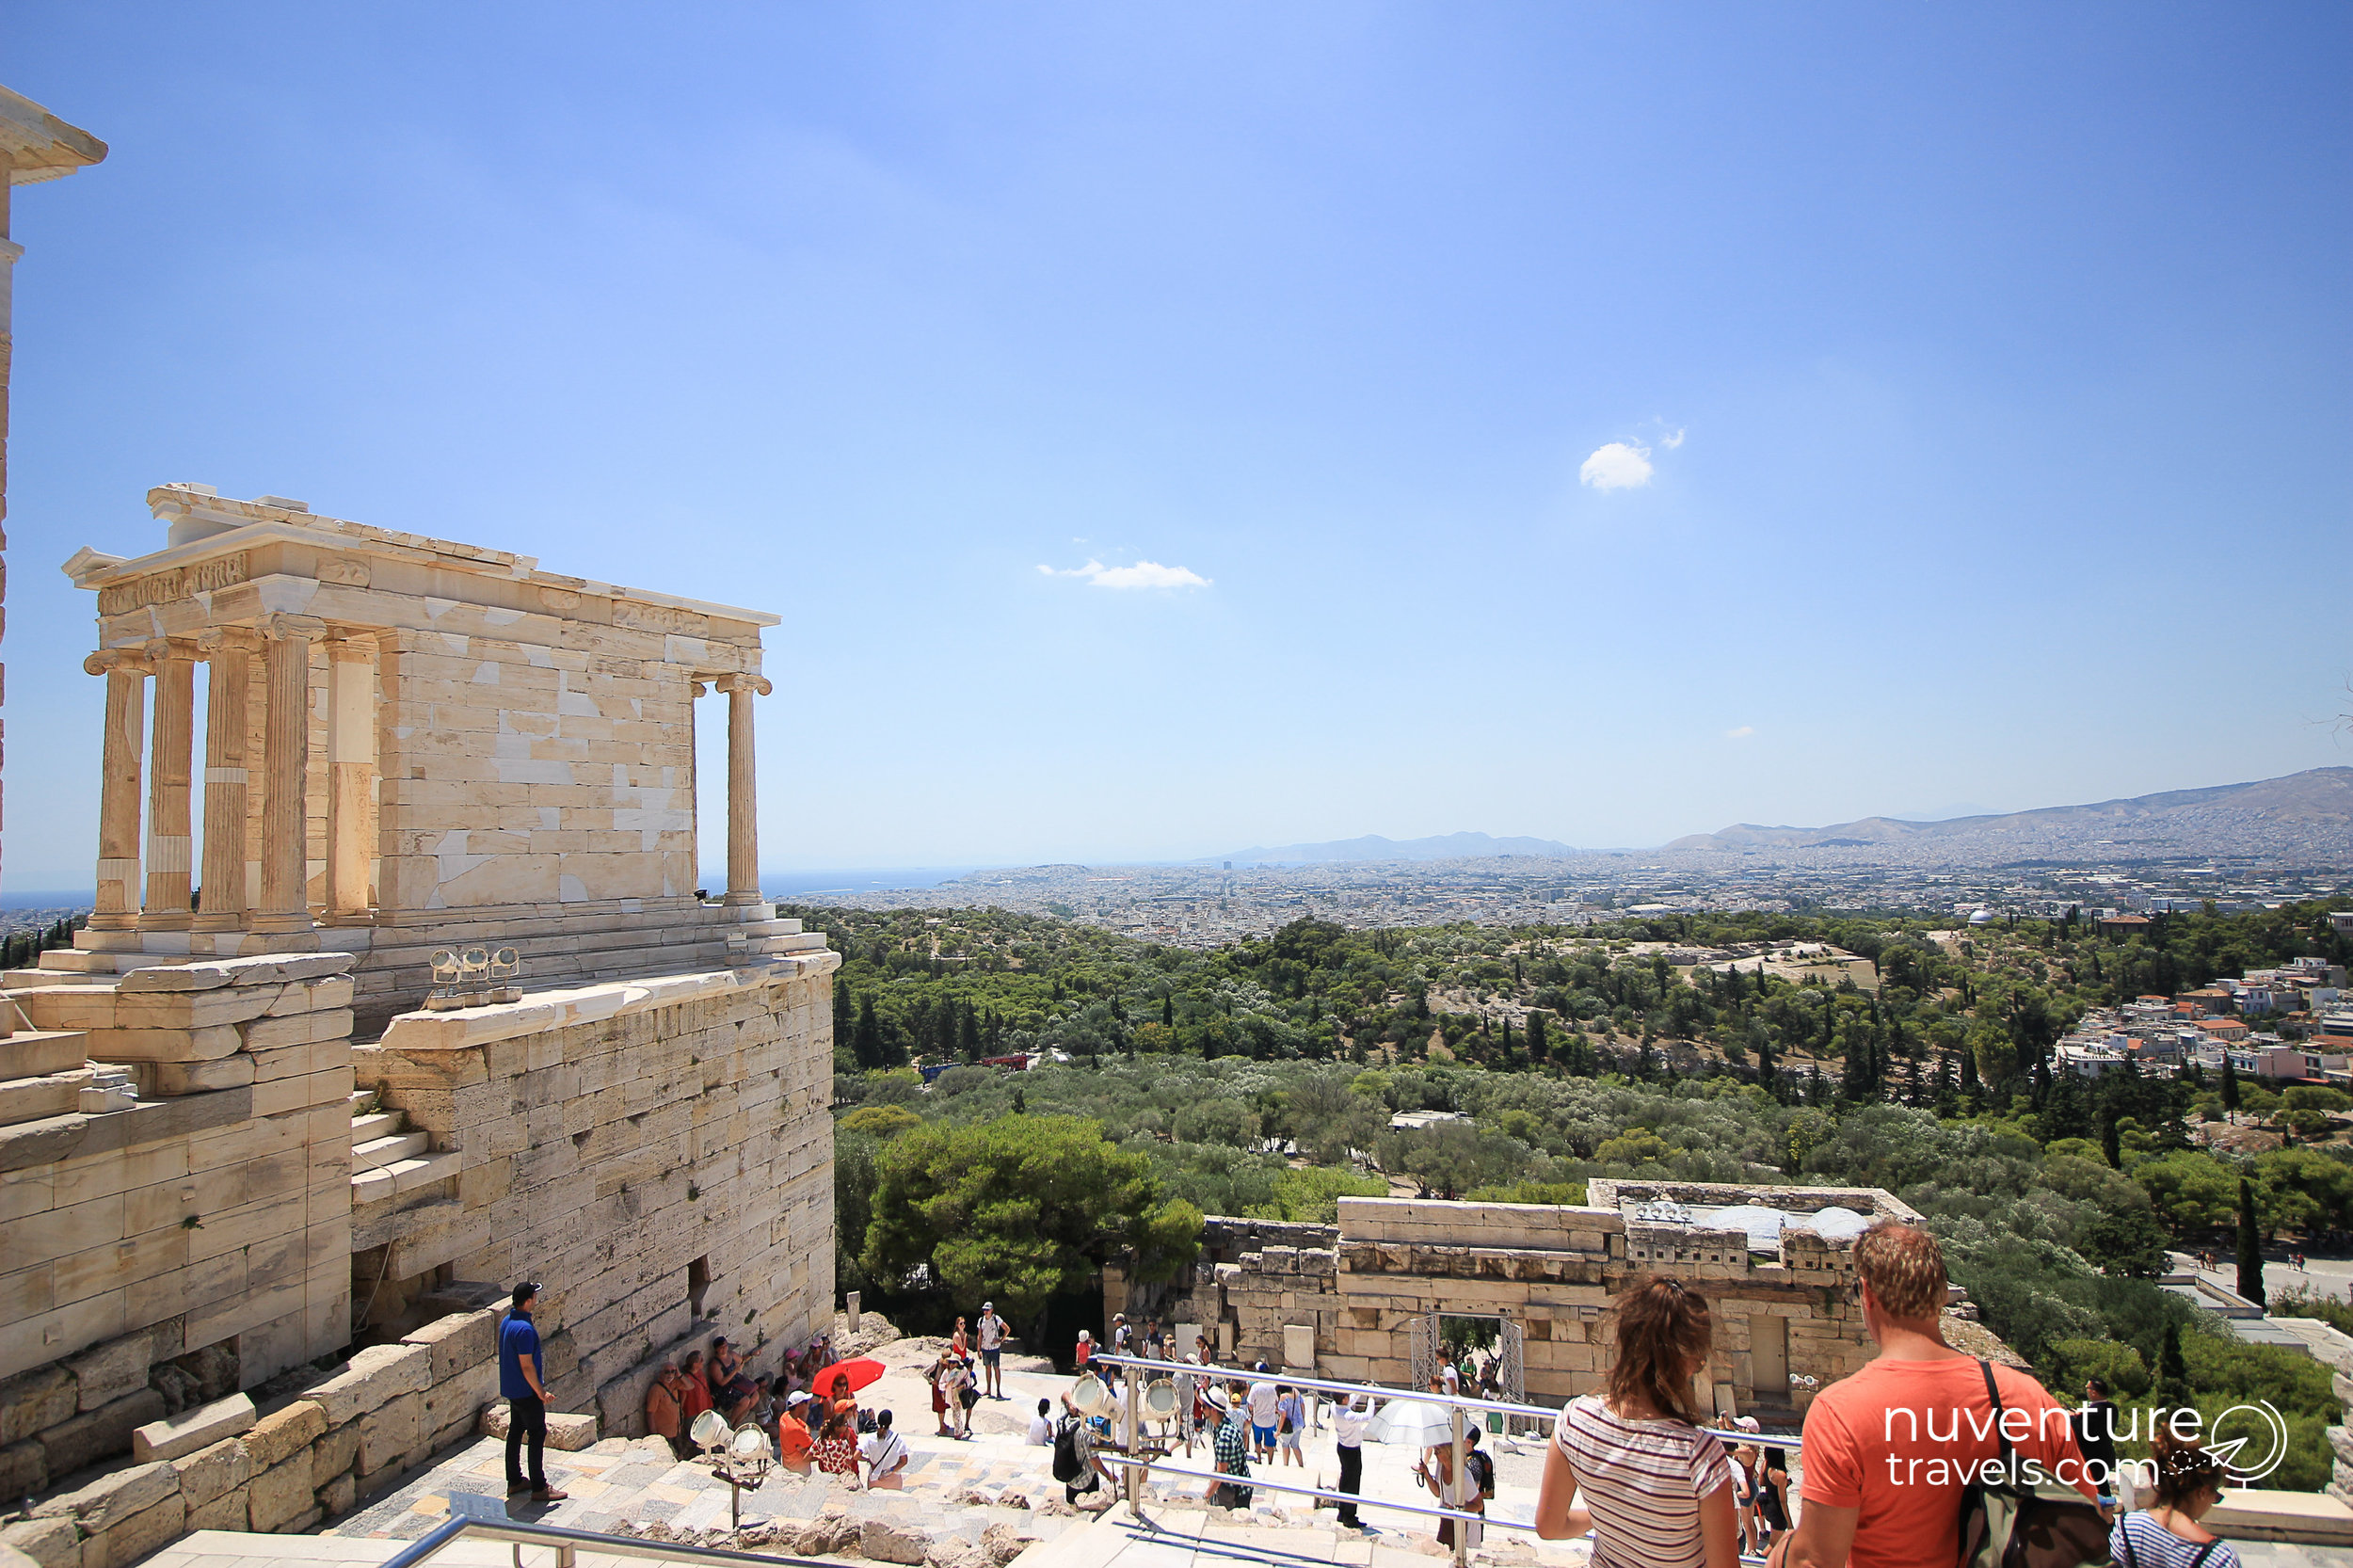
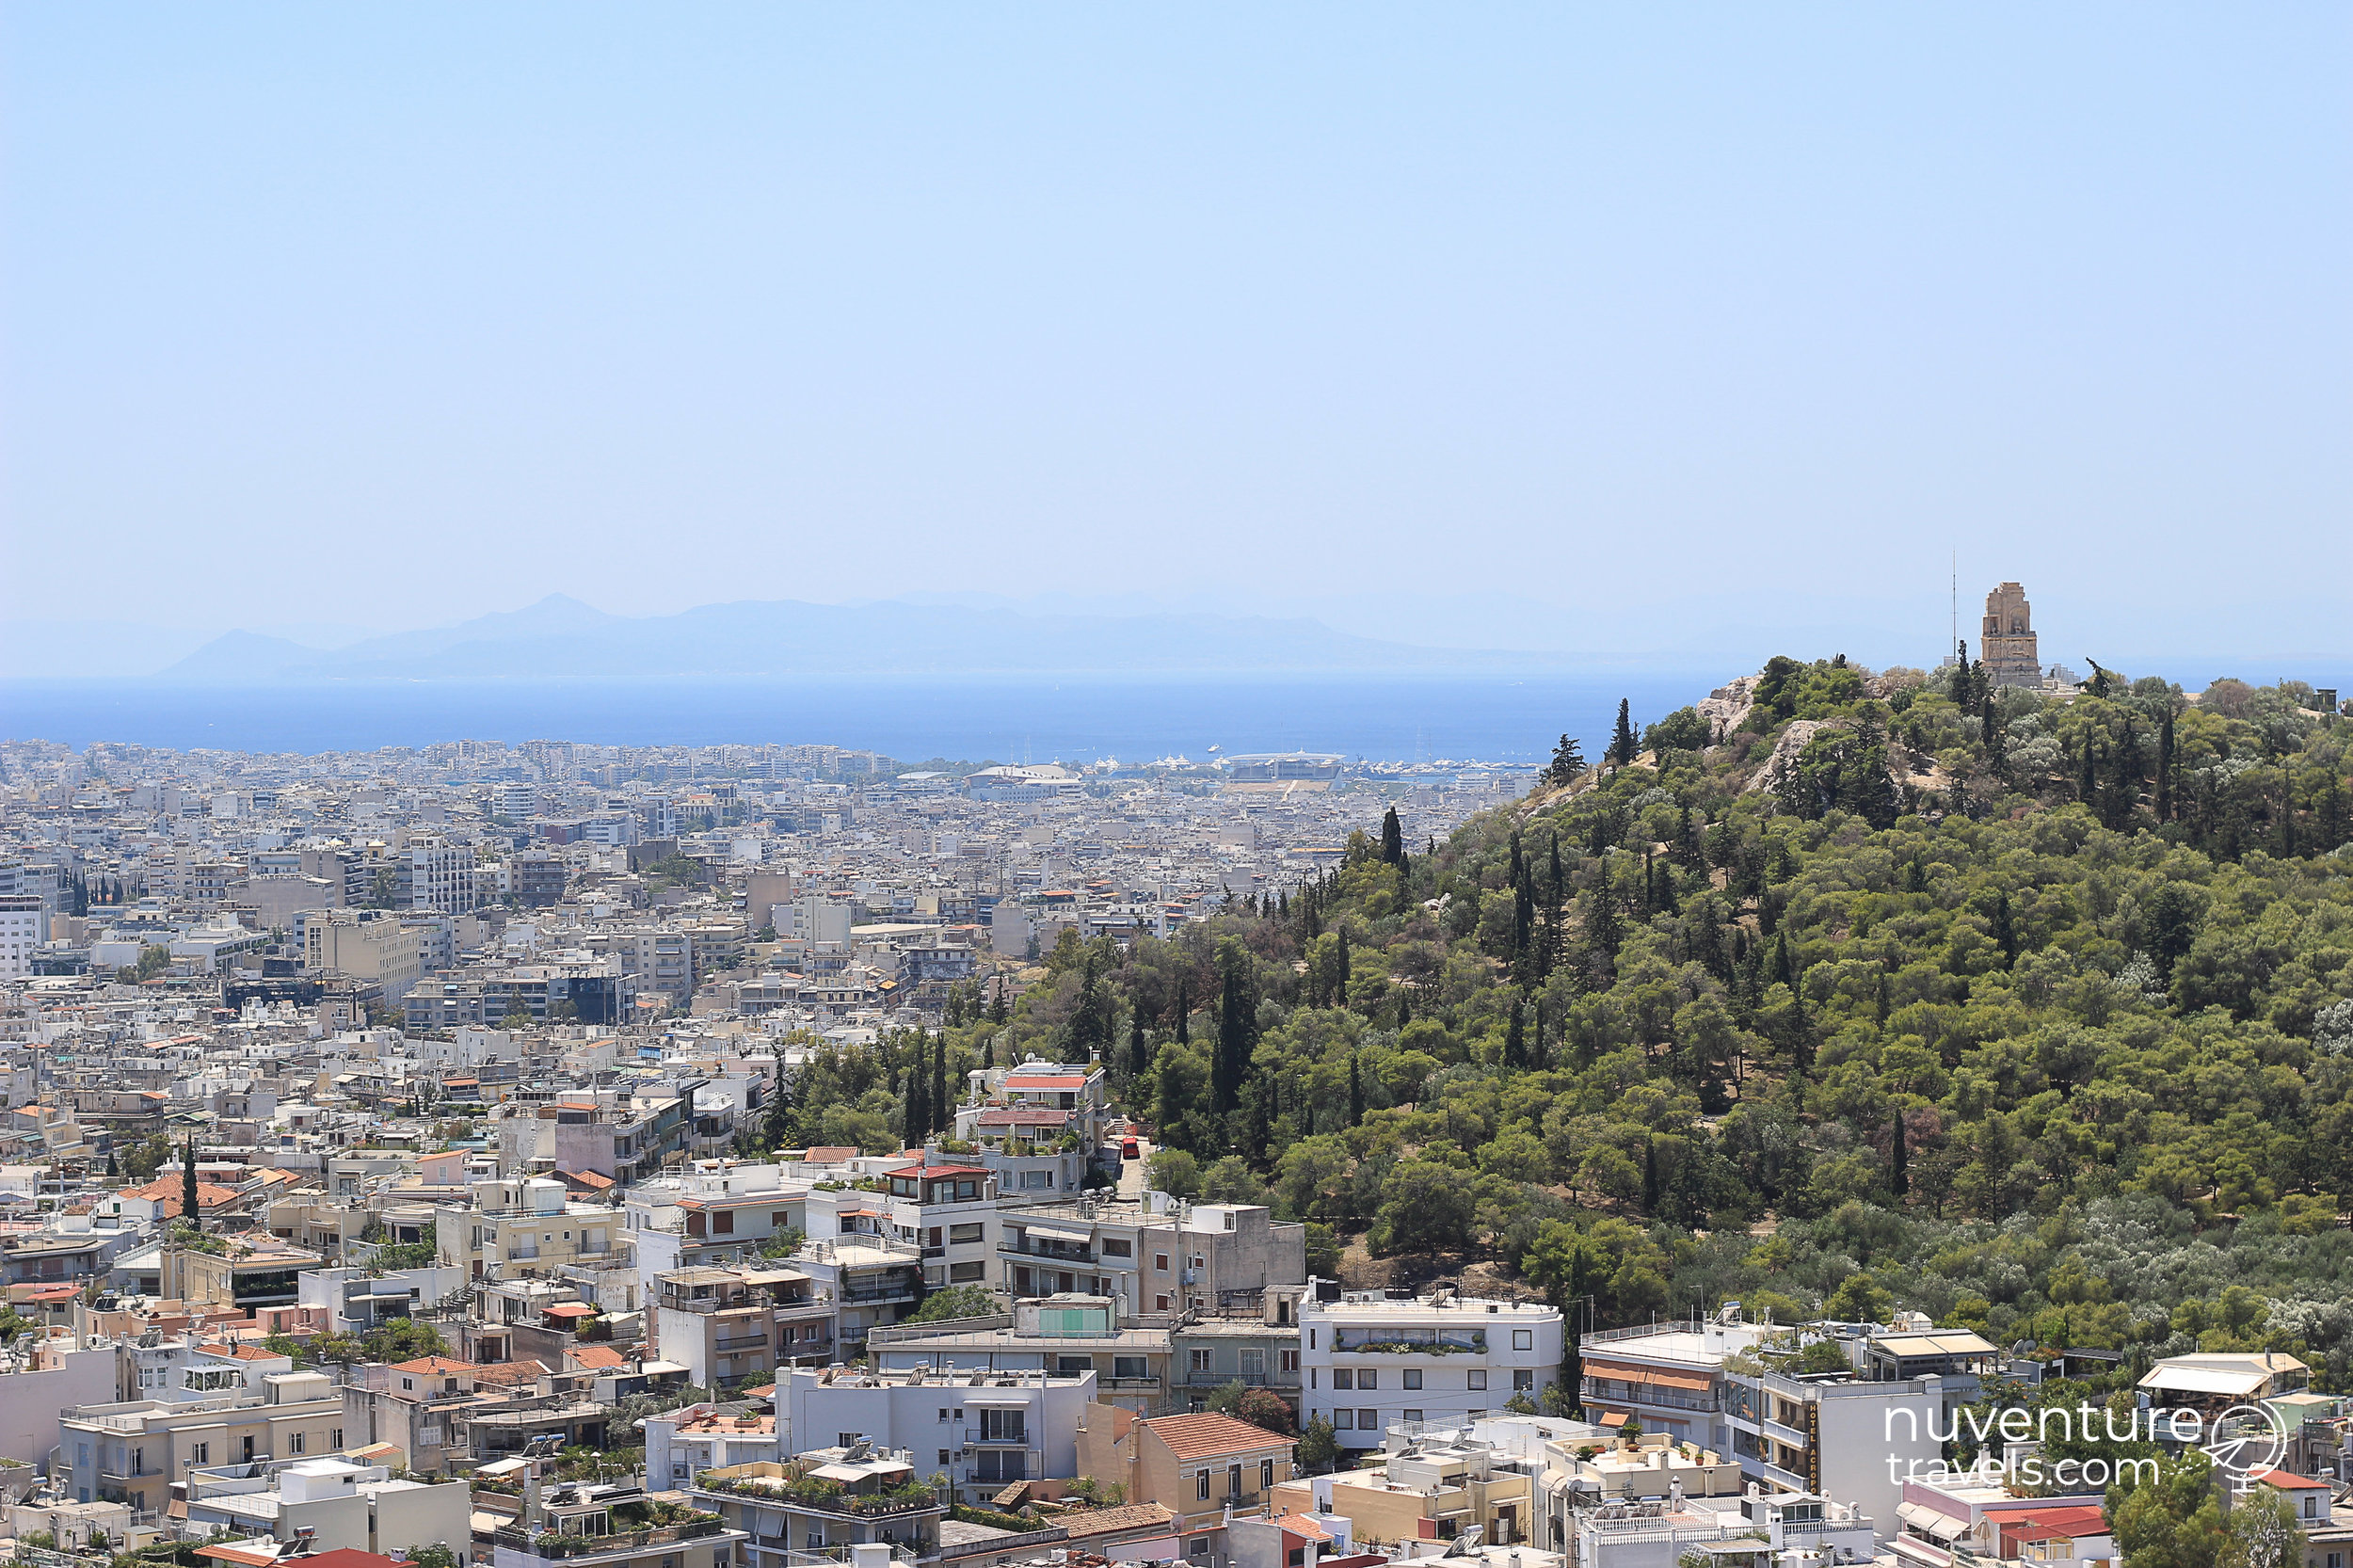
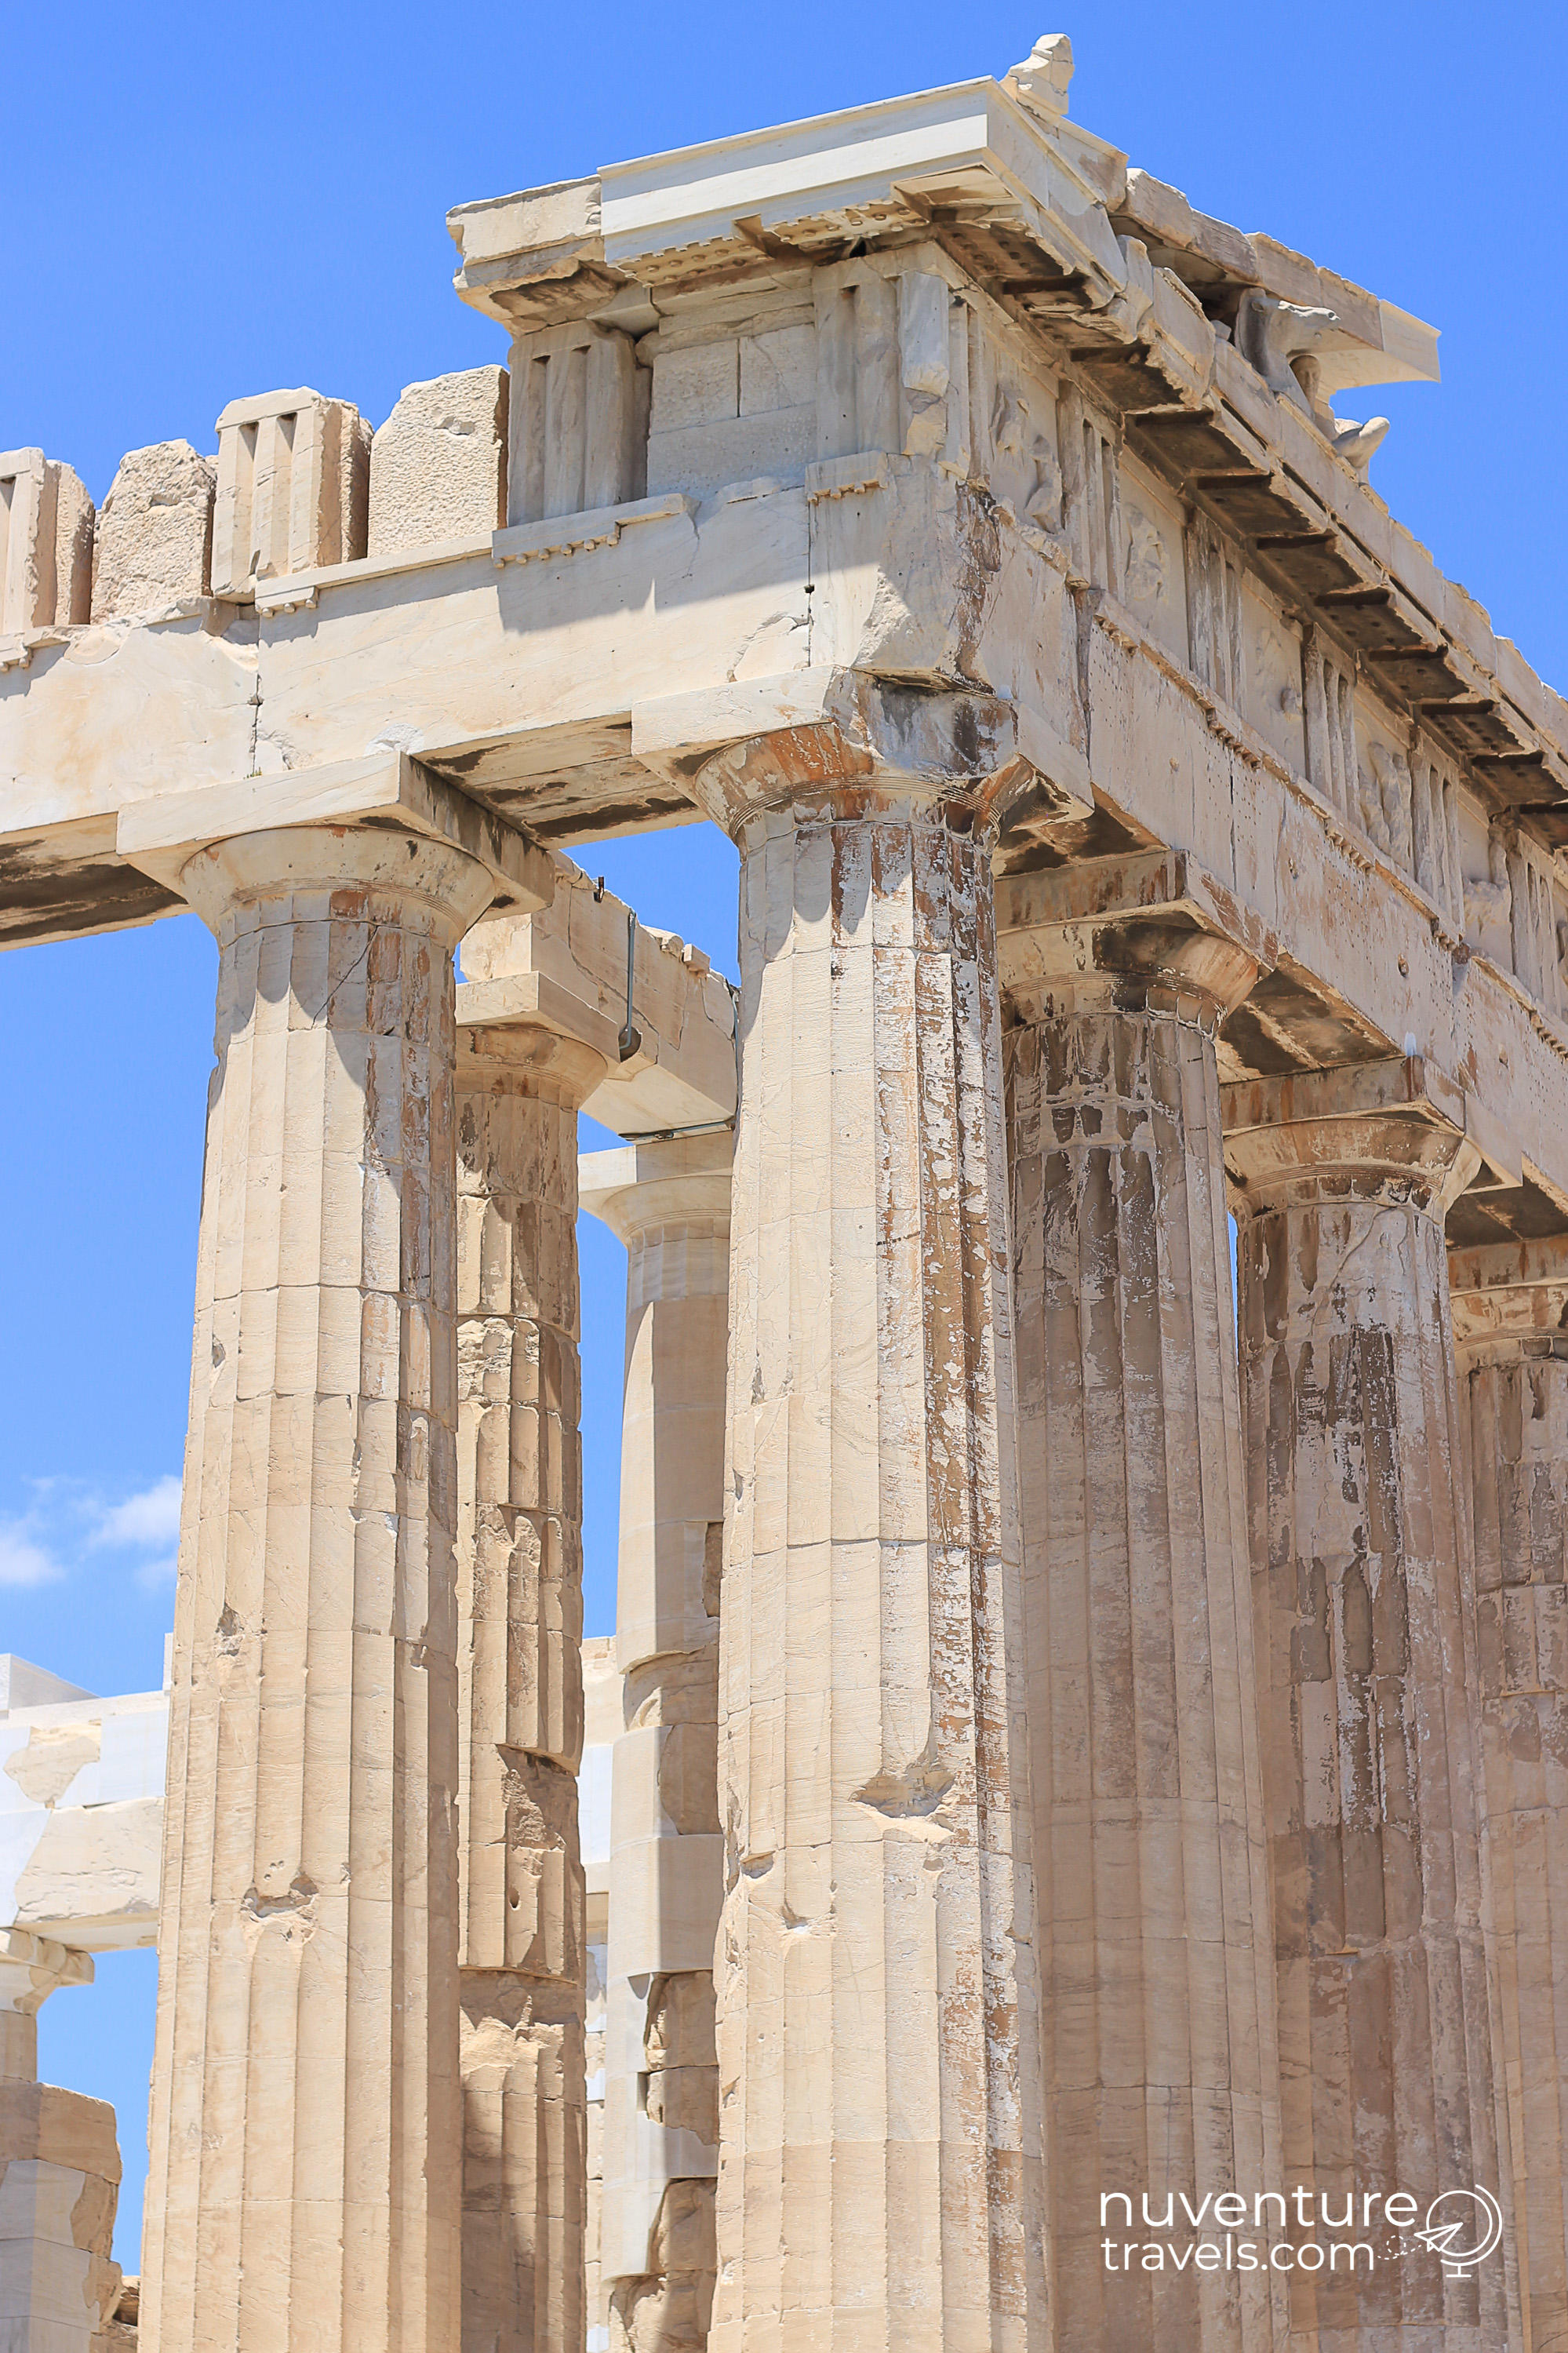
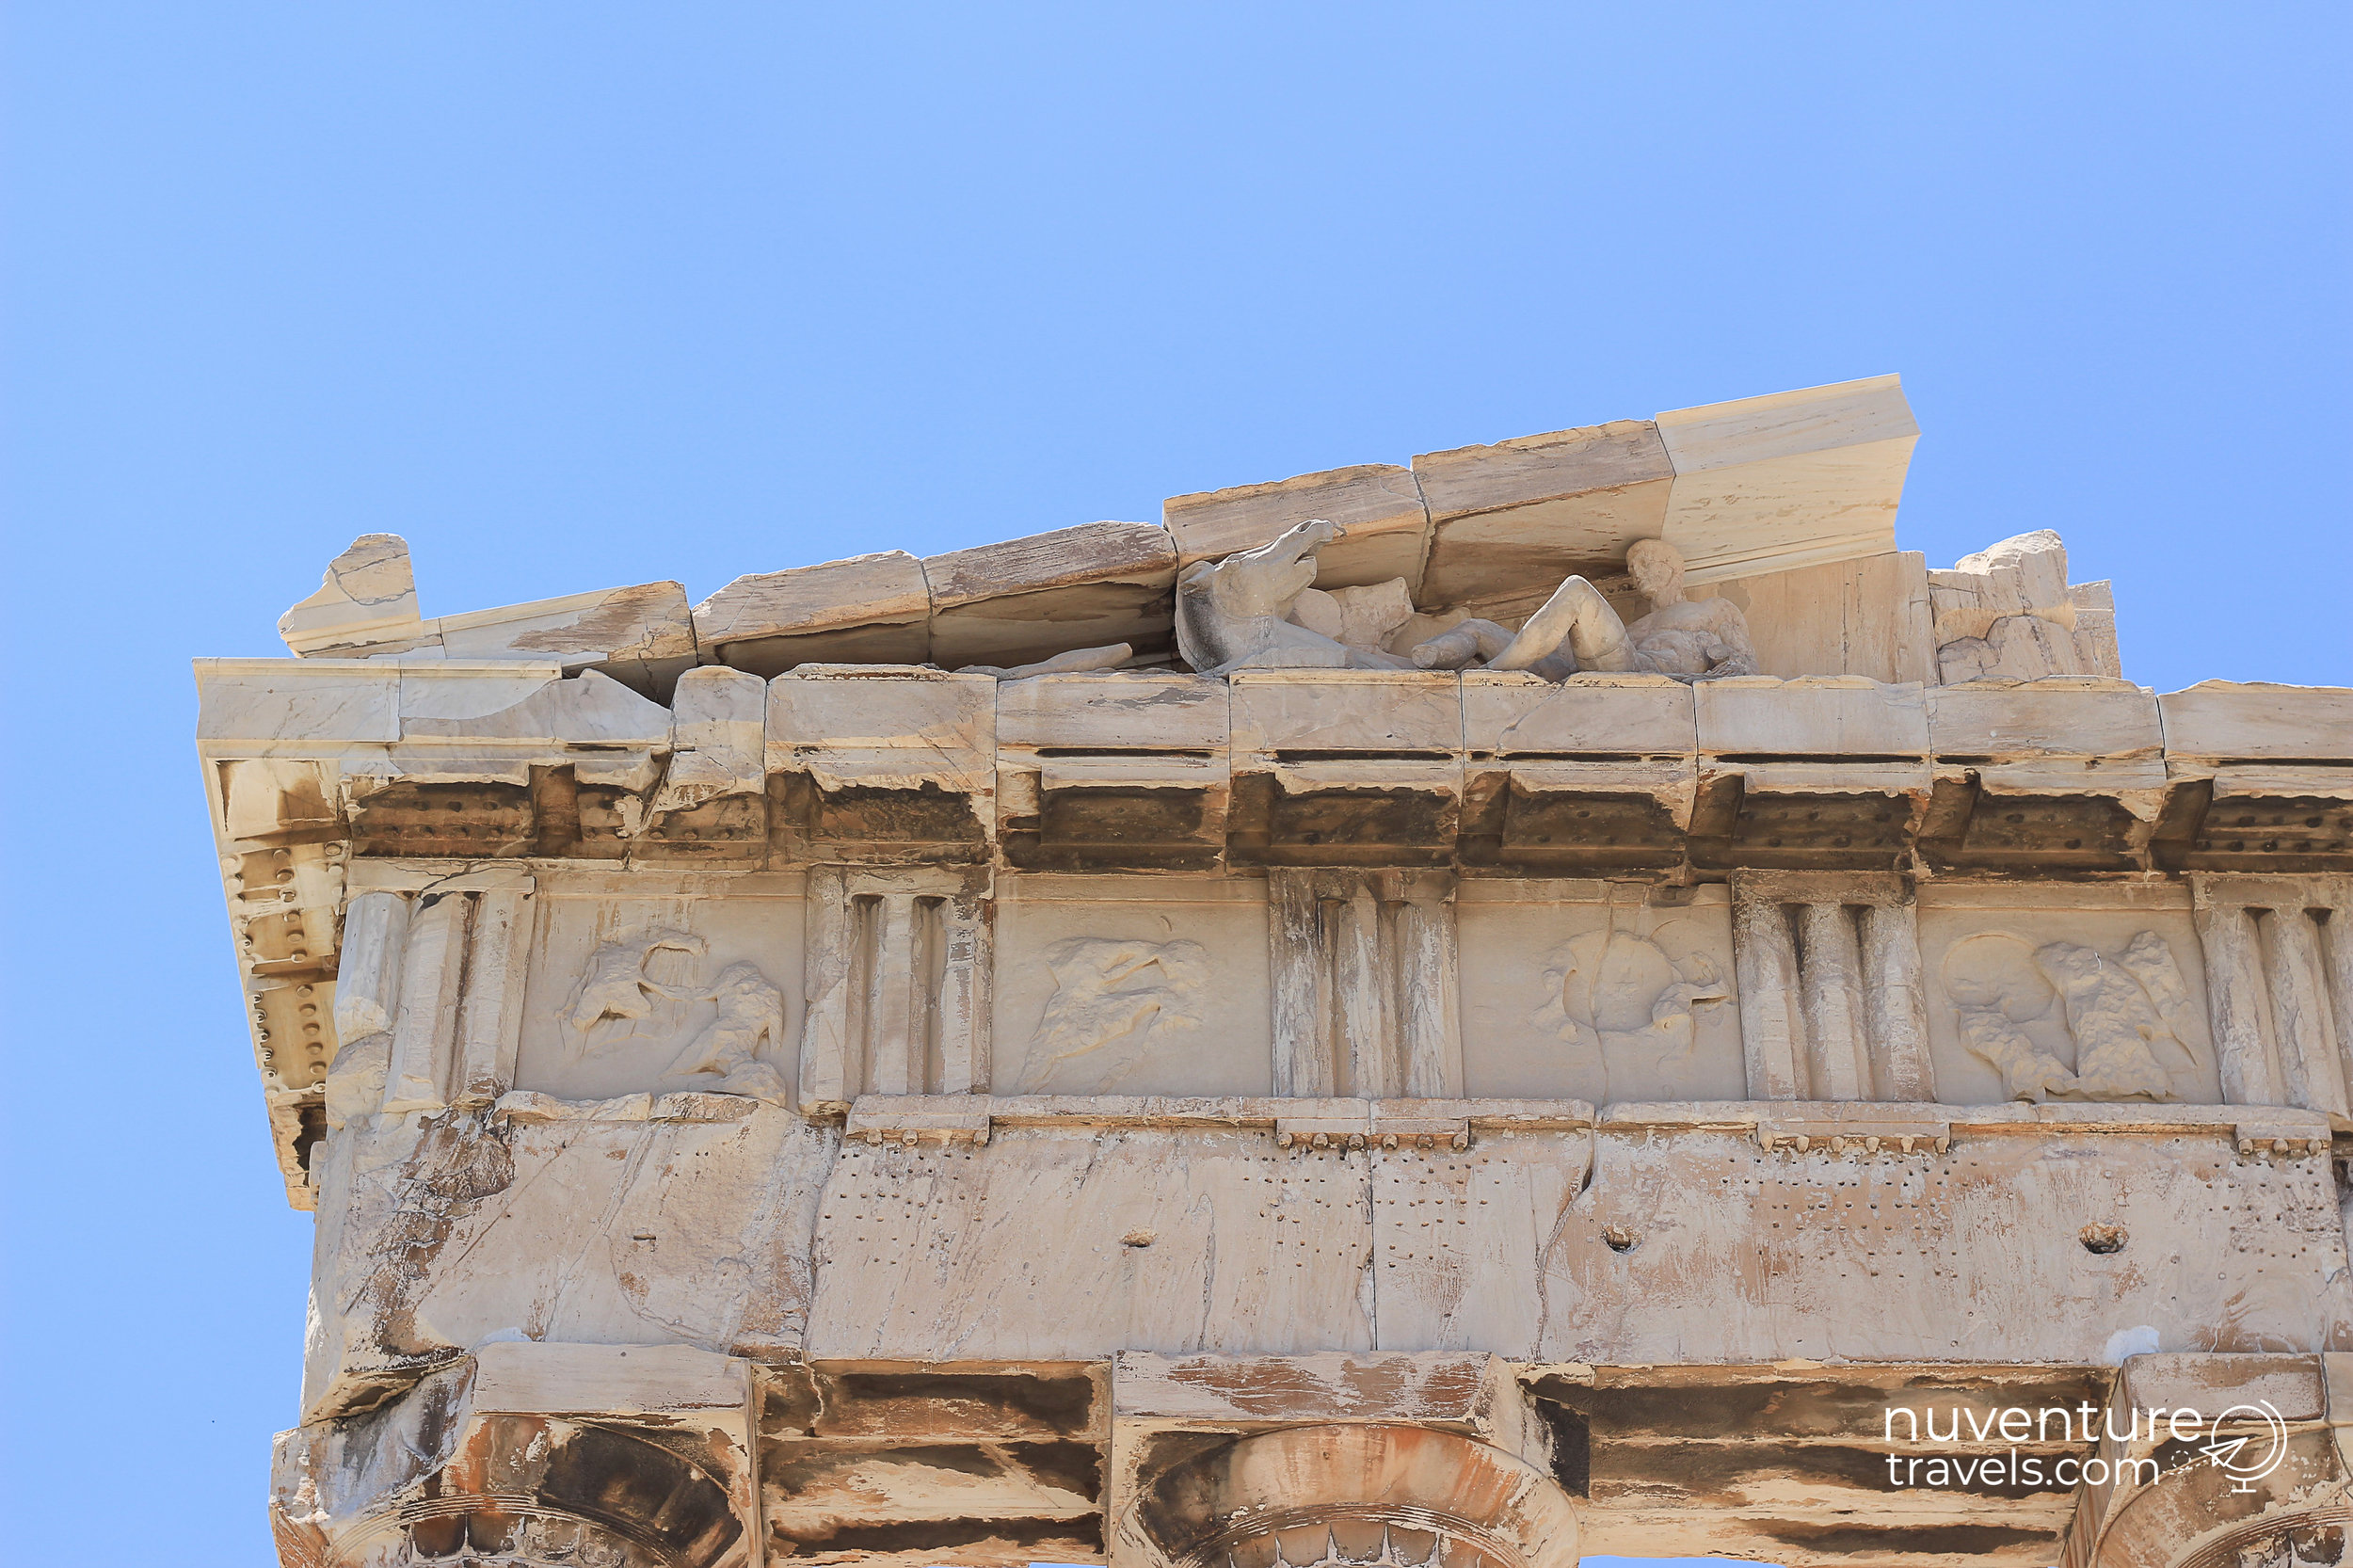
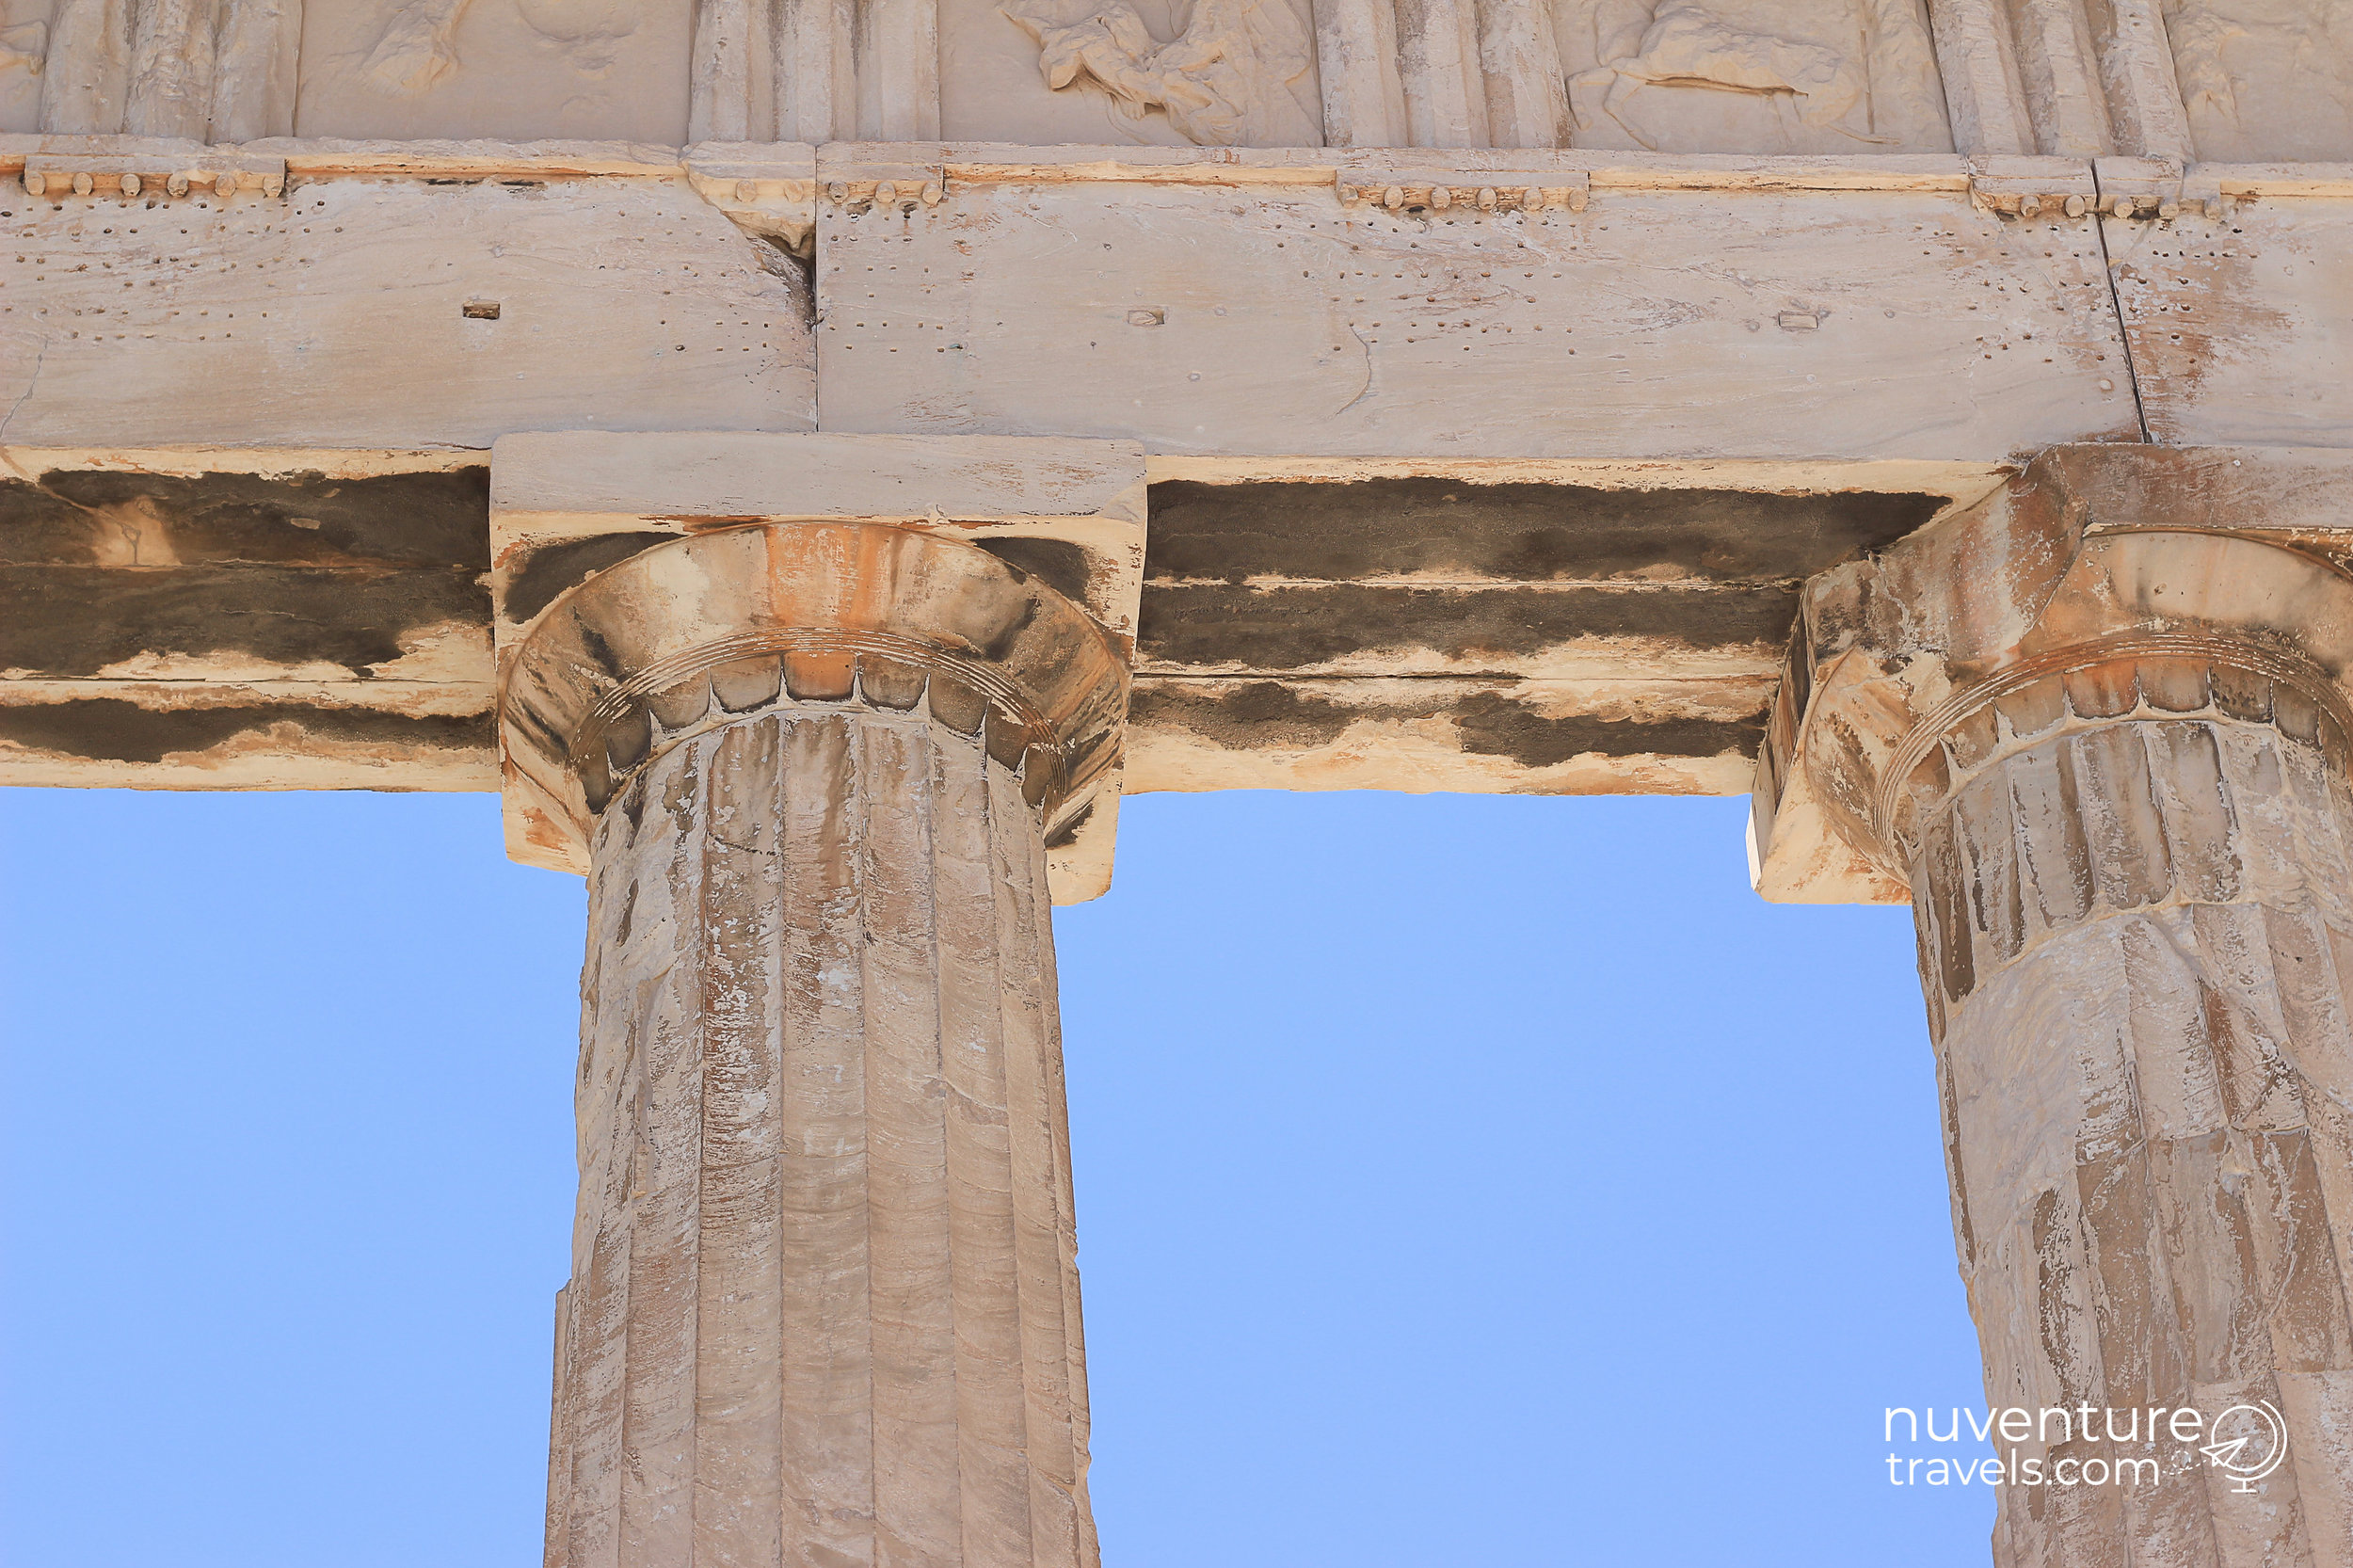
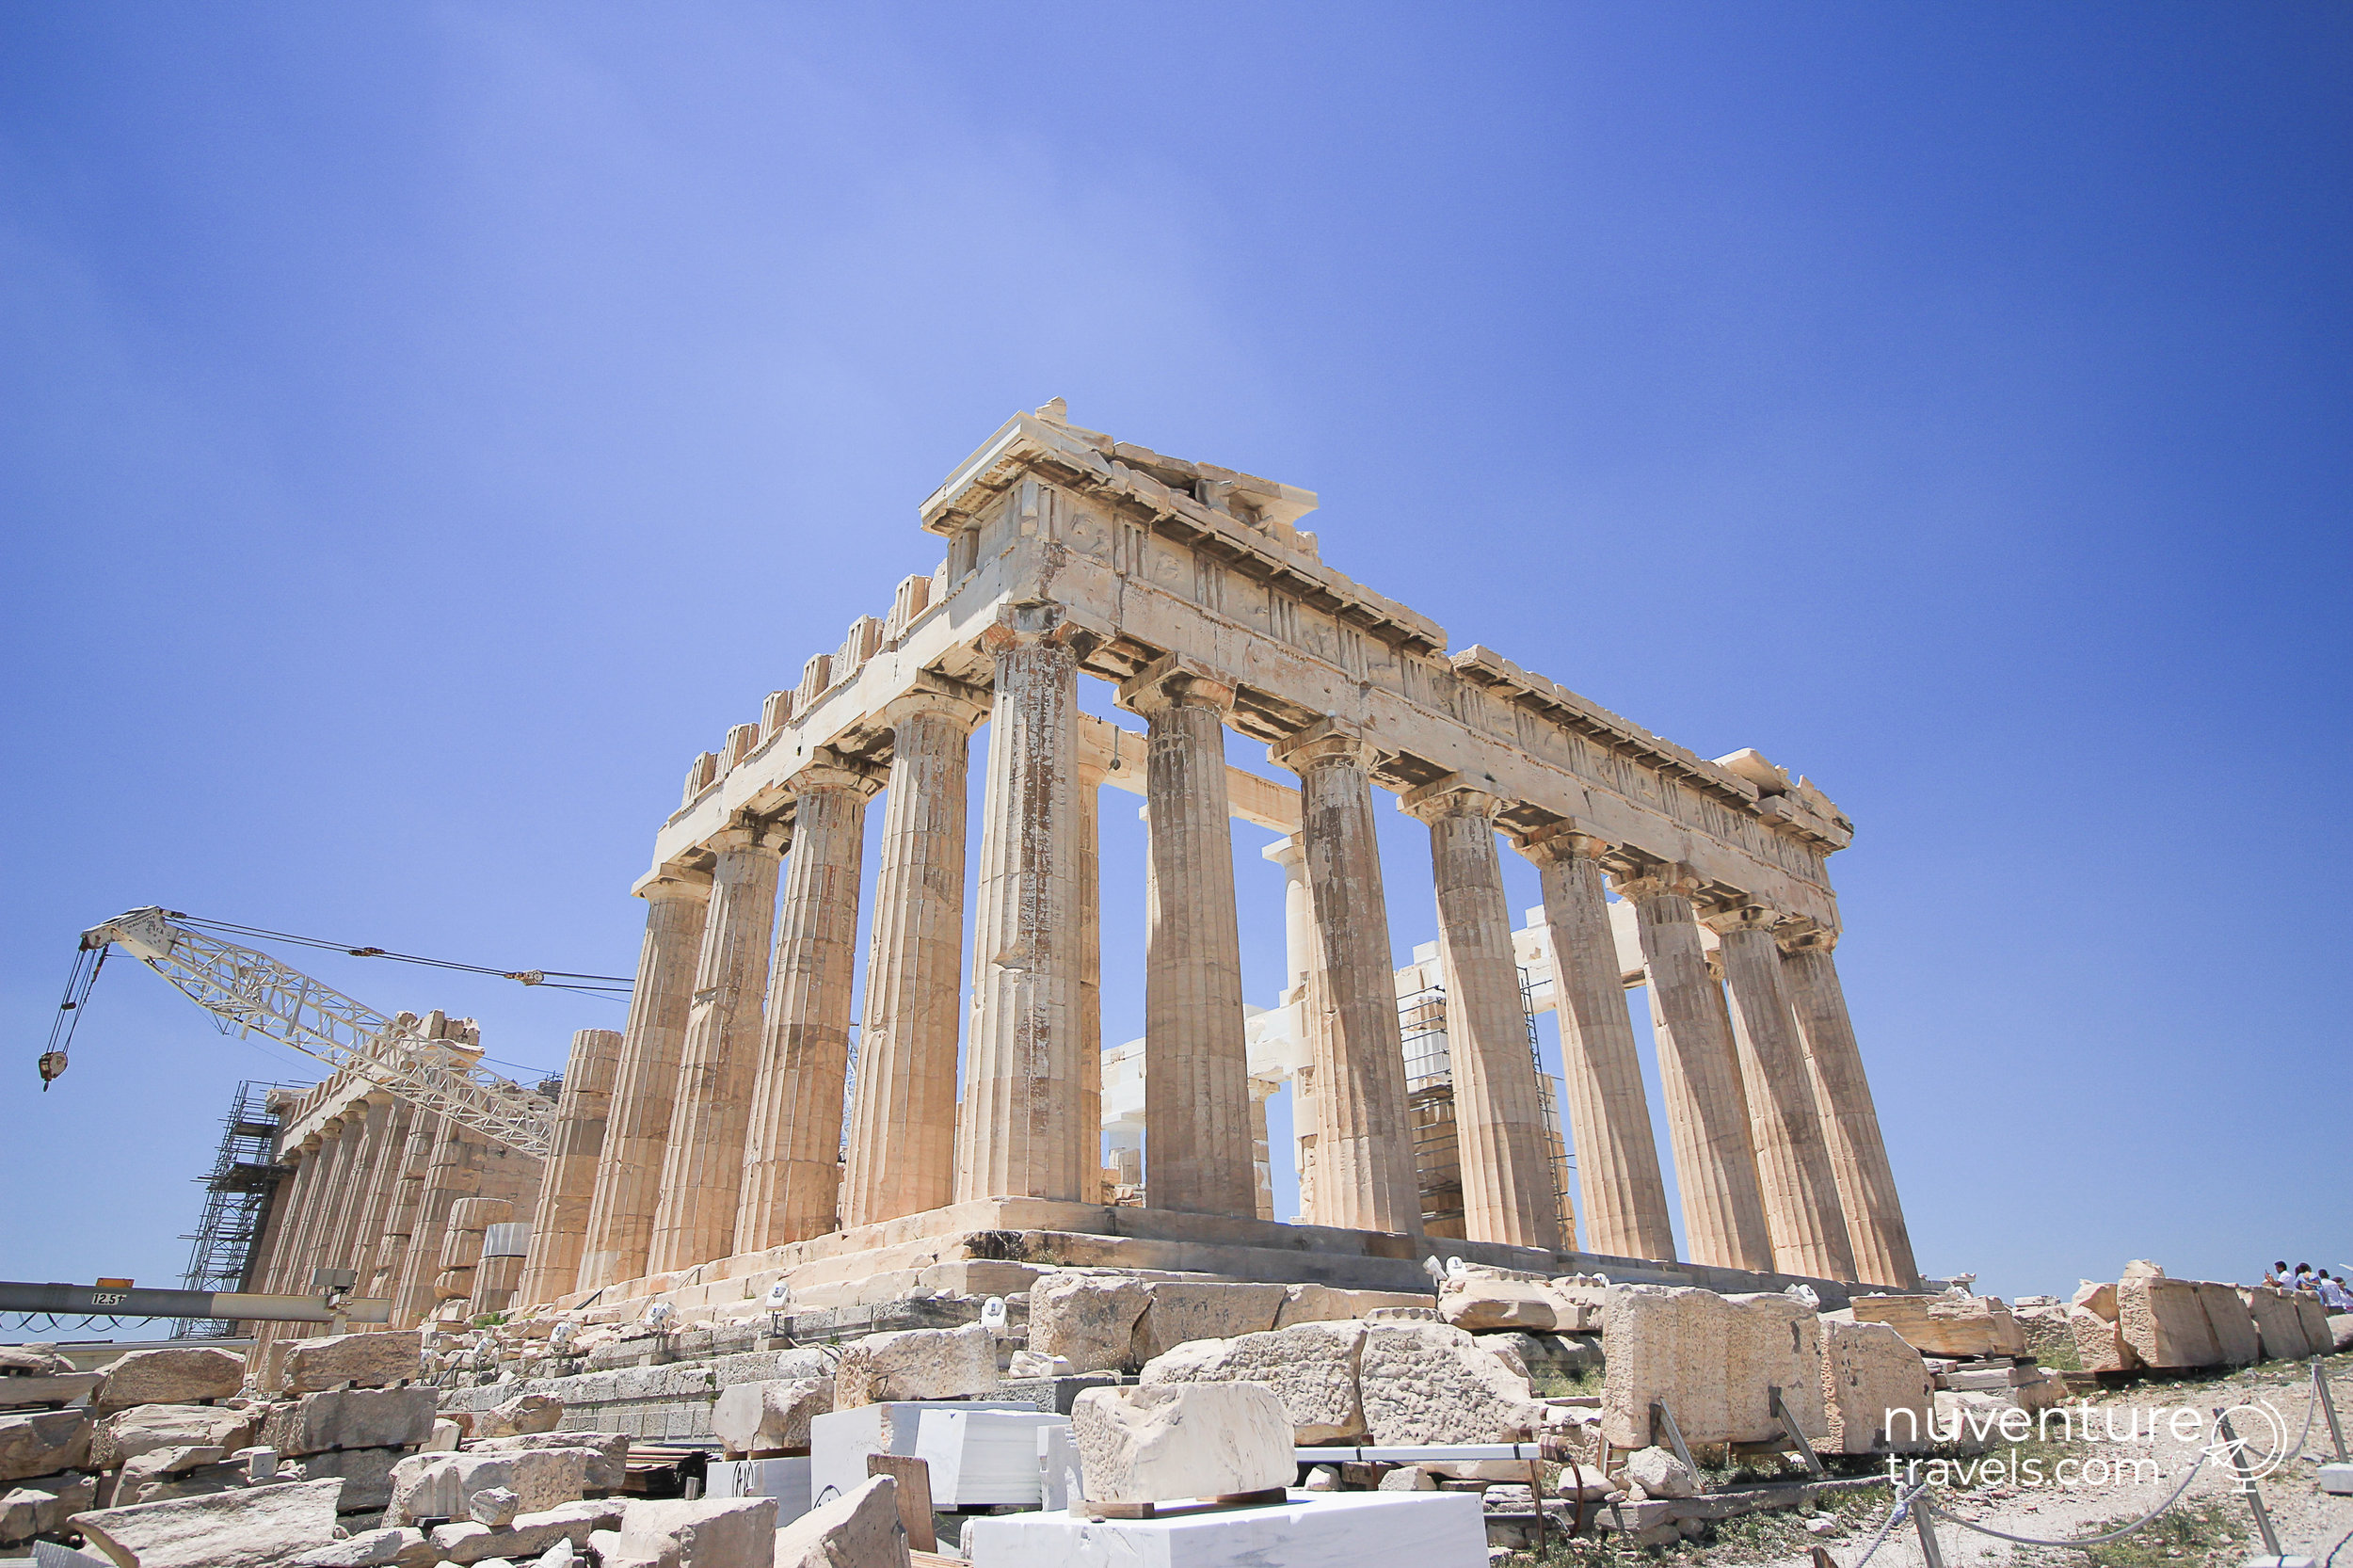
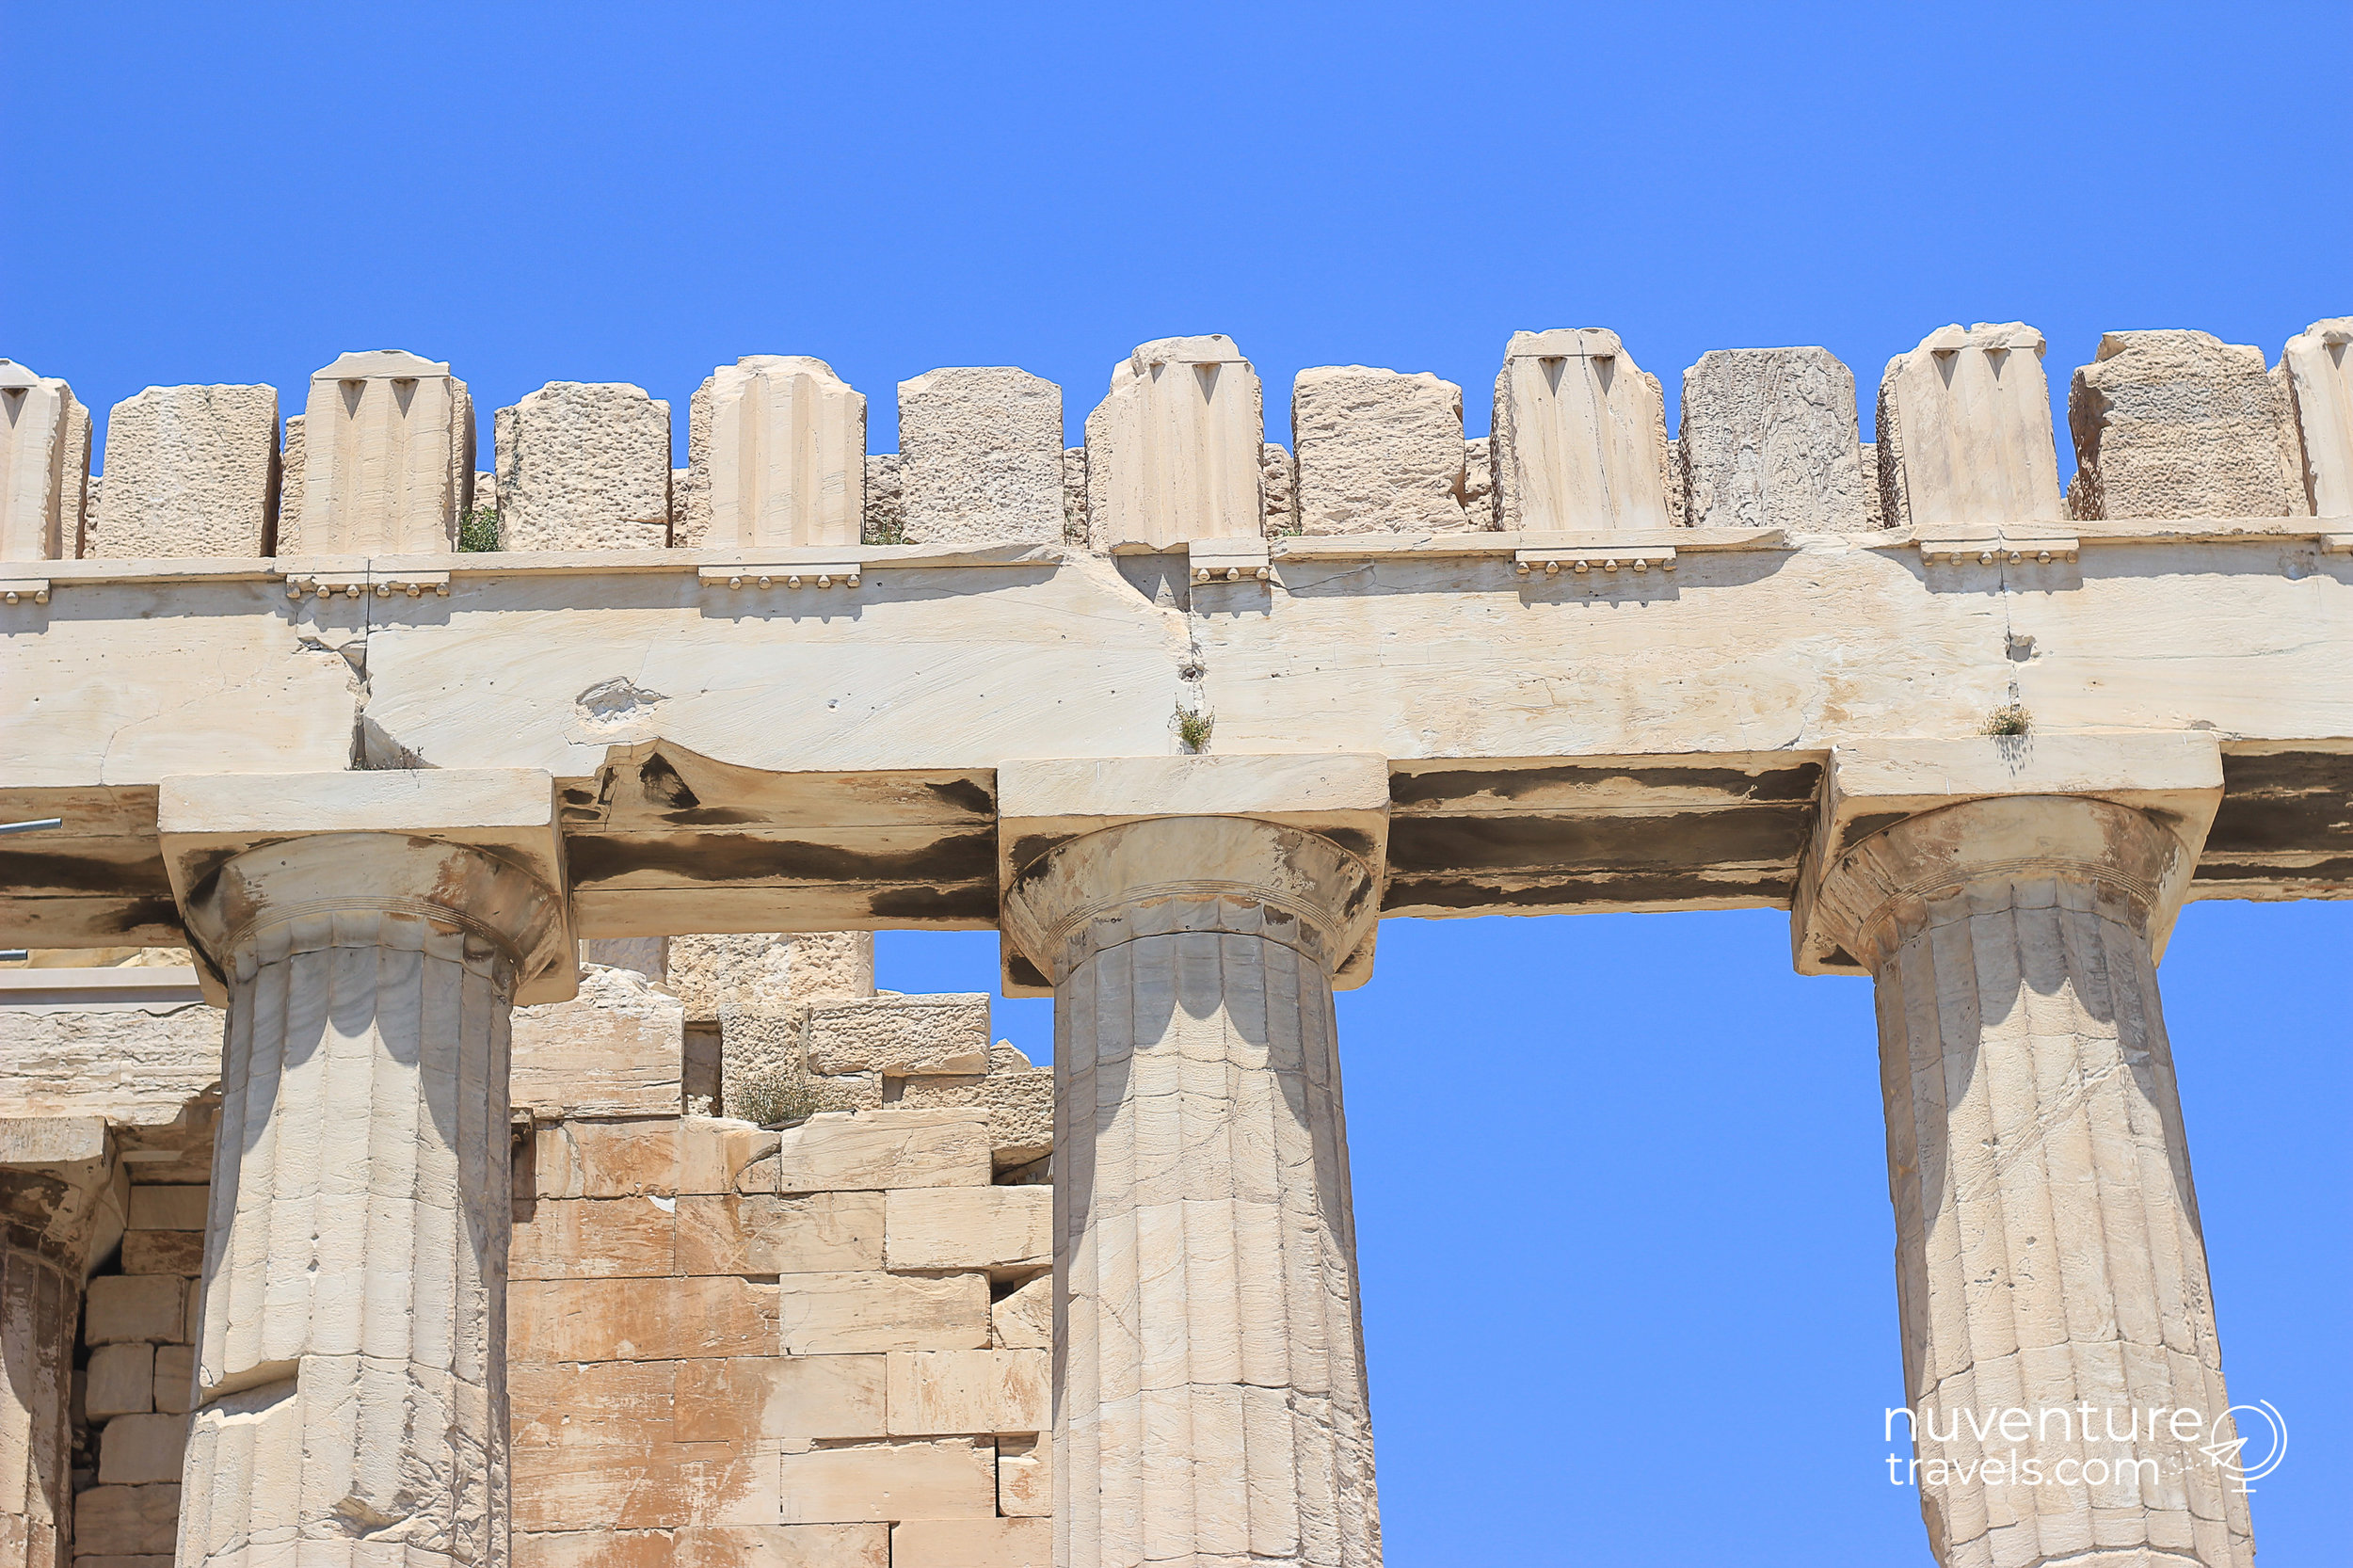
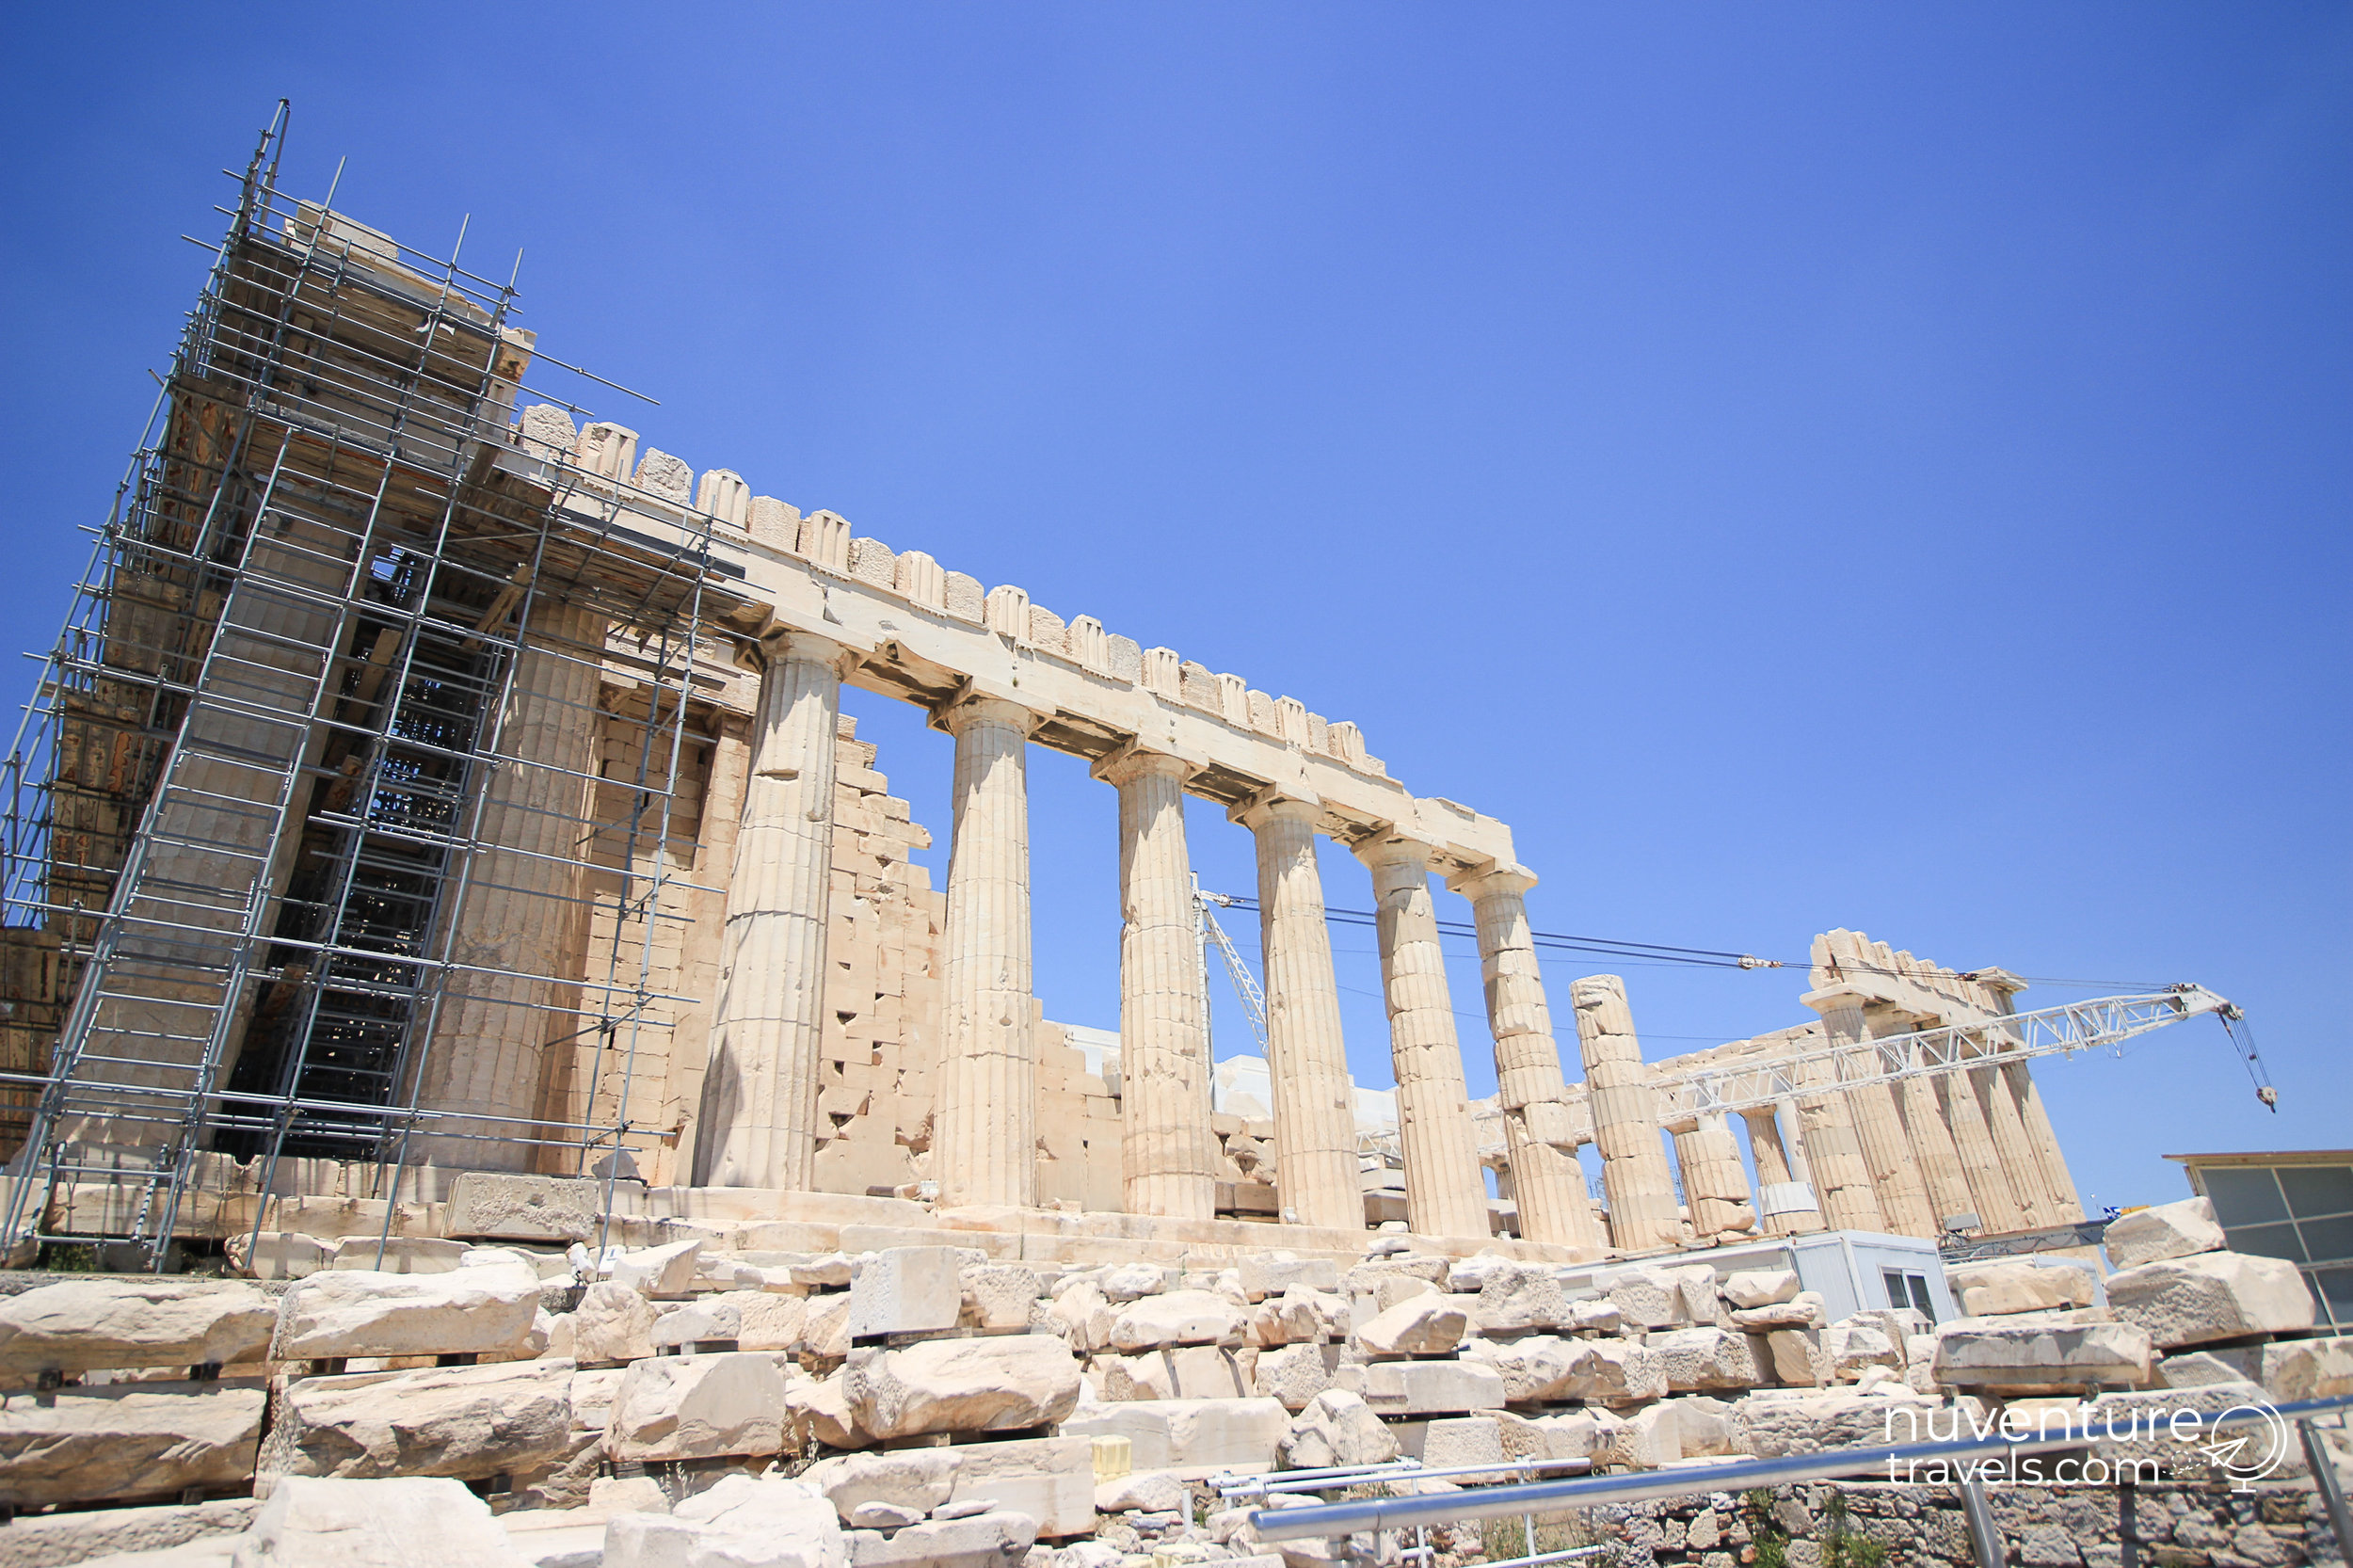
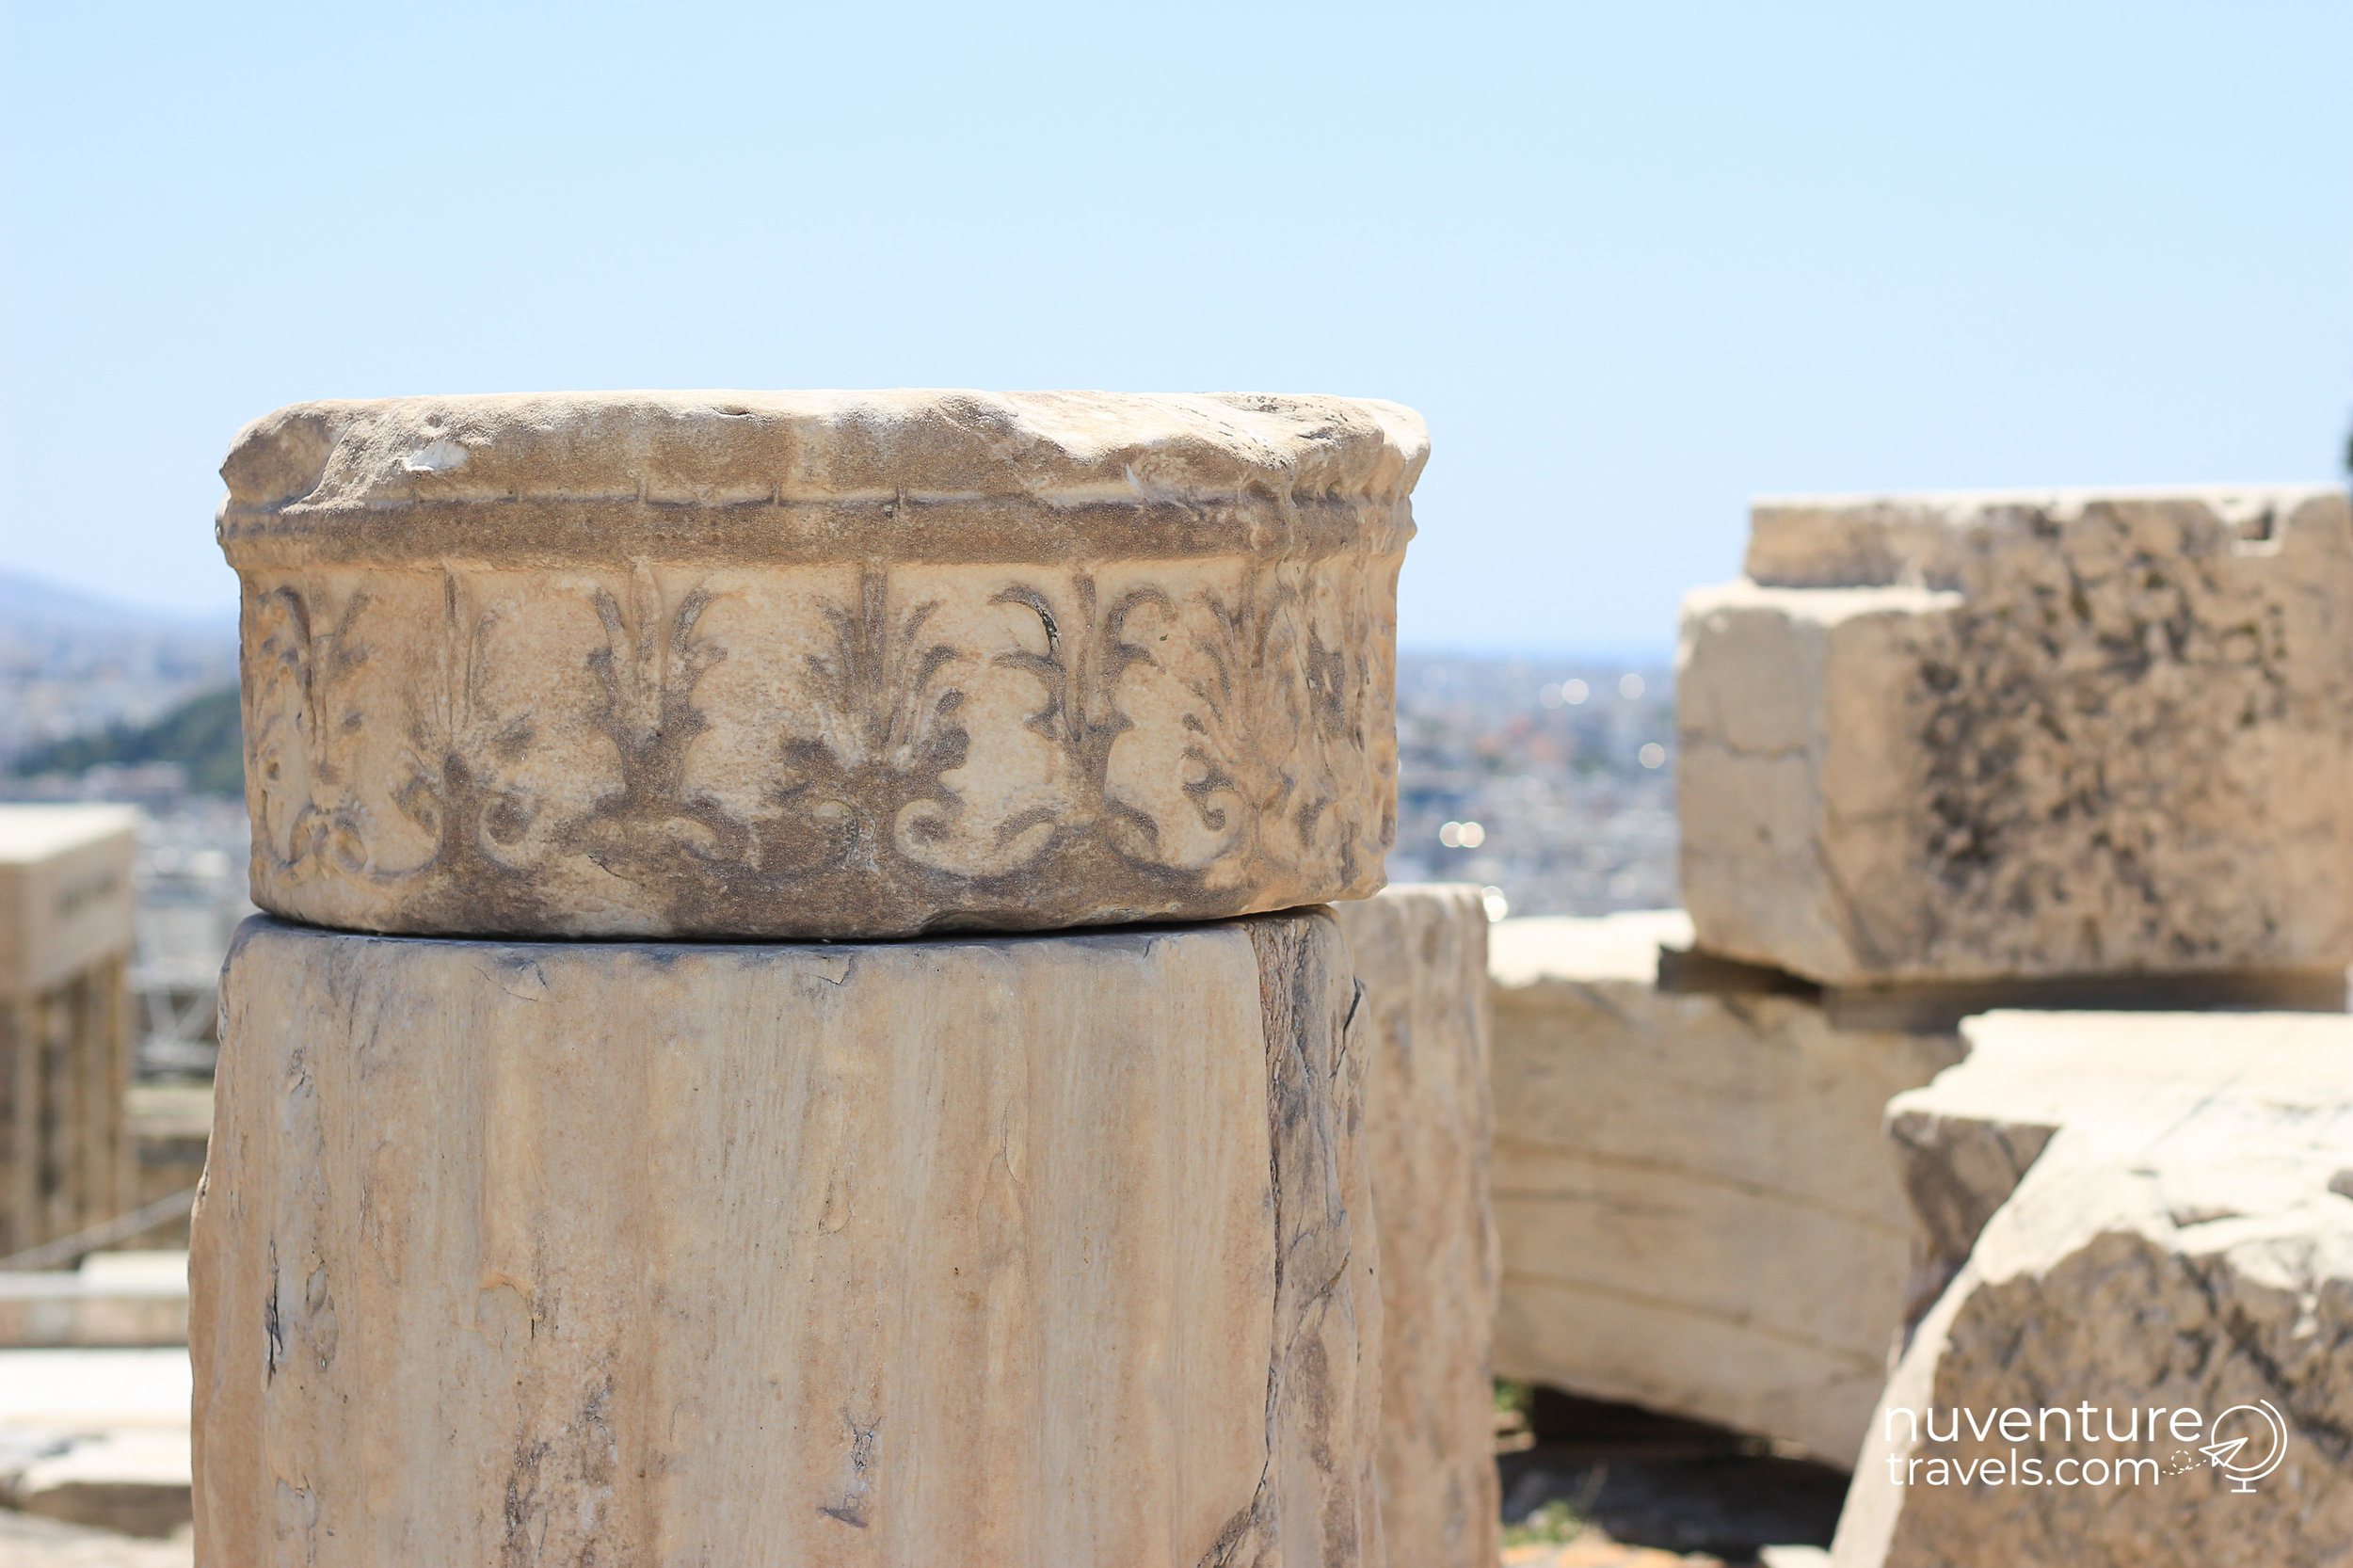
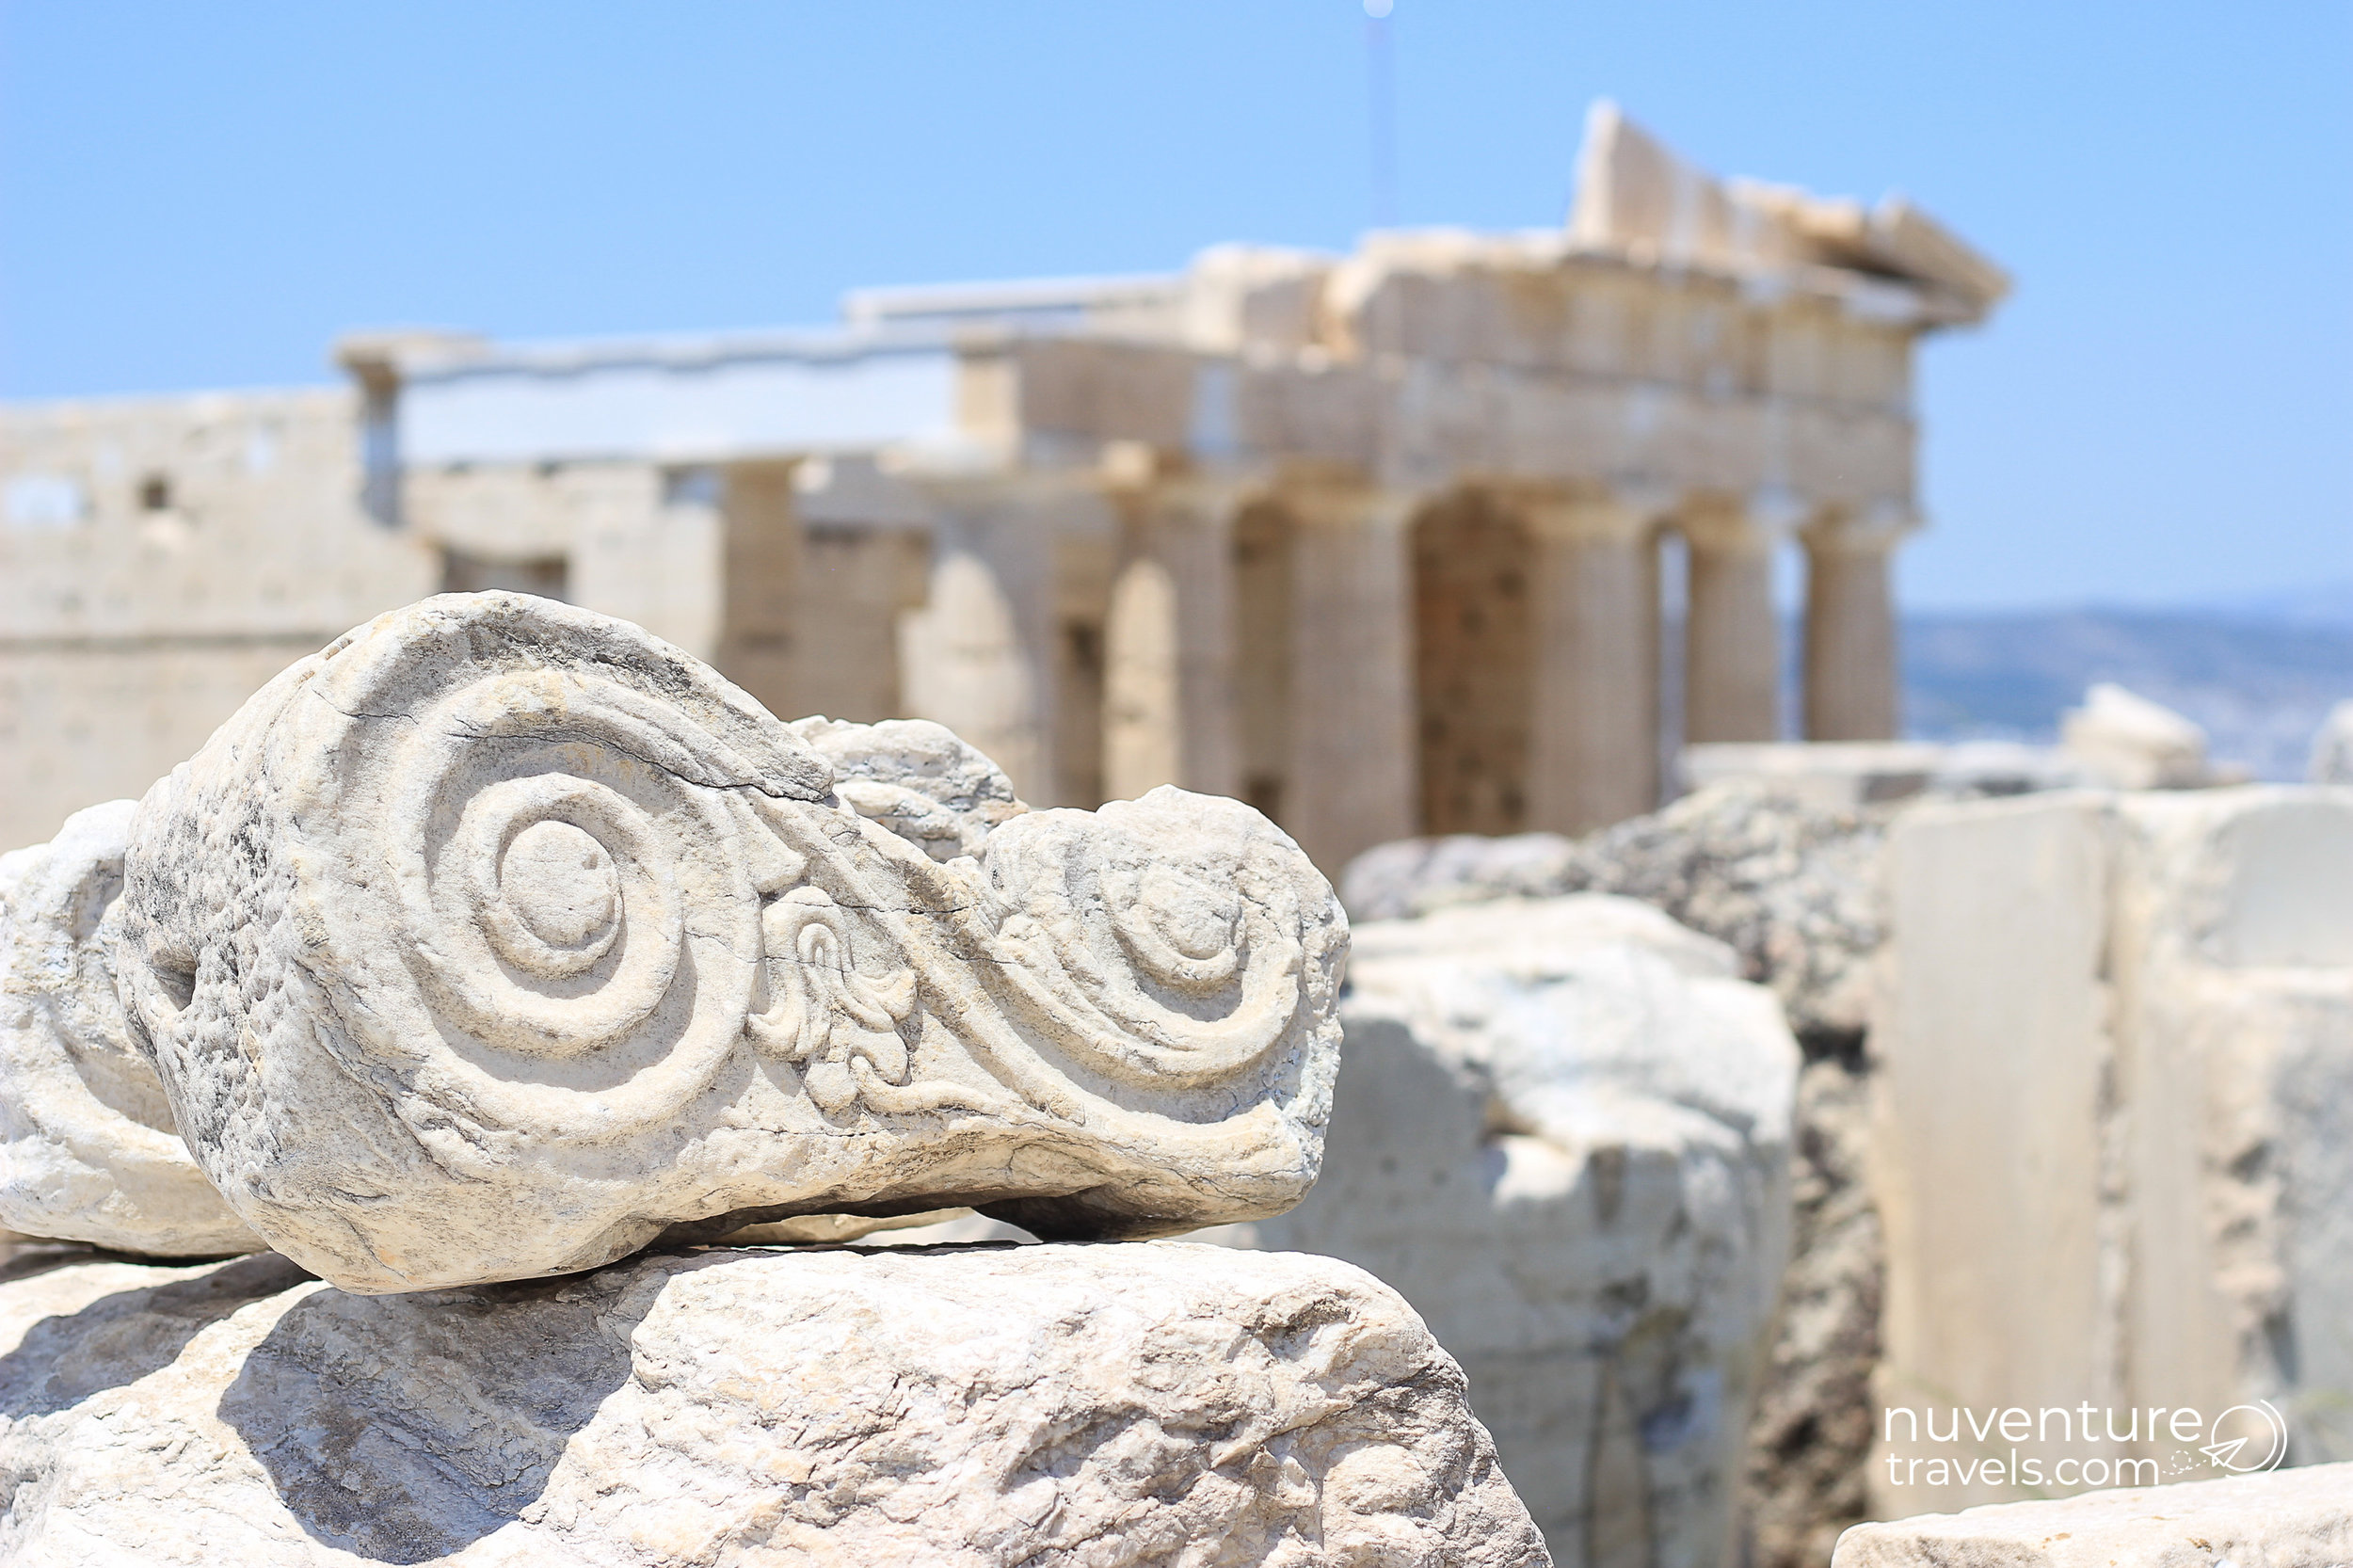
Tour the Acropolis & Parthenon in Photos

2 Comments

Tour the Acropolis & Parthenon in Photos

Tour the Acropolis and Parthenon in Photos

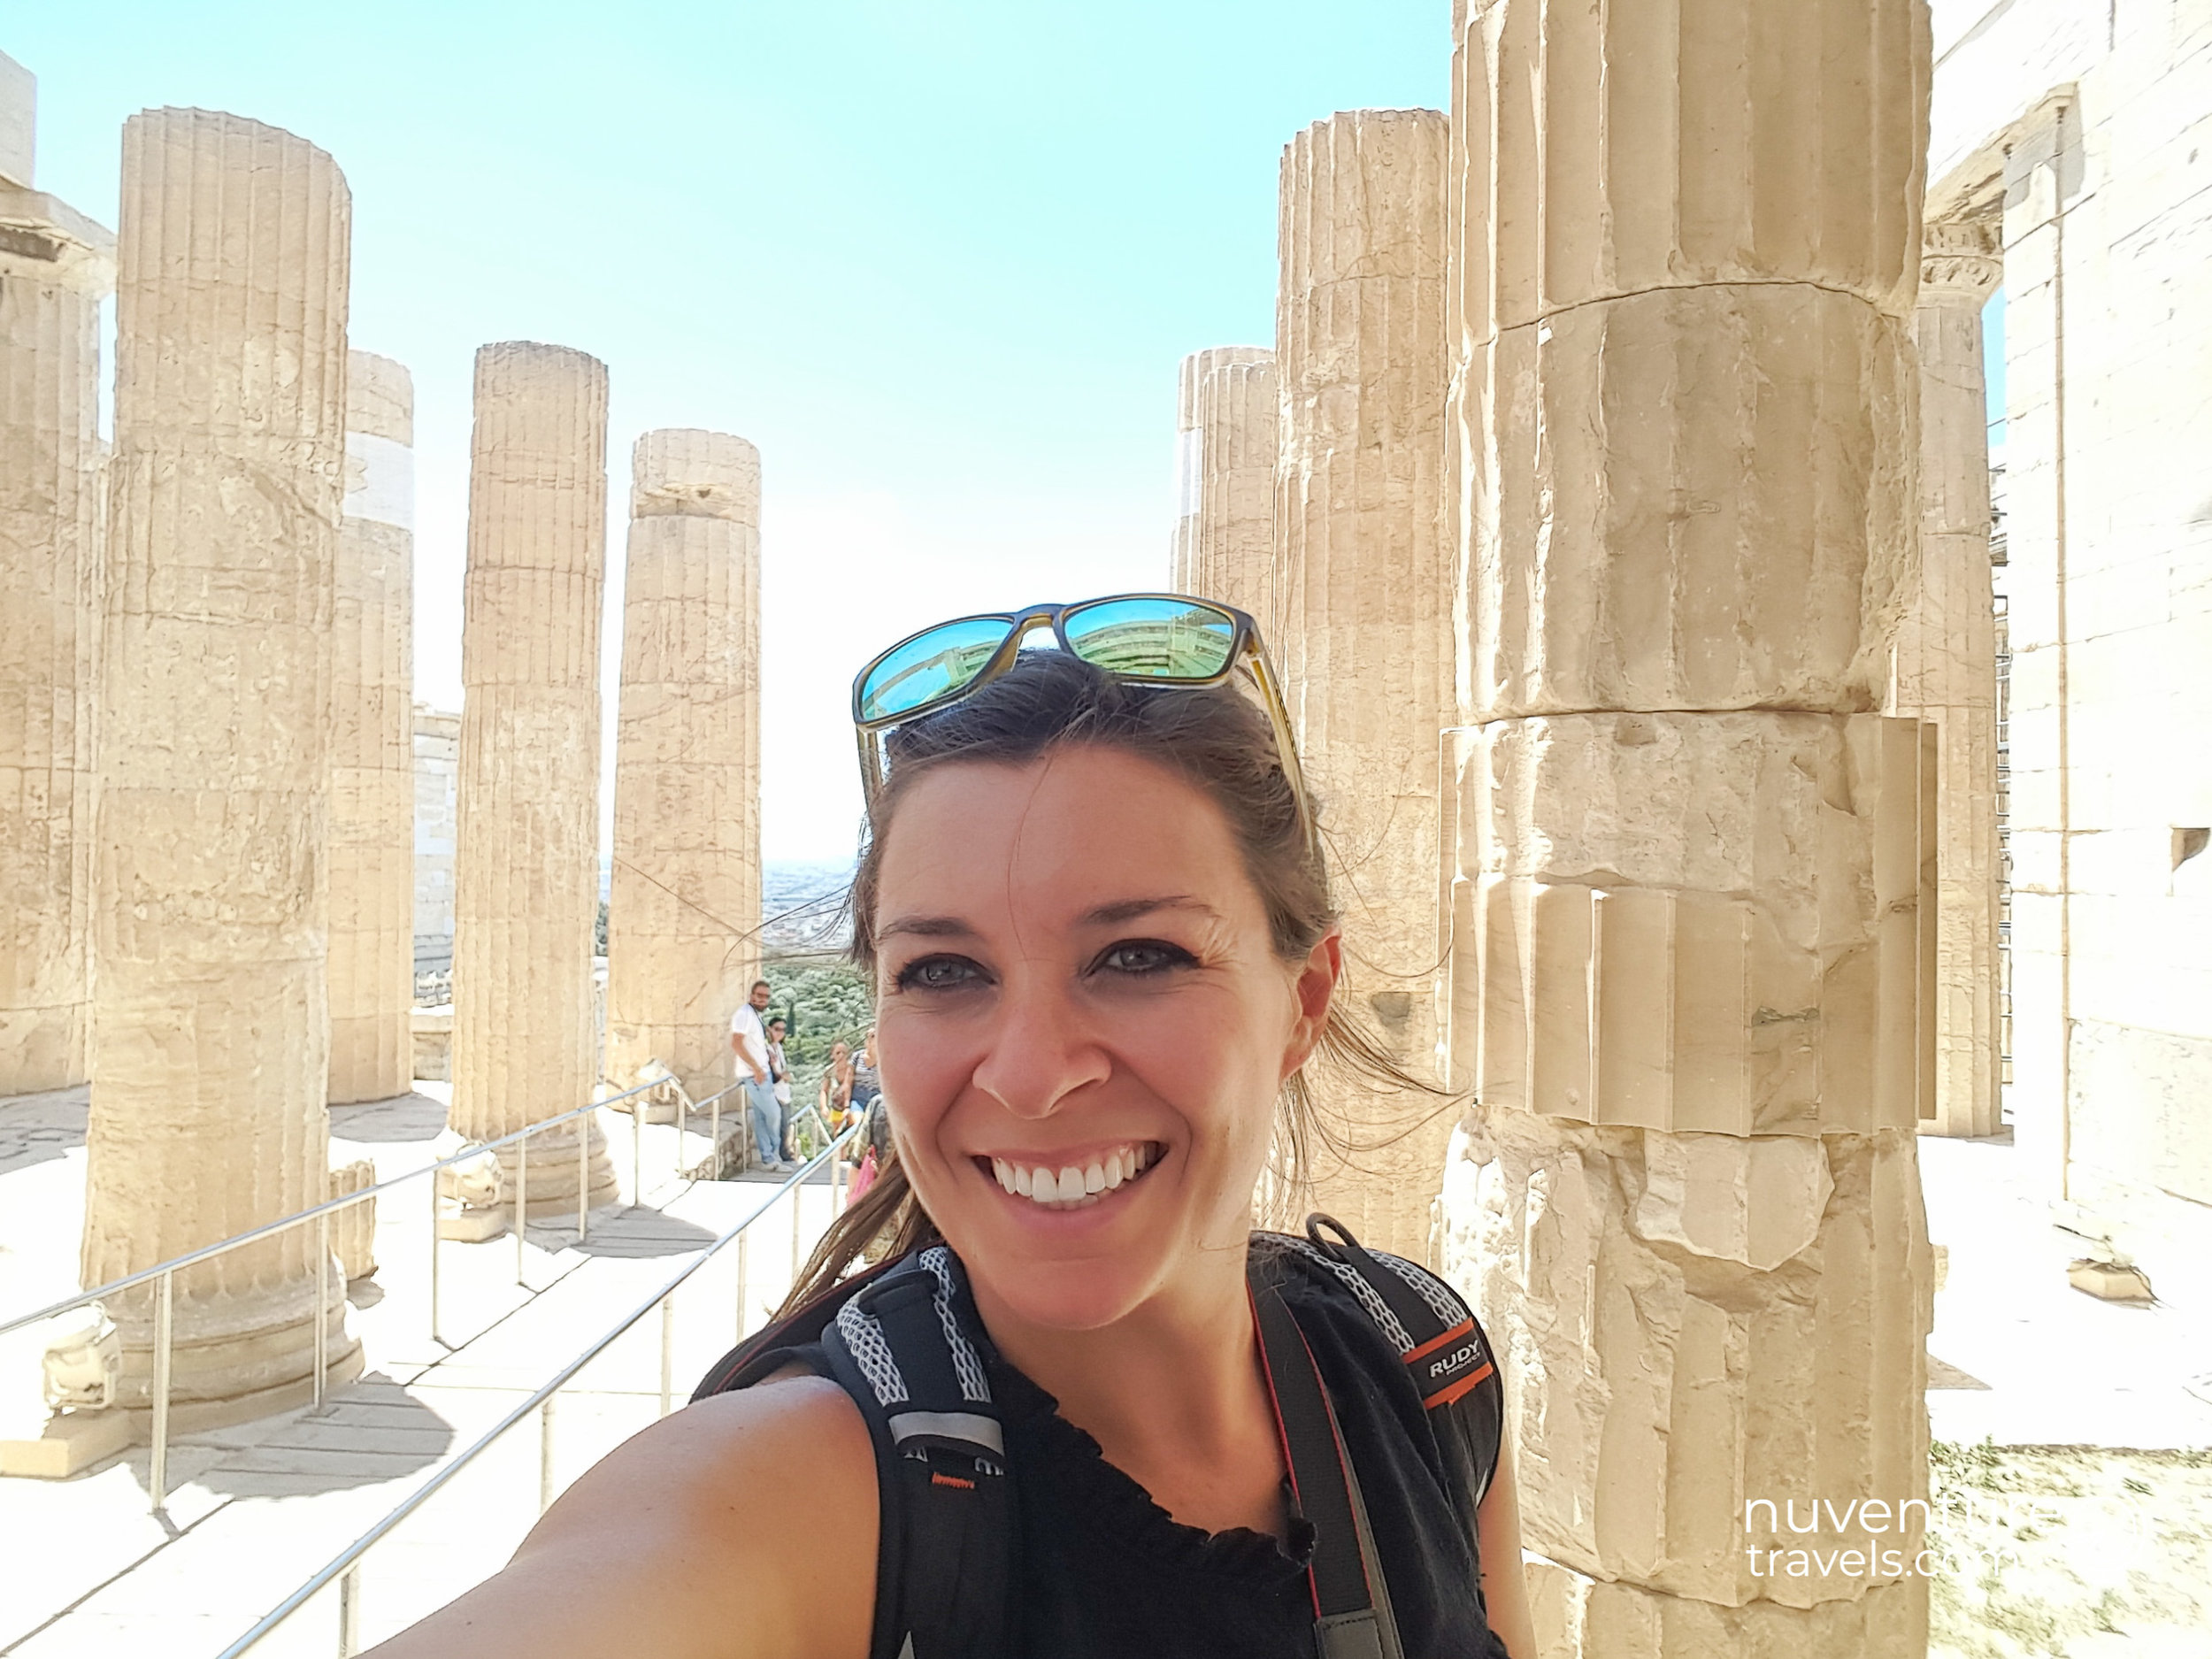
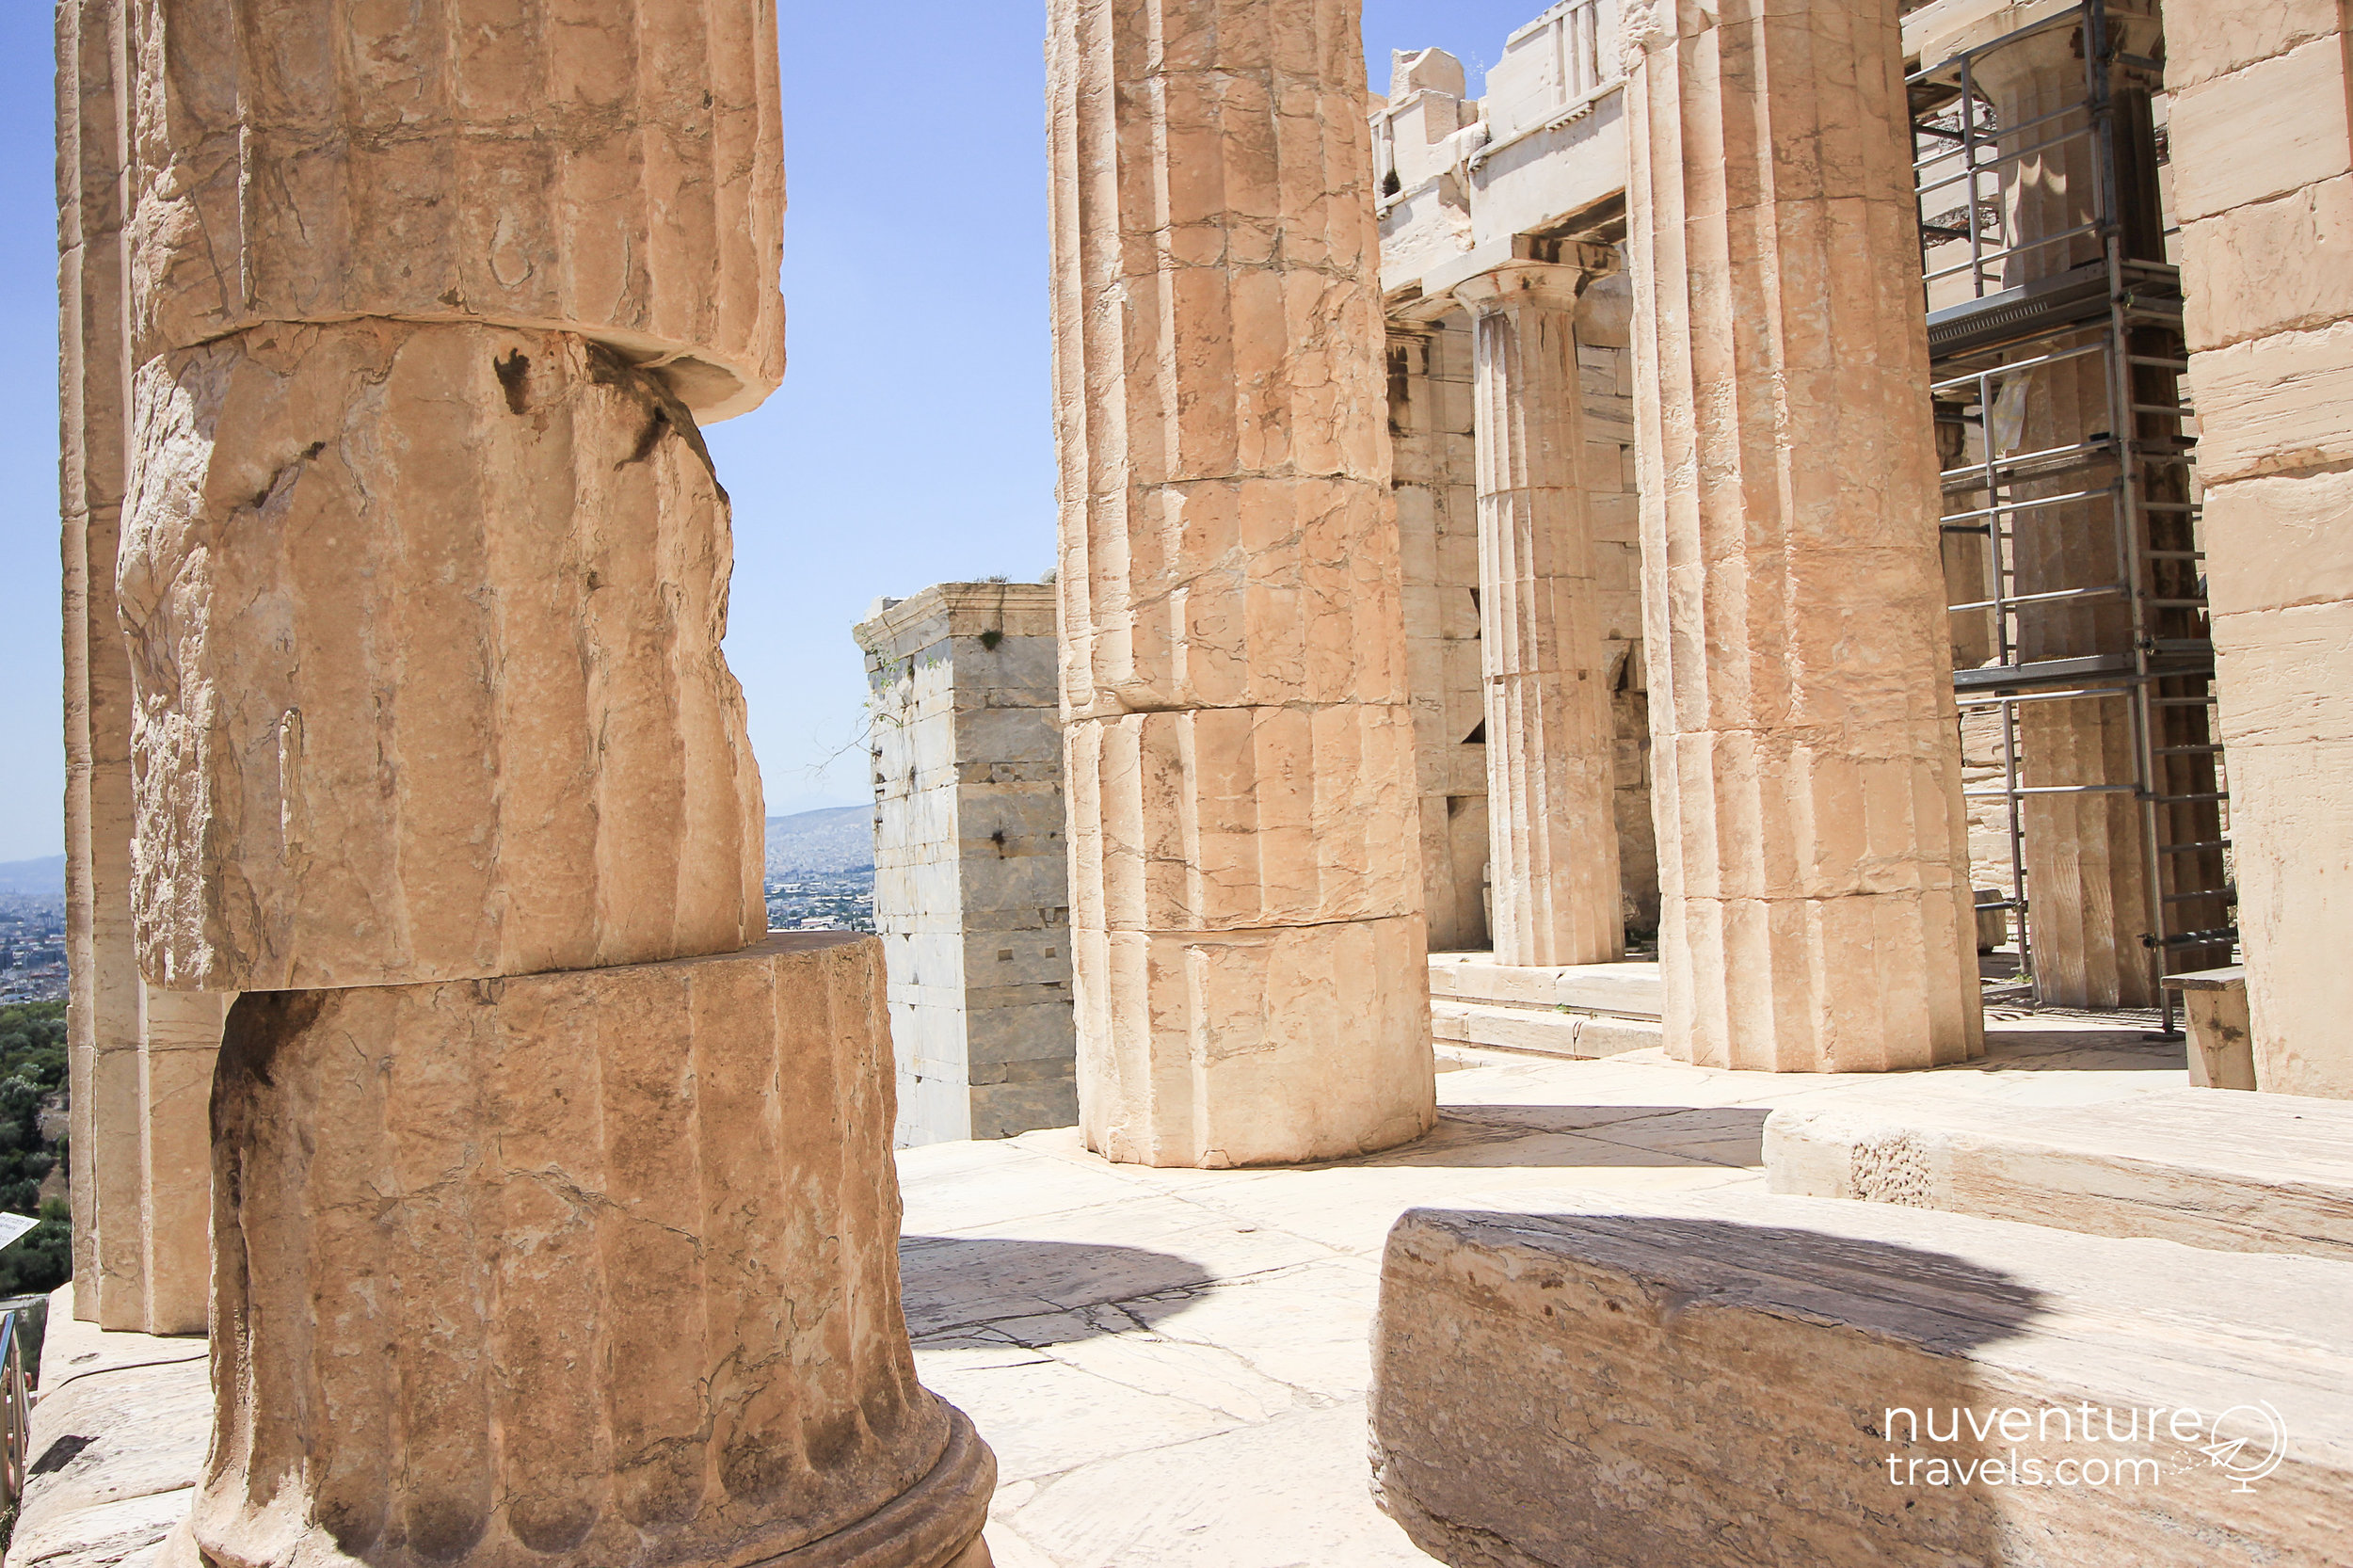
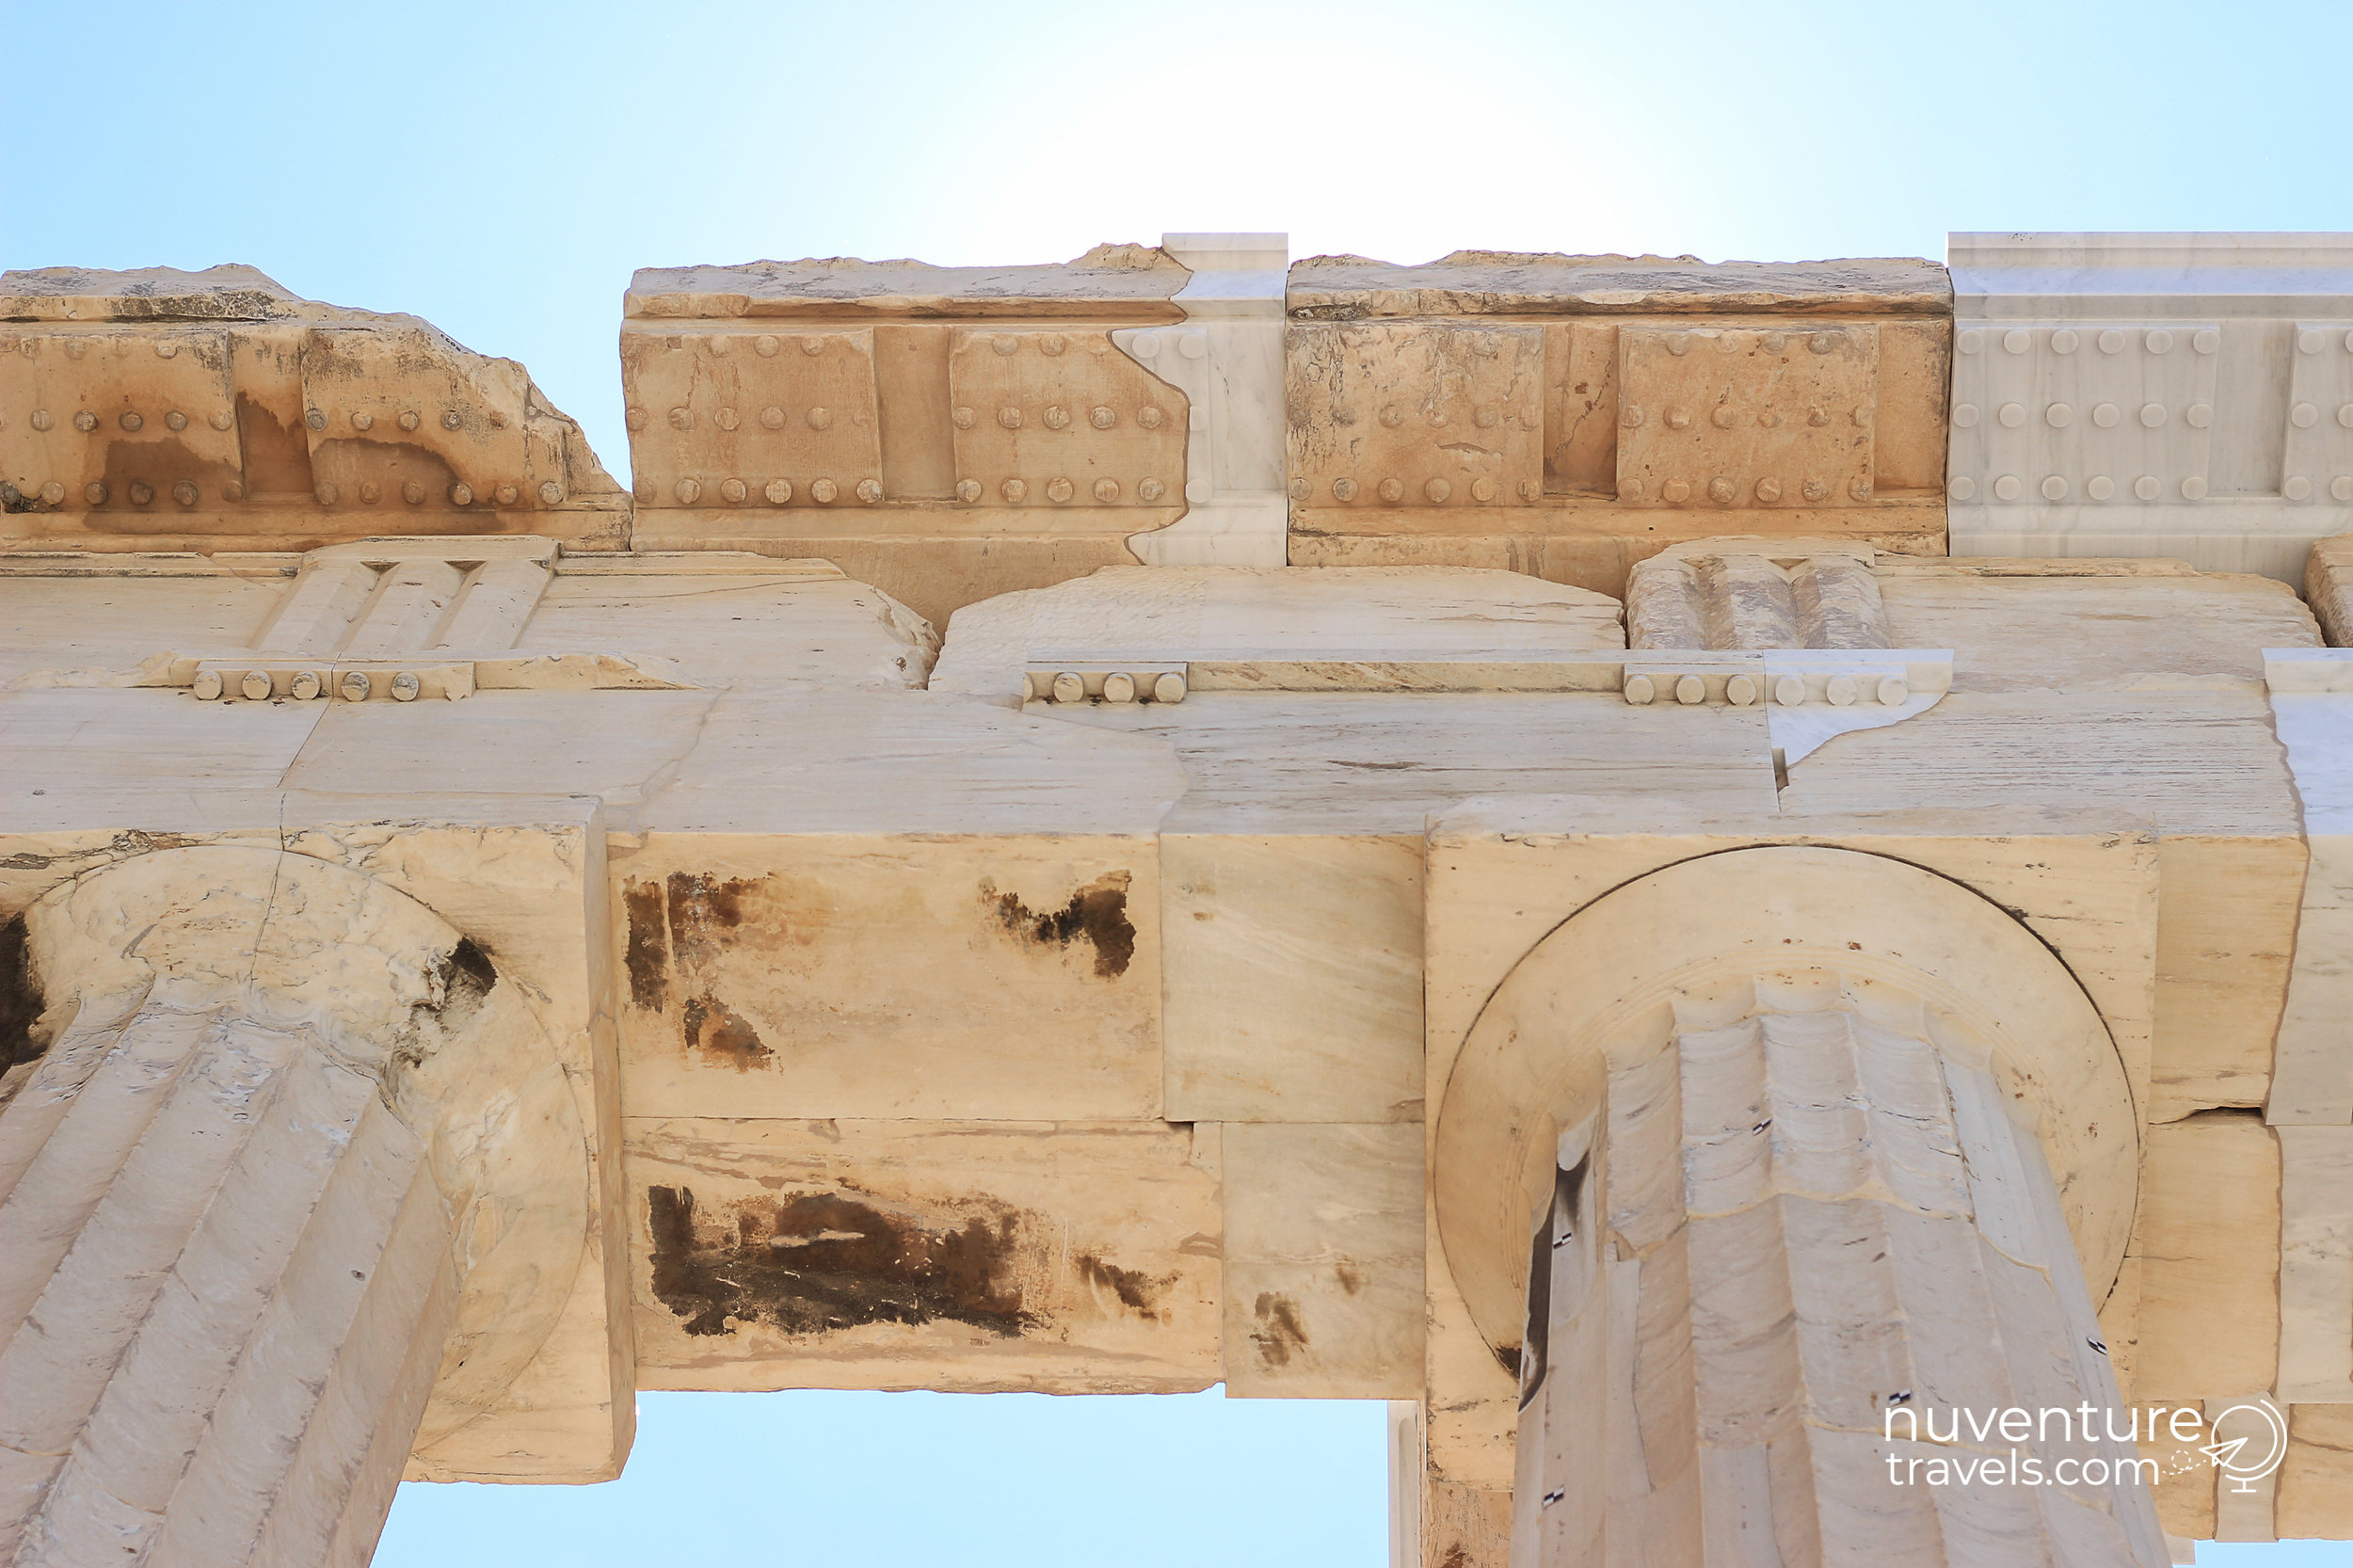
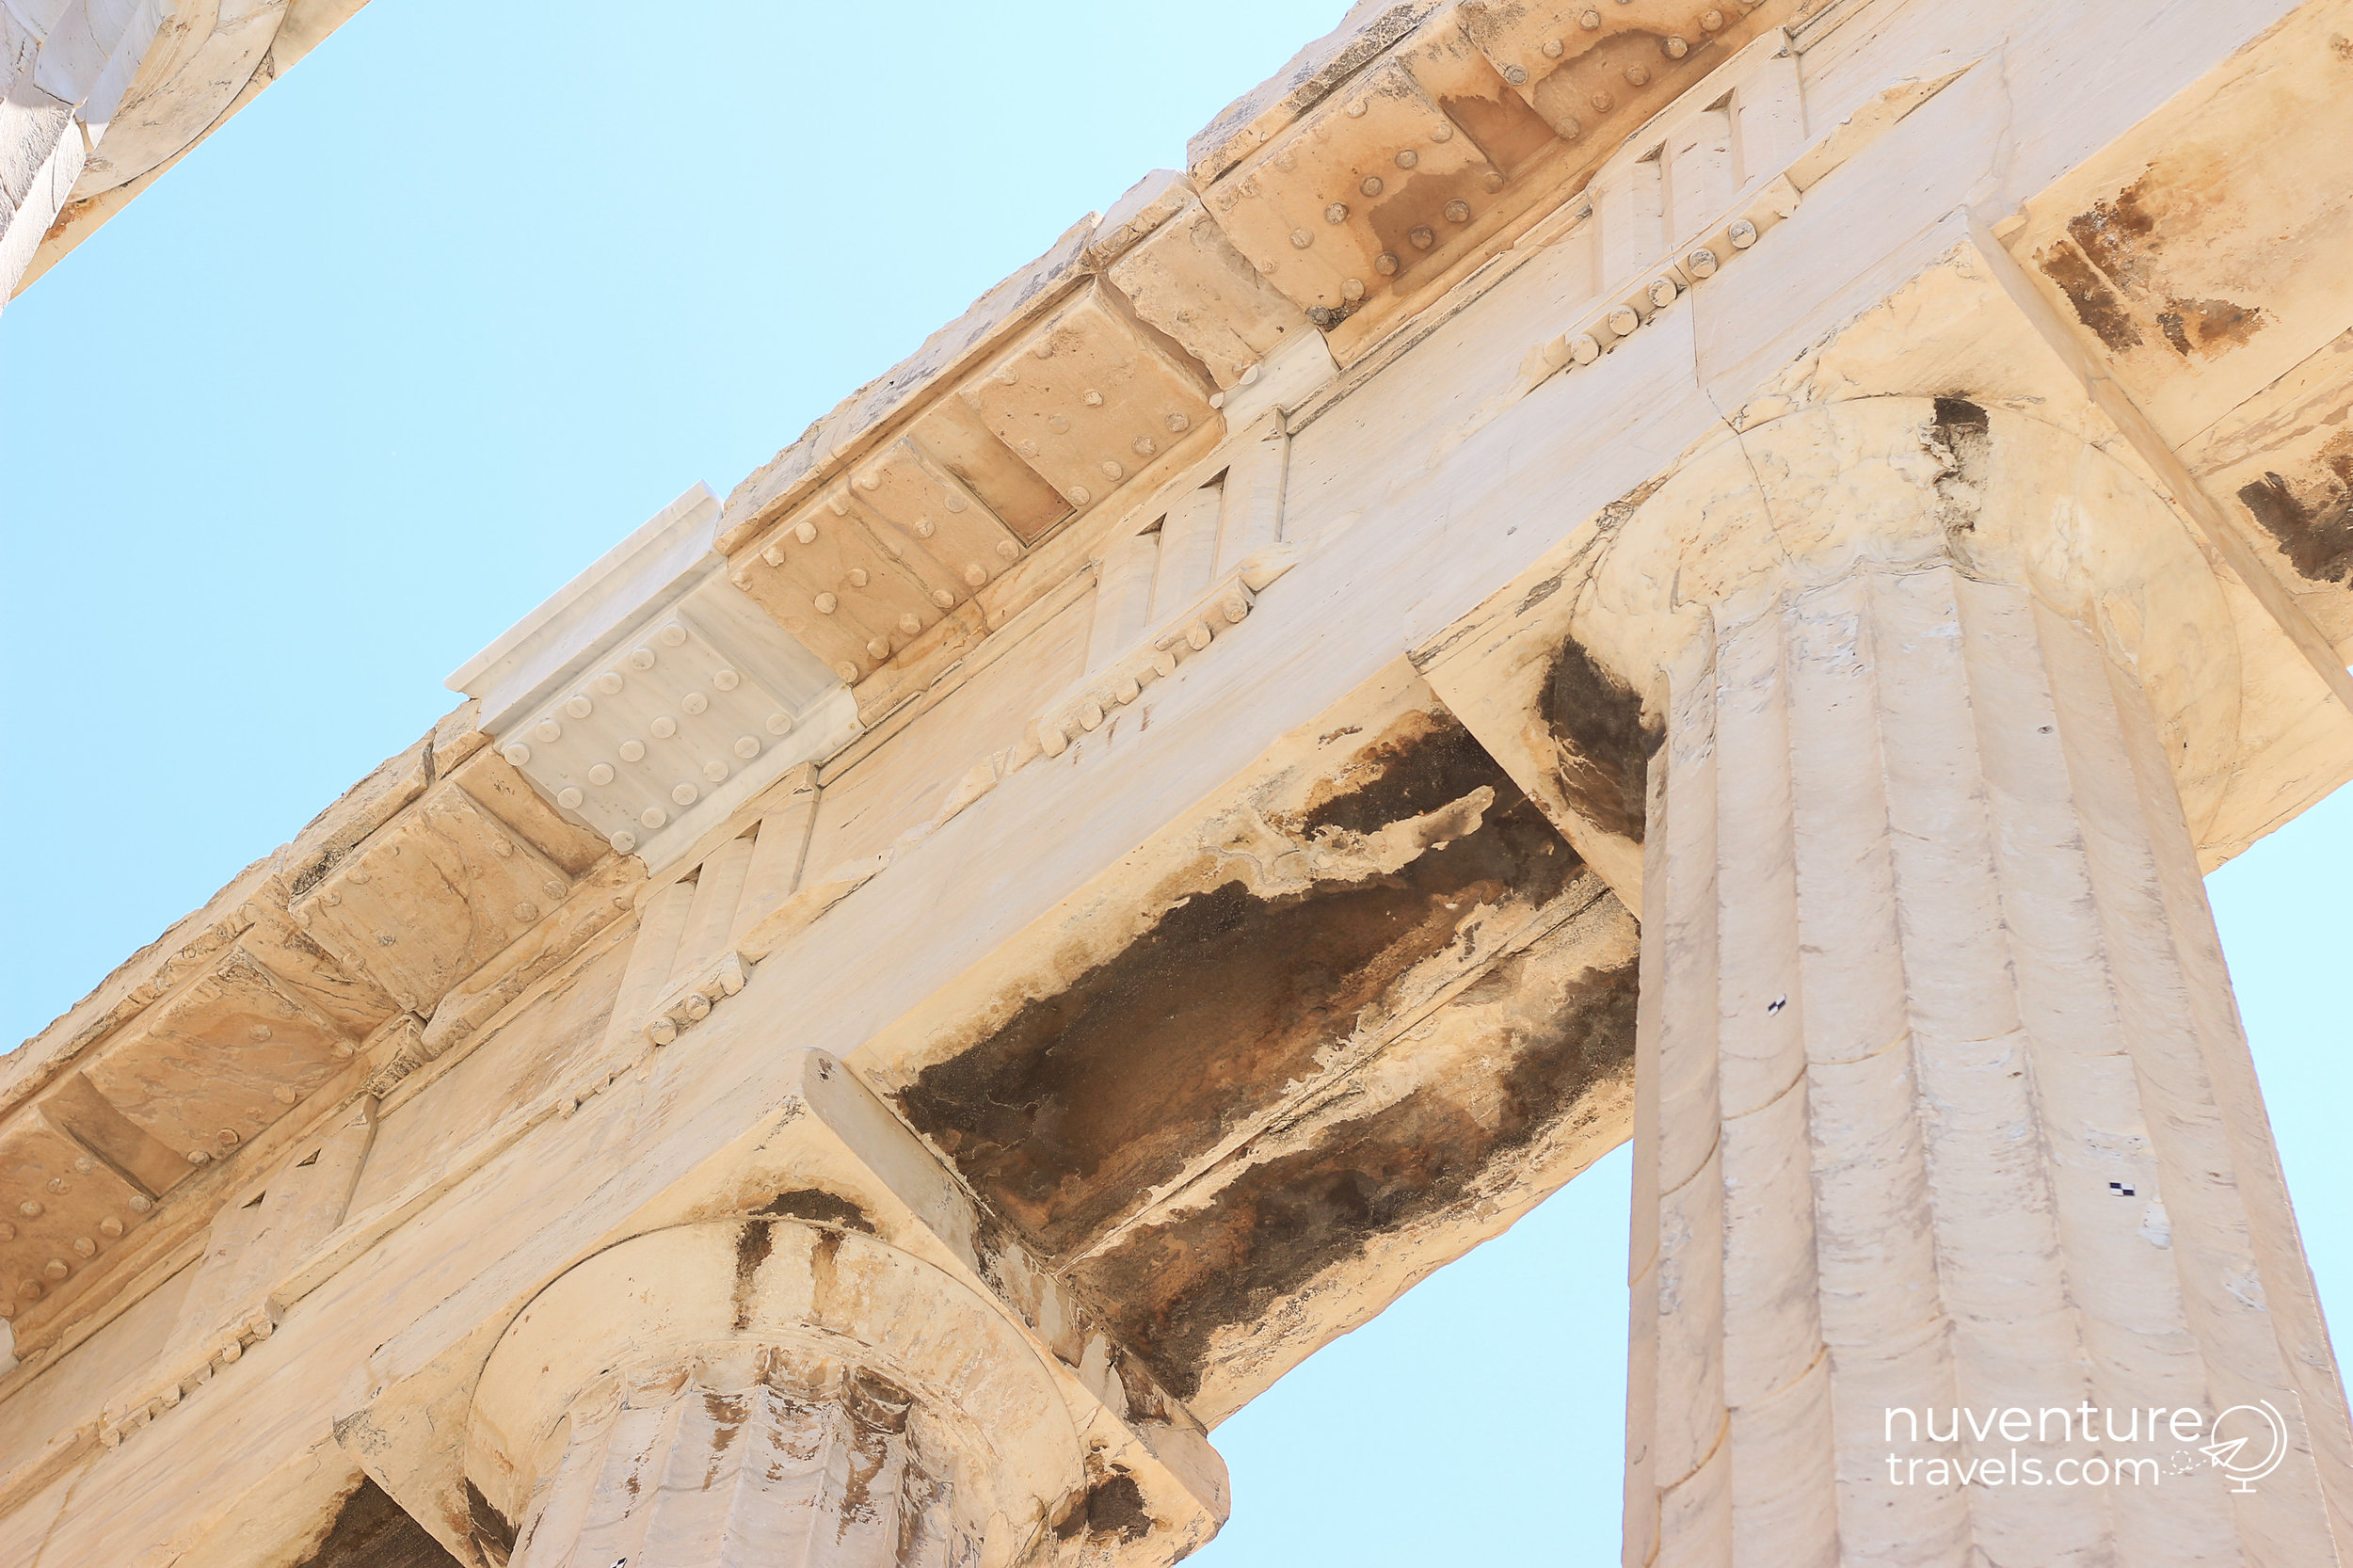
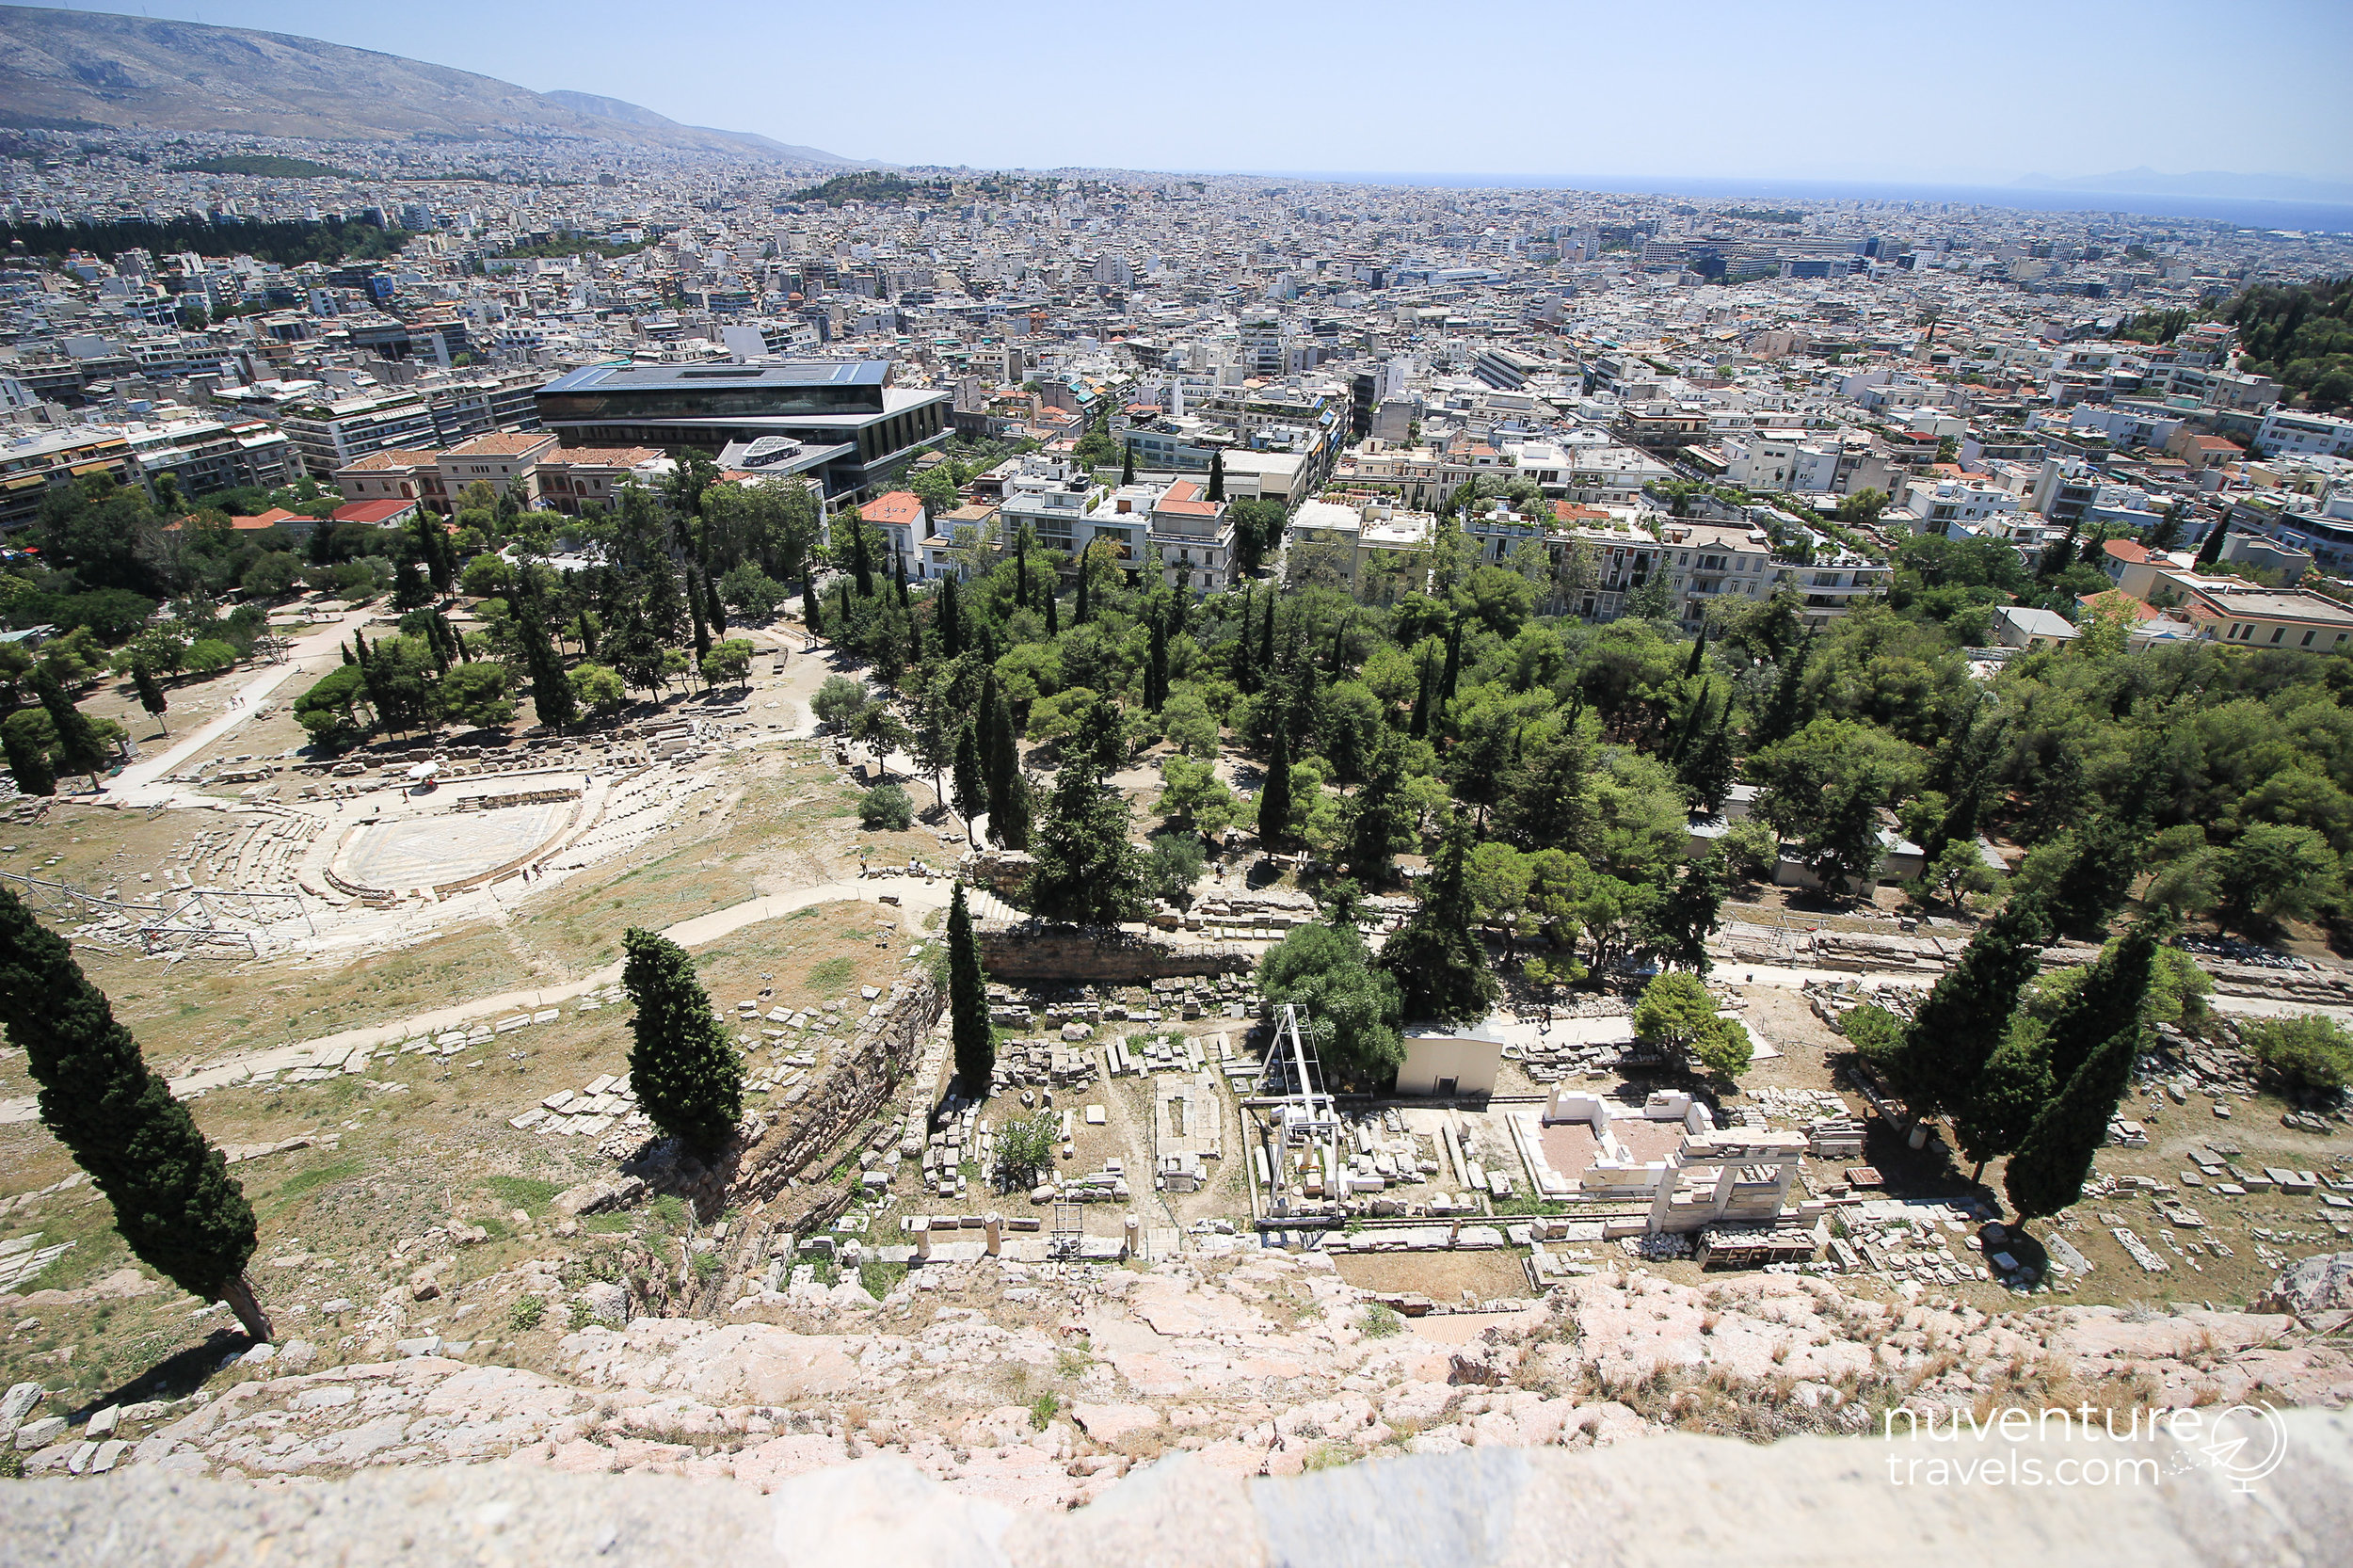
Want to see Acropolis and the Parthenon up close before visiting?

Let's take a tour together through my photo journal! 

Before you visit in person, check out my packing list (I forgot a lot of must have things) and tips I suggest before you go.

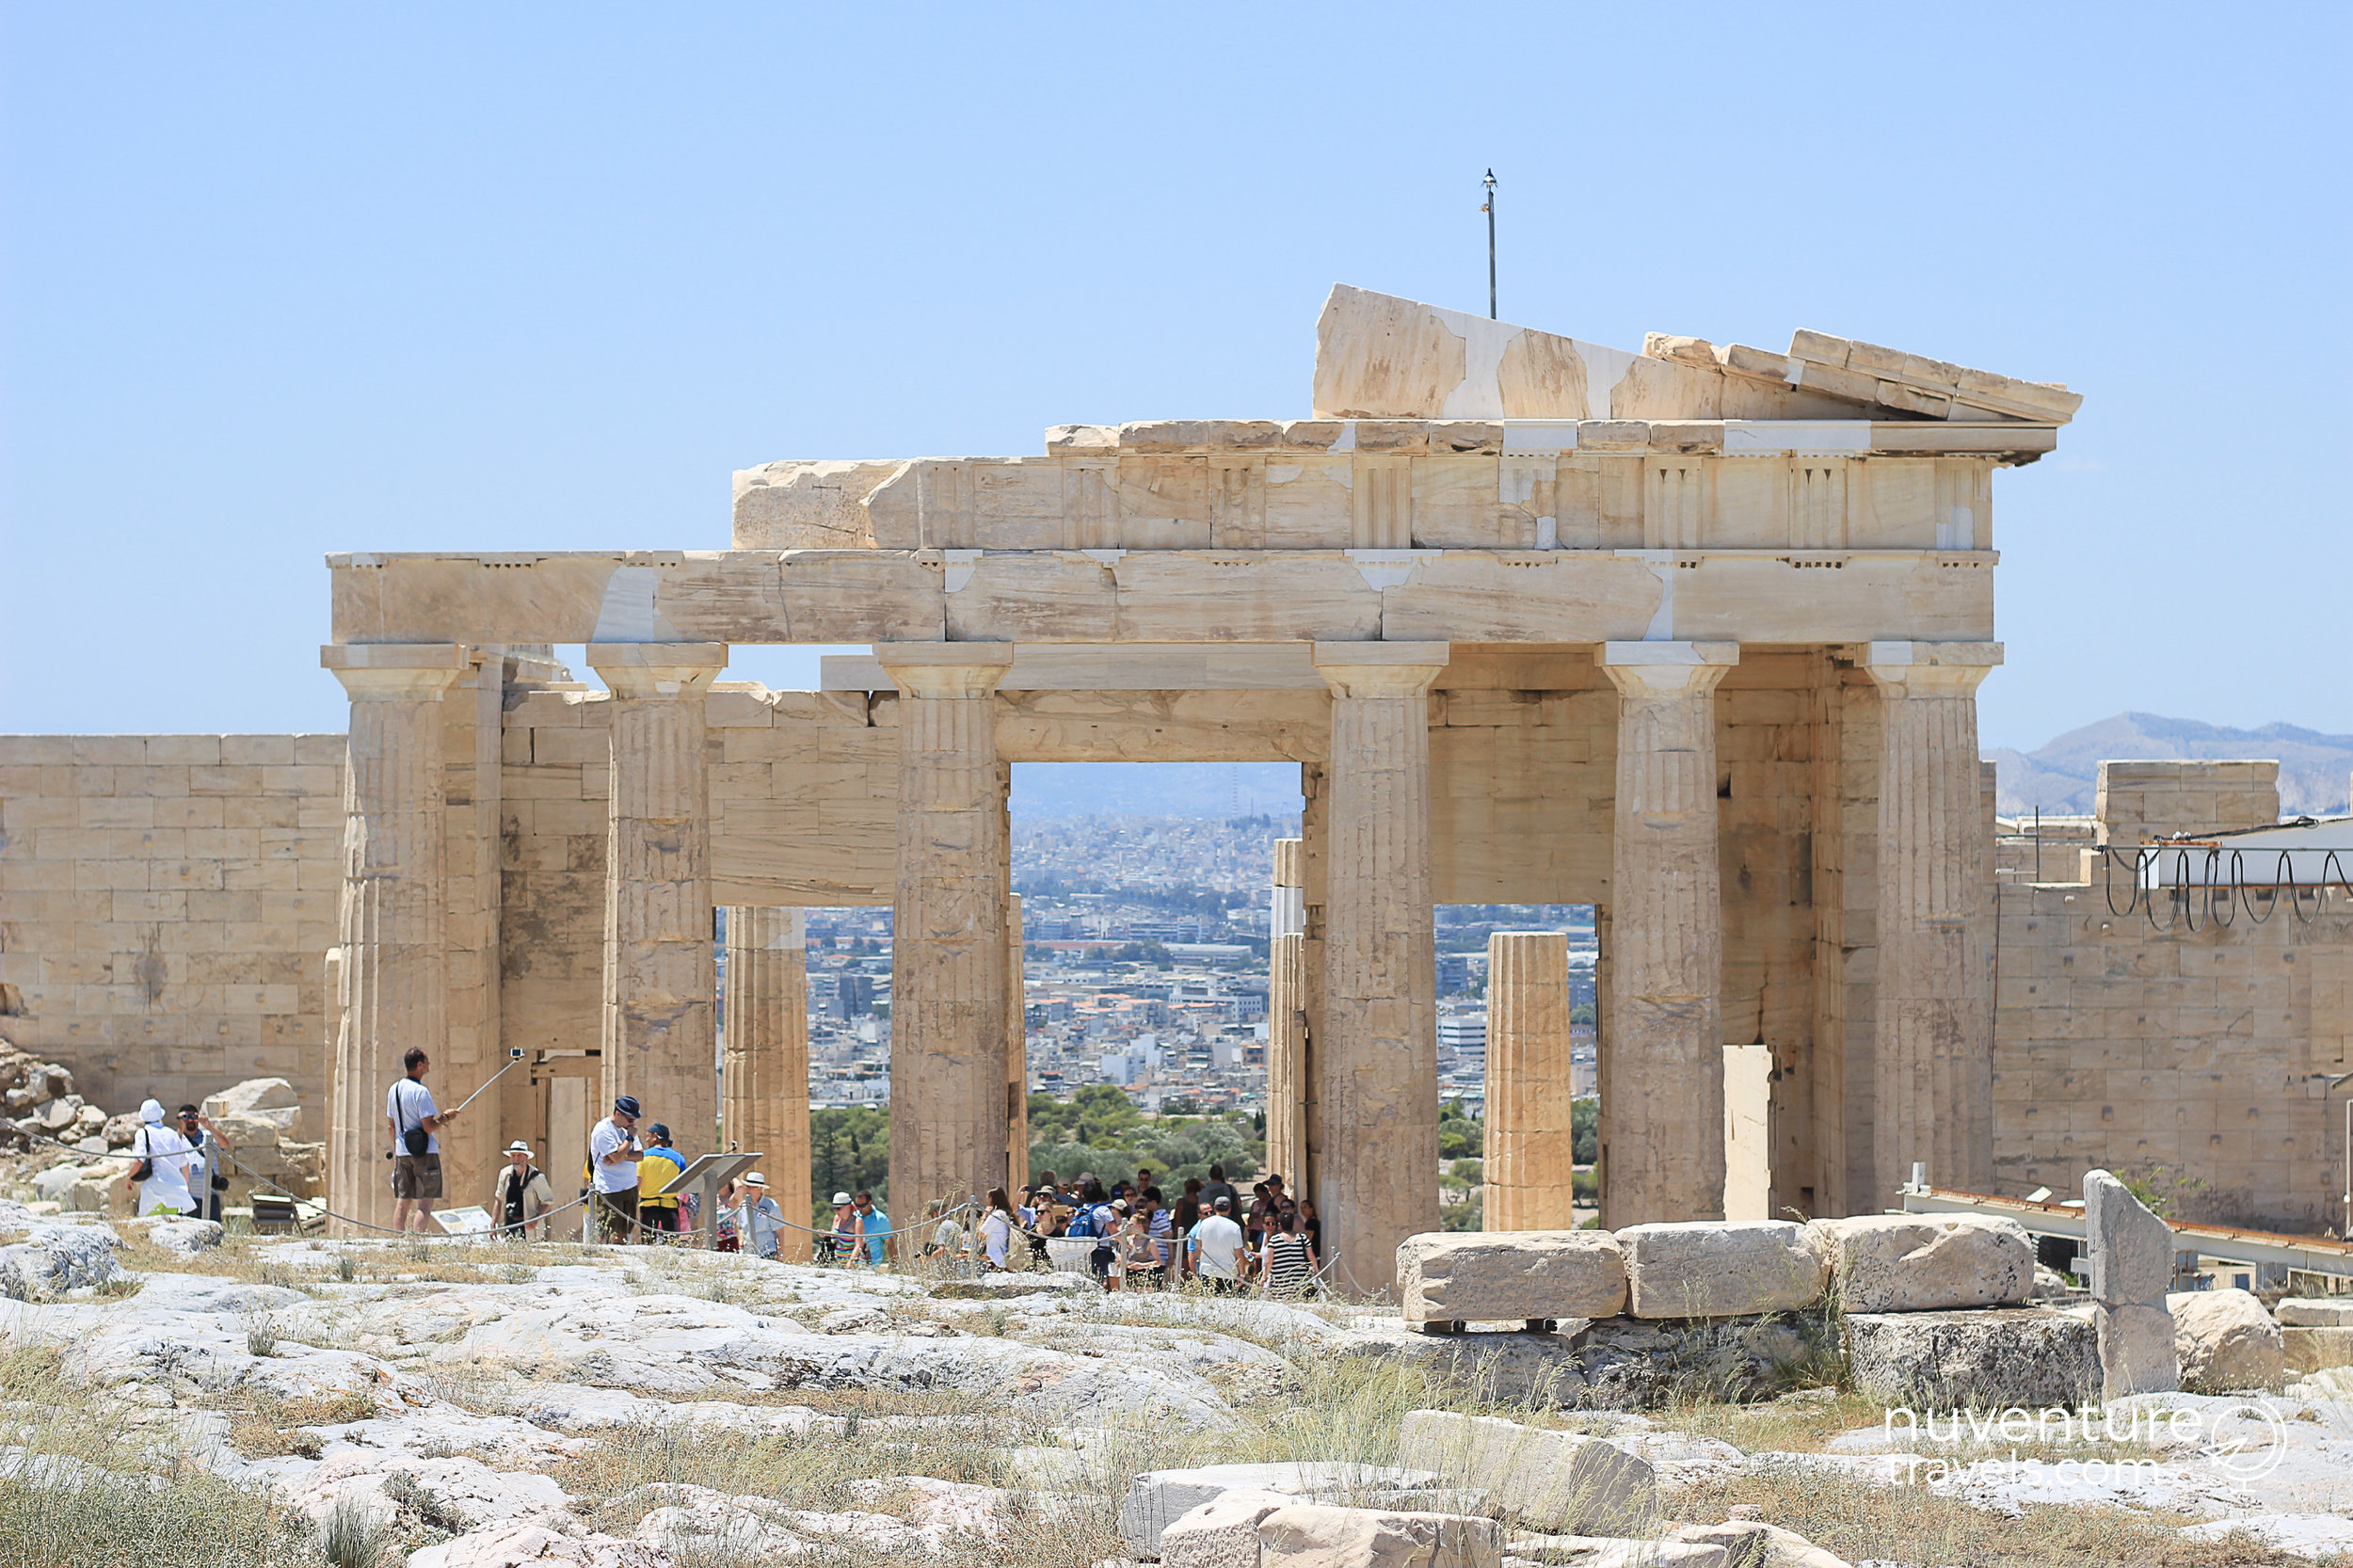
Back to this photo journey, you'll see:

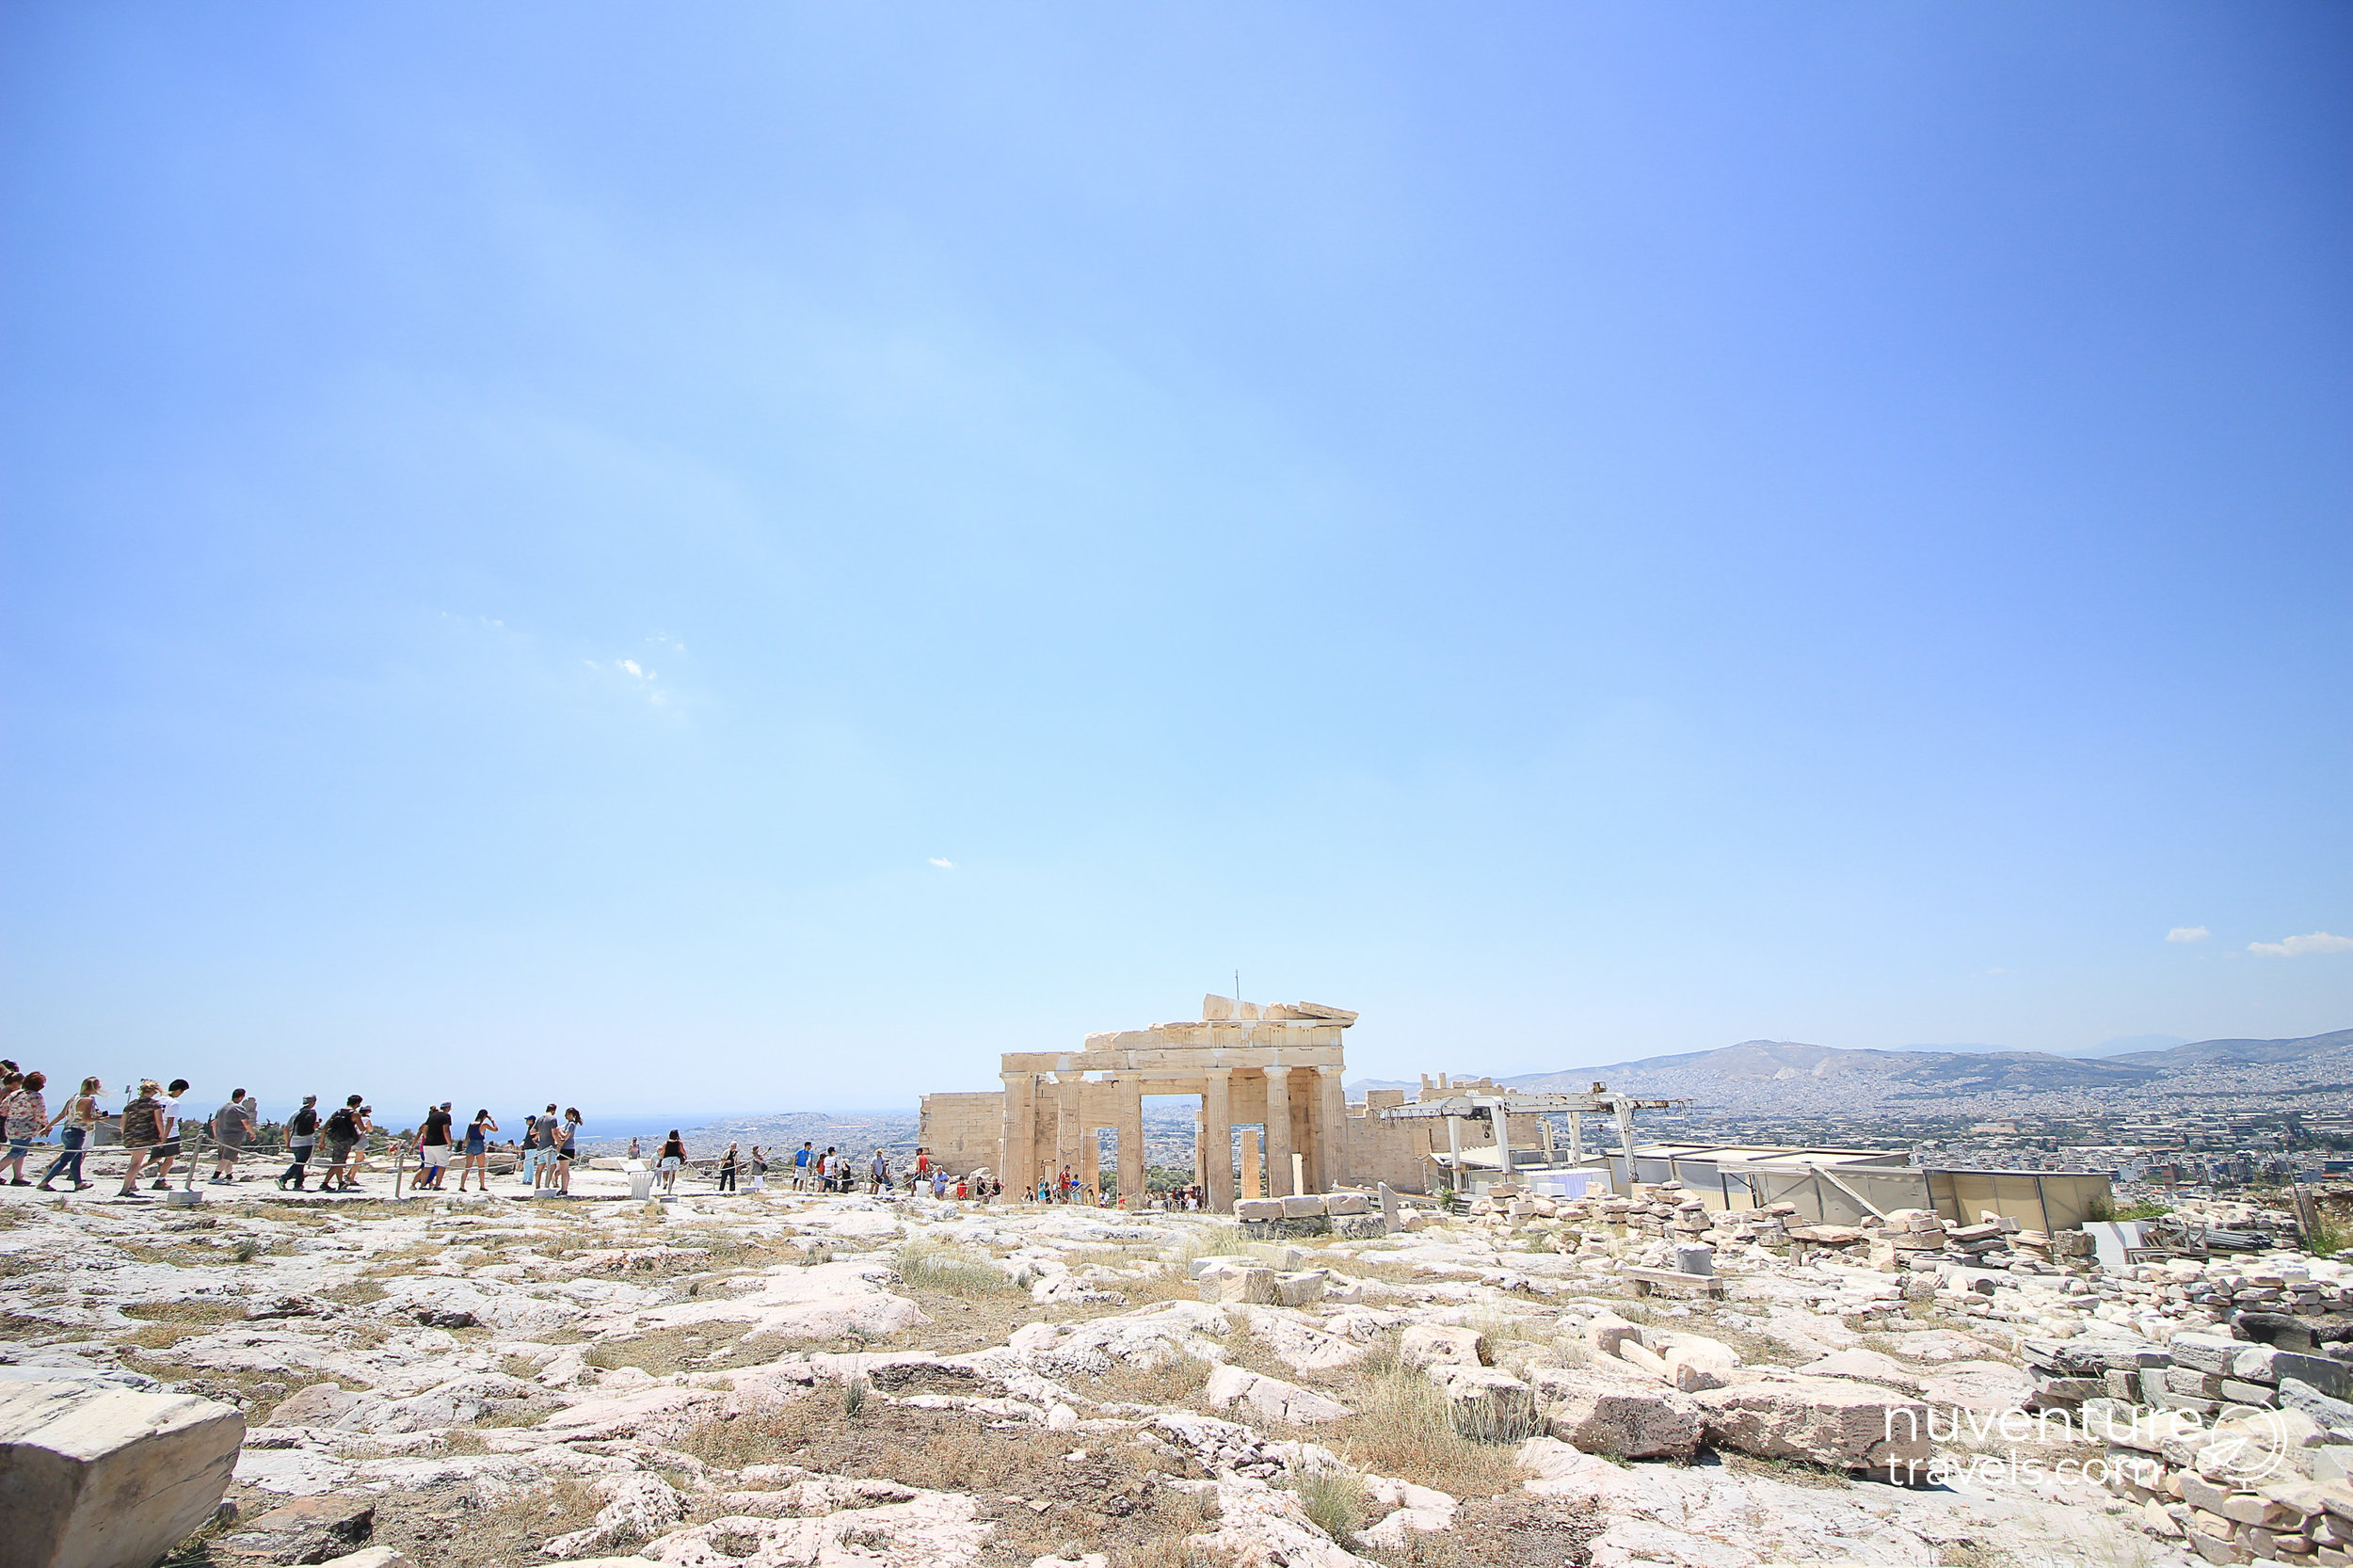
  1. Your approach to Acropolis hill

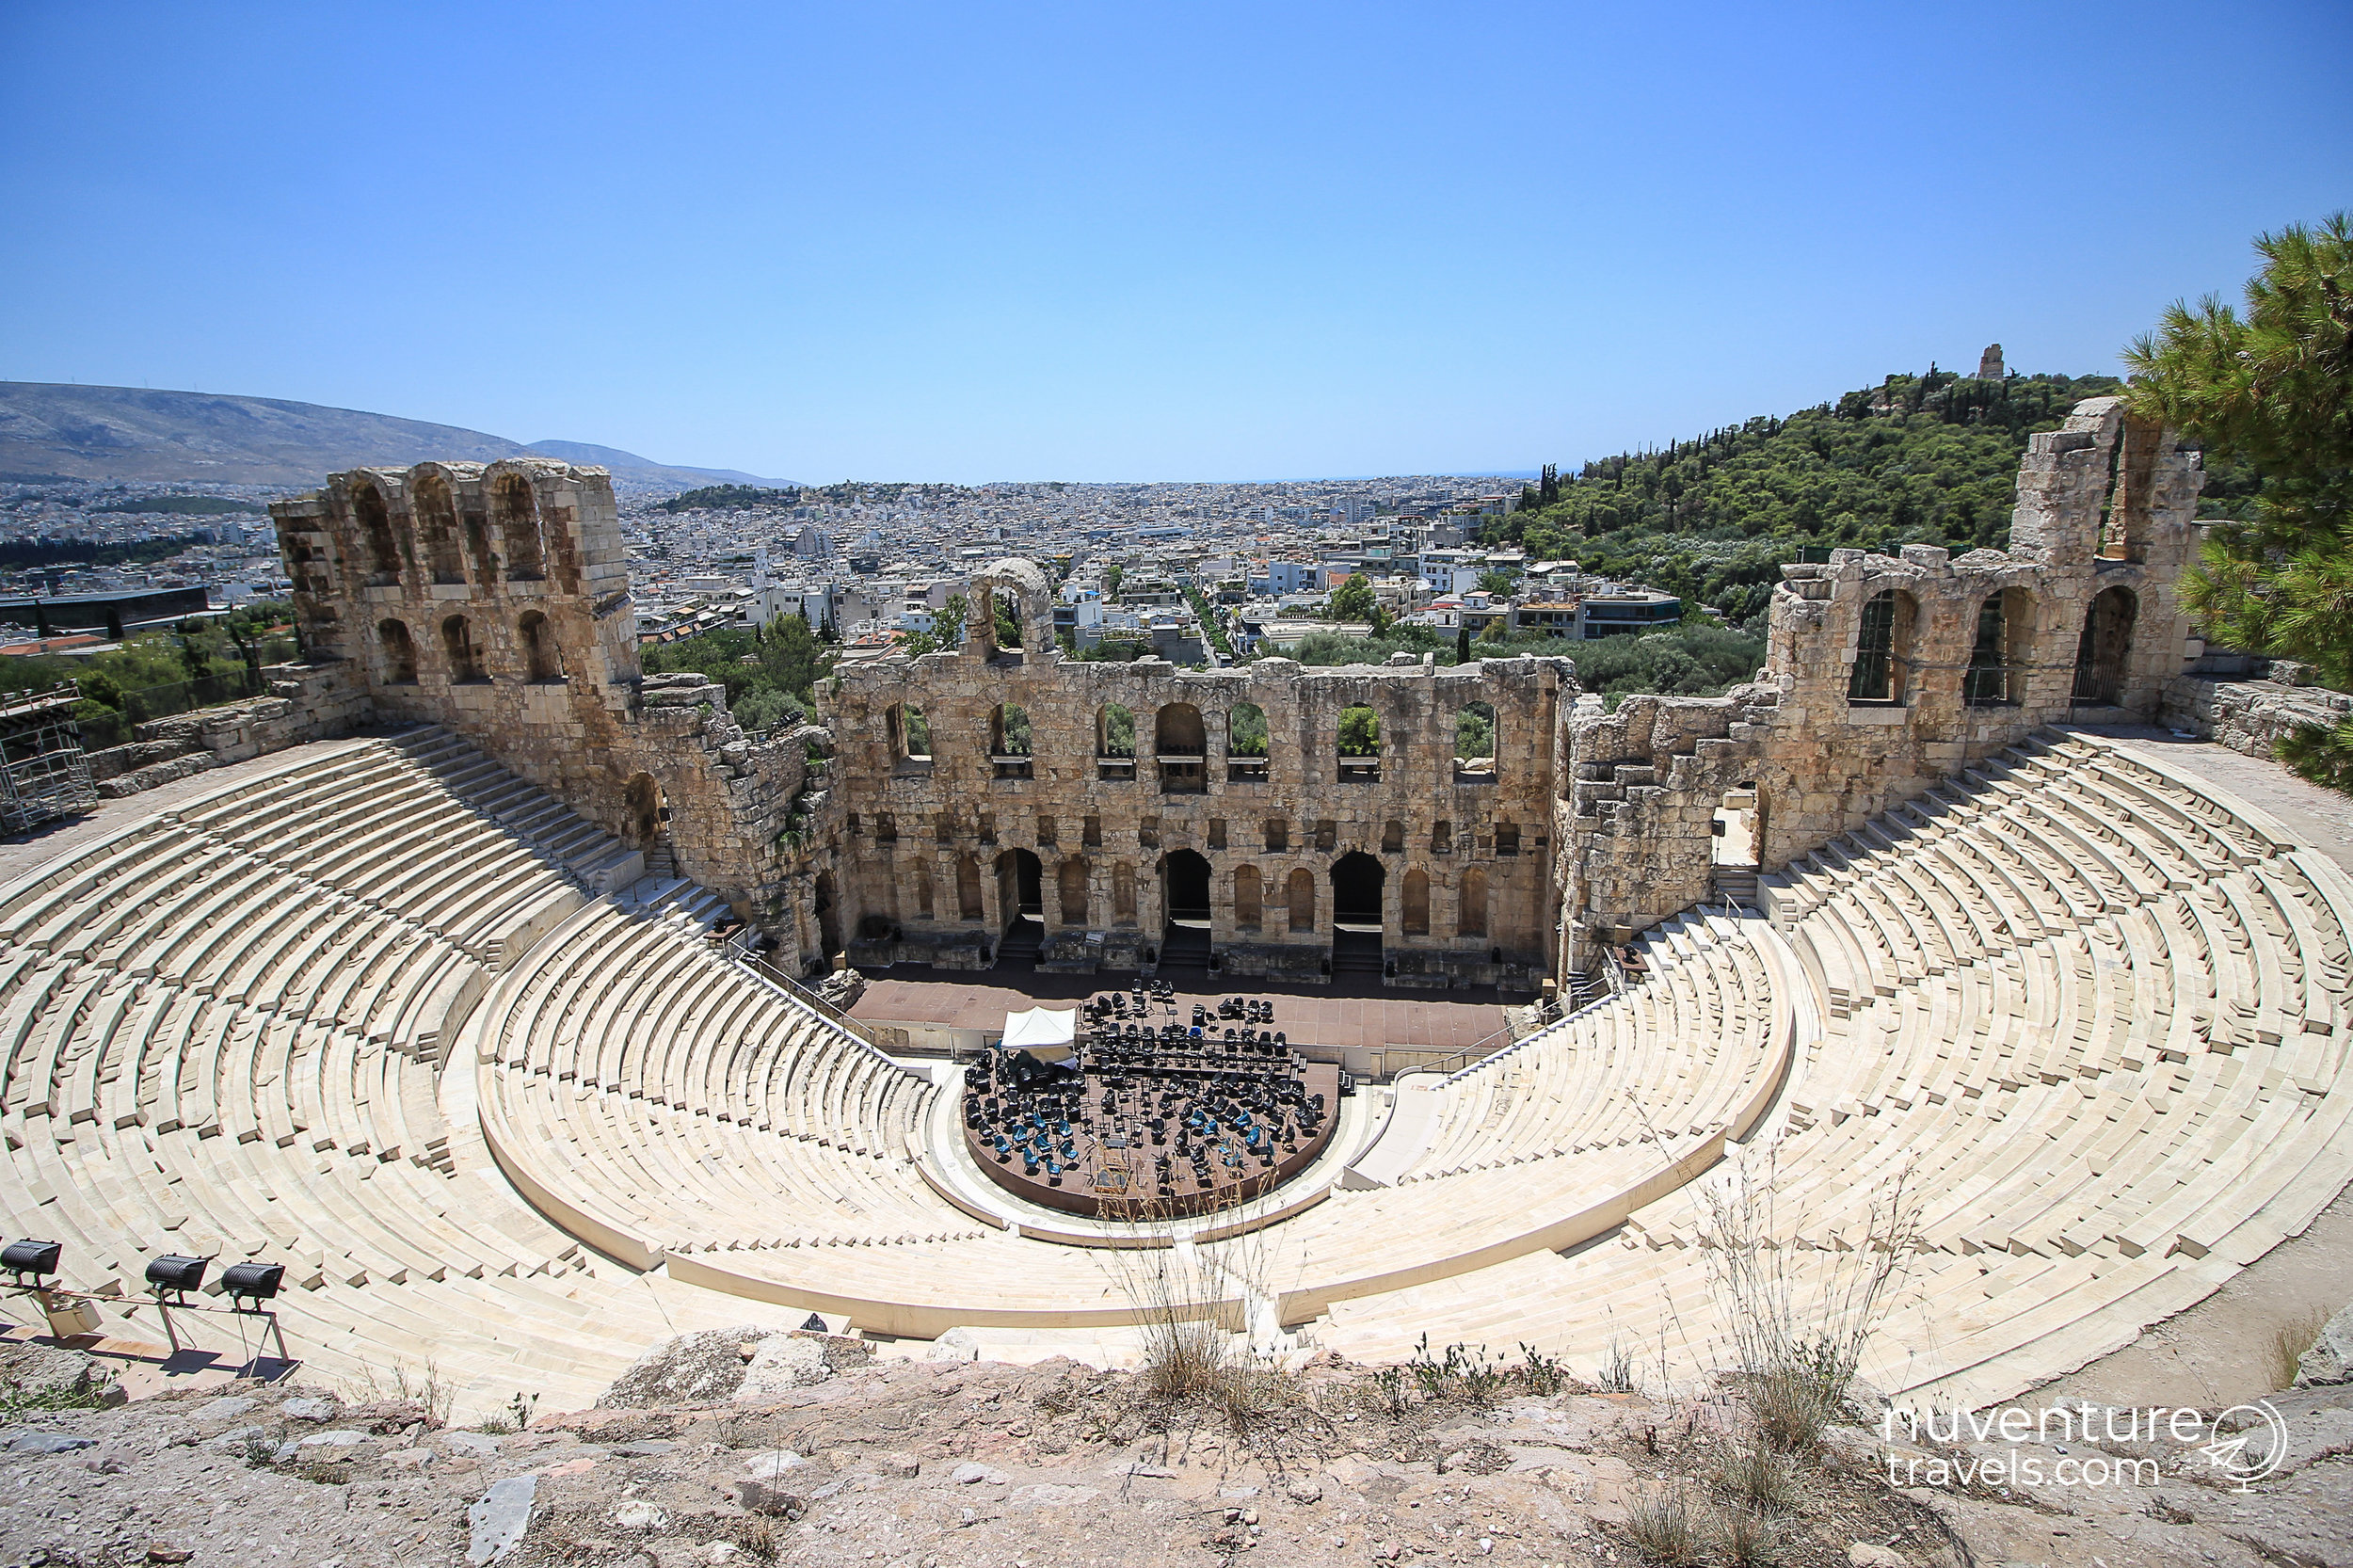
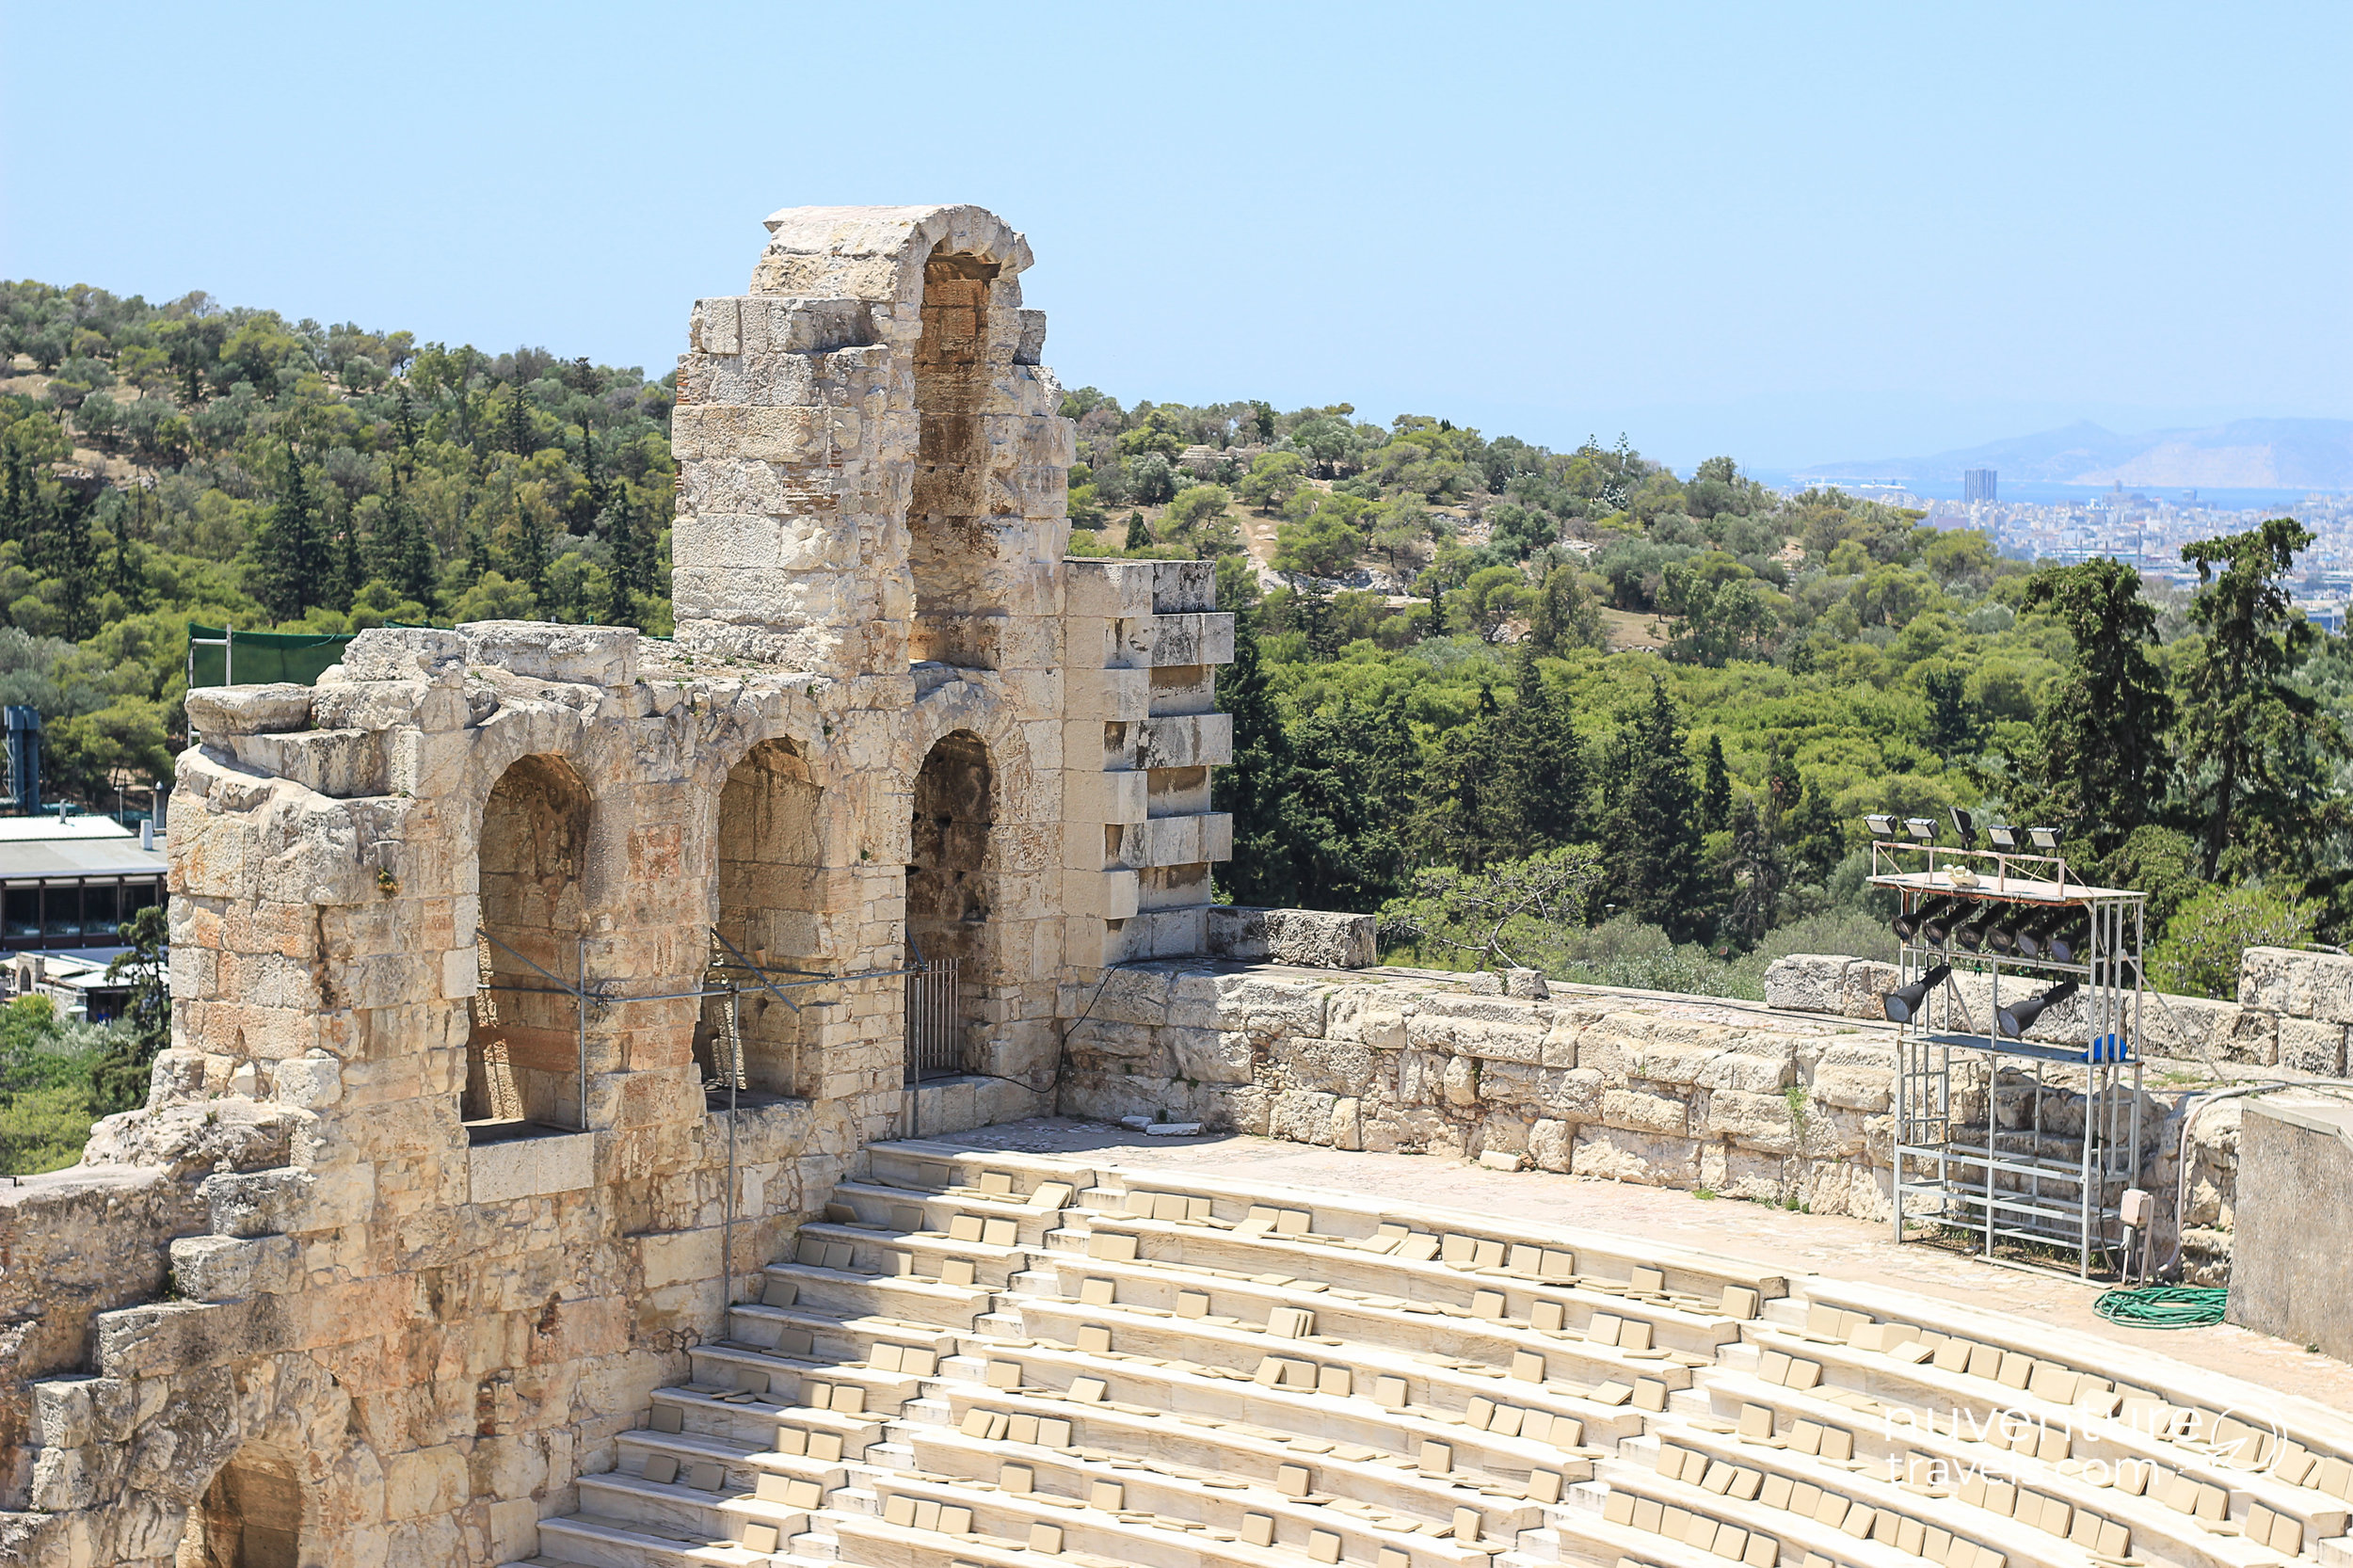
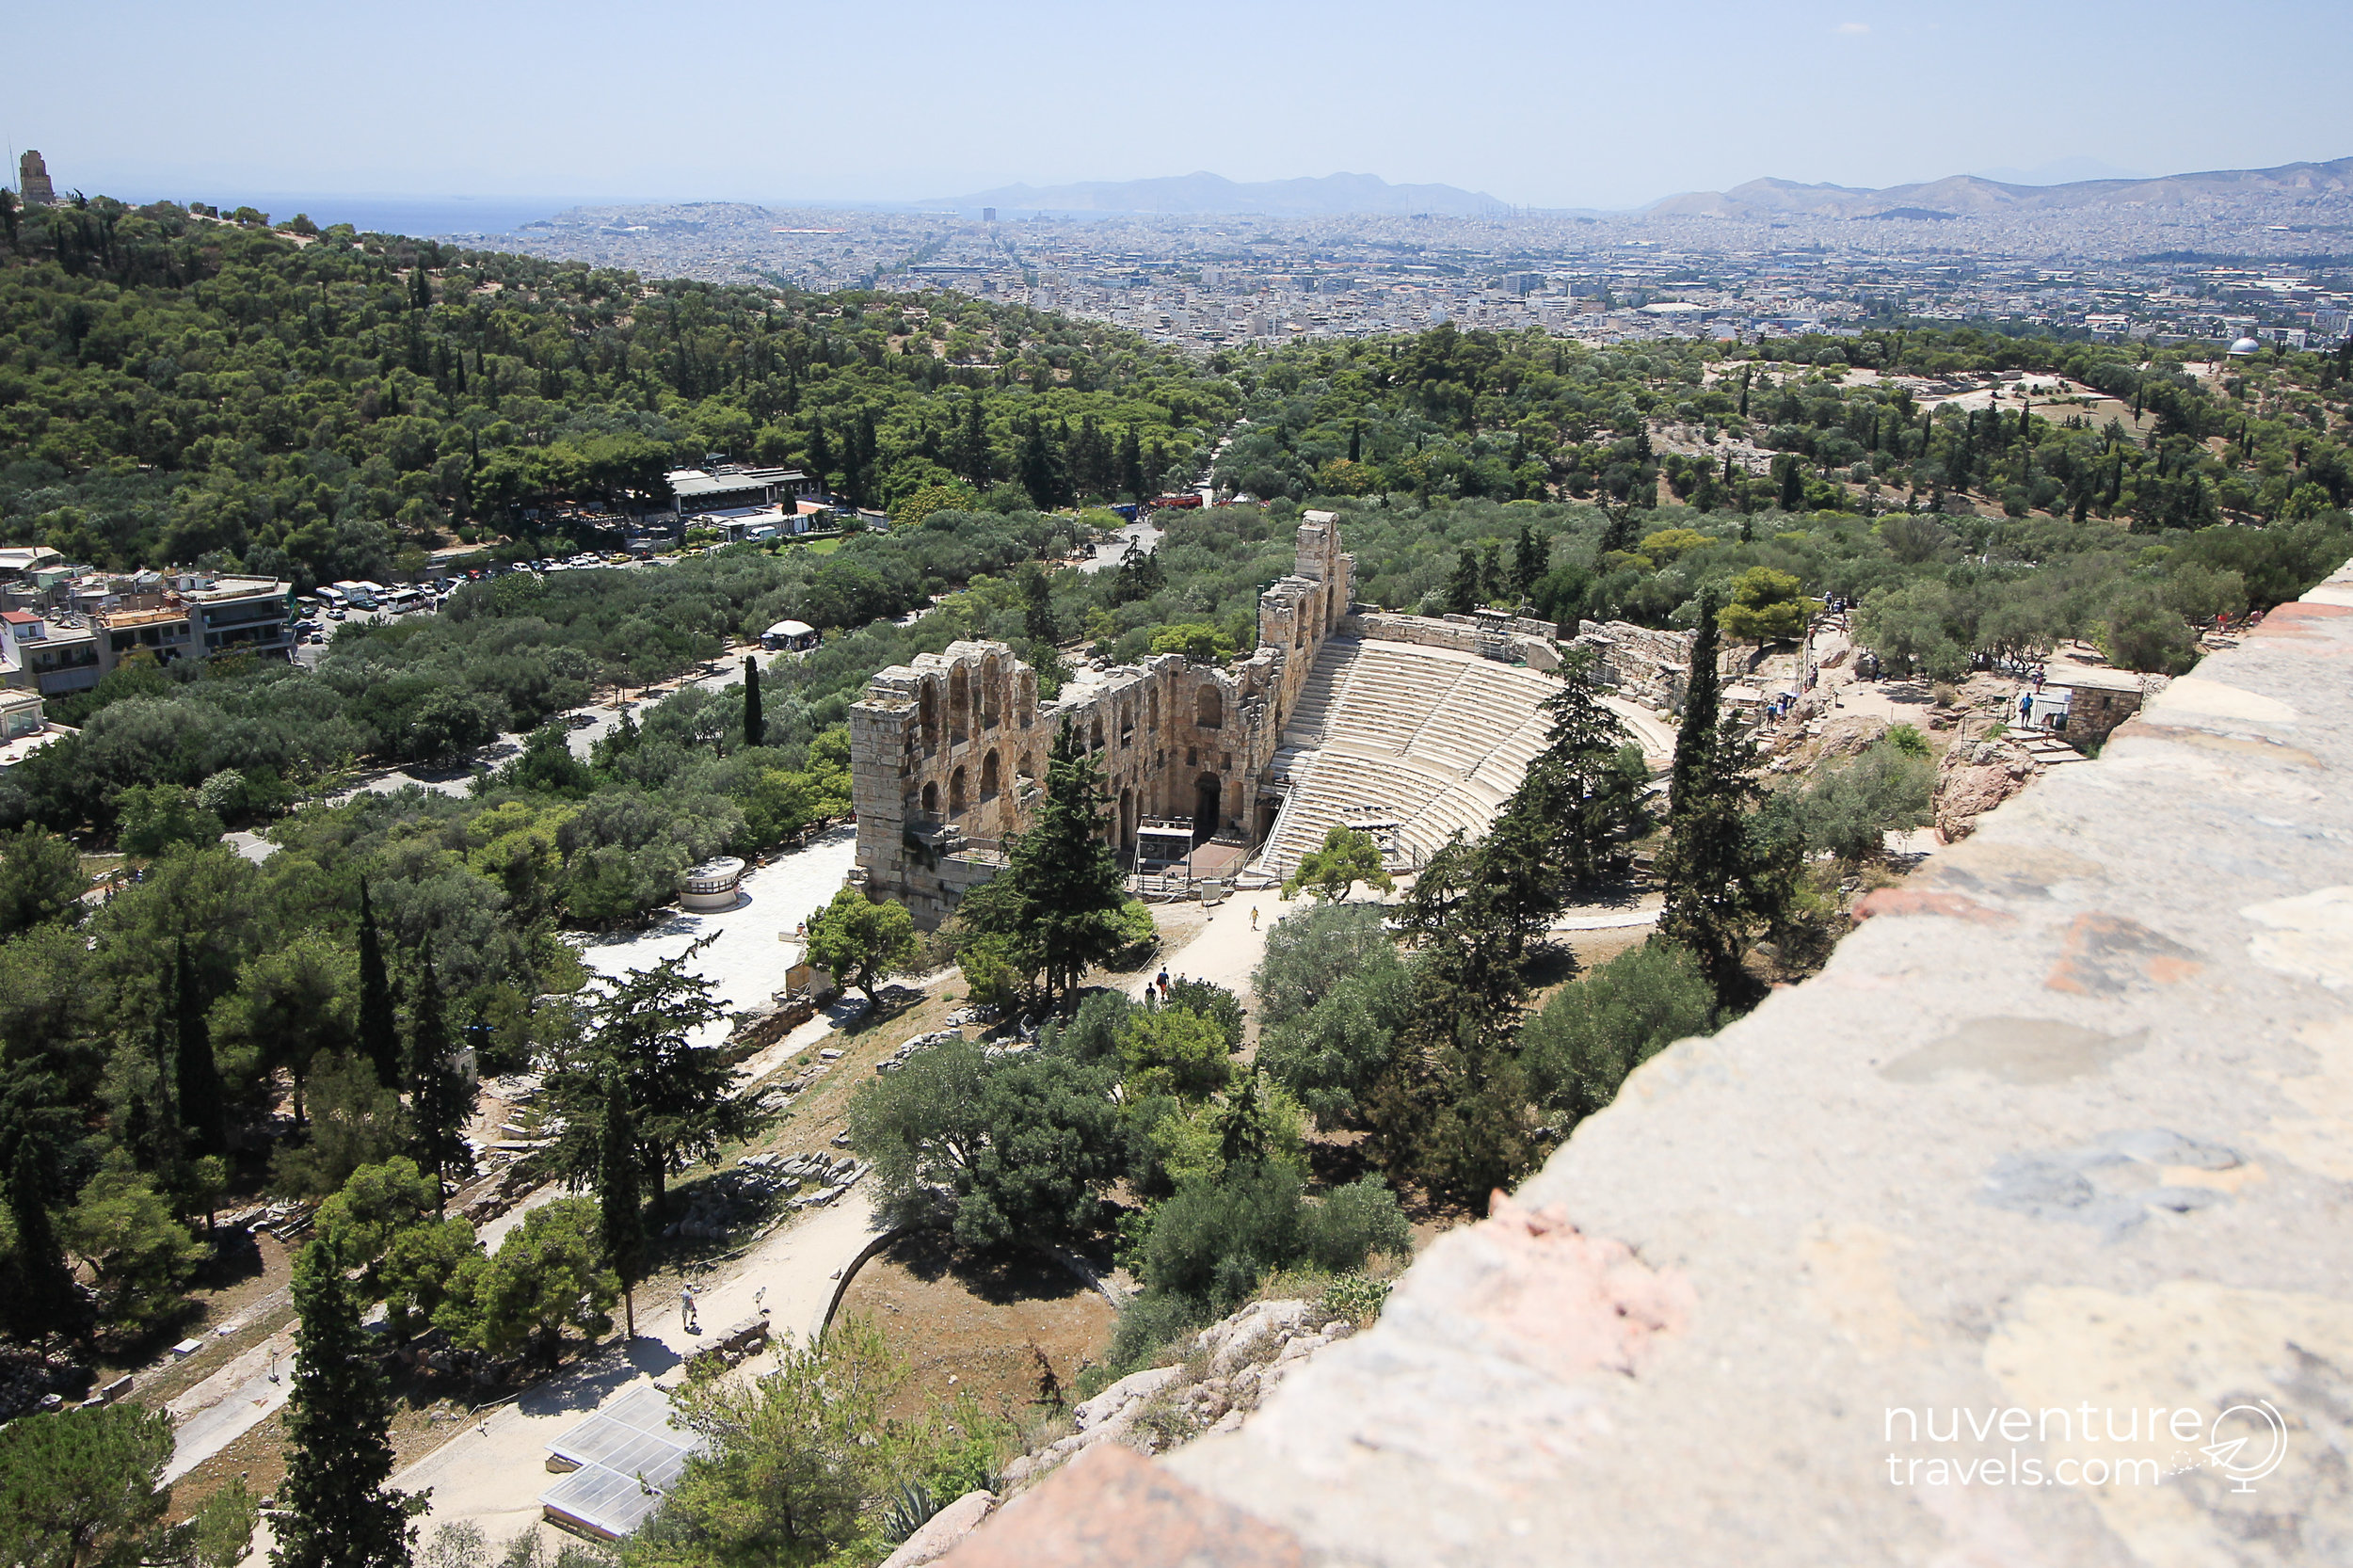
  2. We'll pass the ancient theater Odeon of Herodes Atticus on our way up

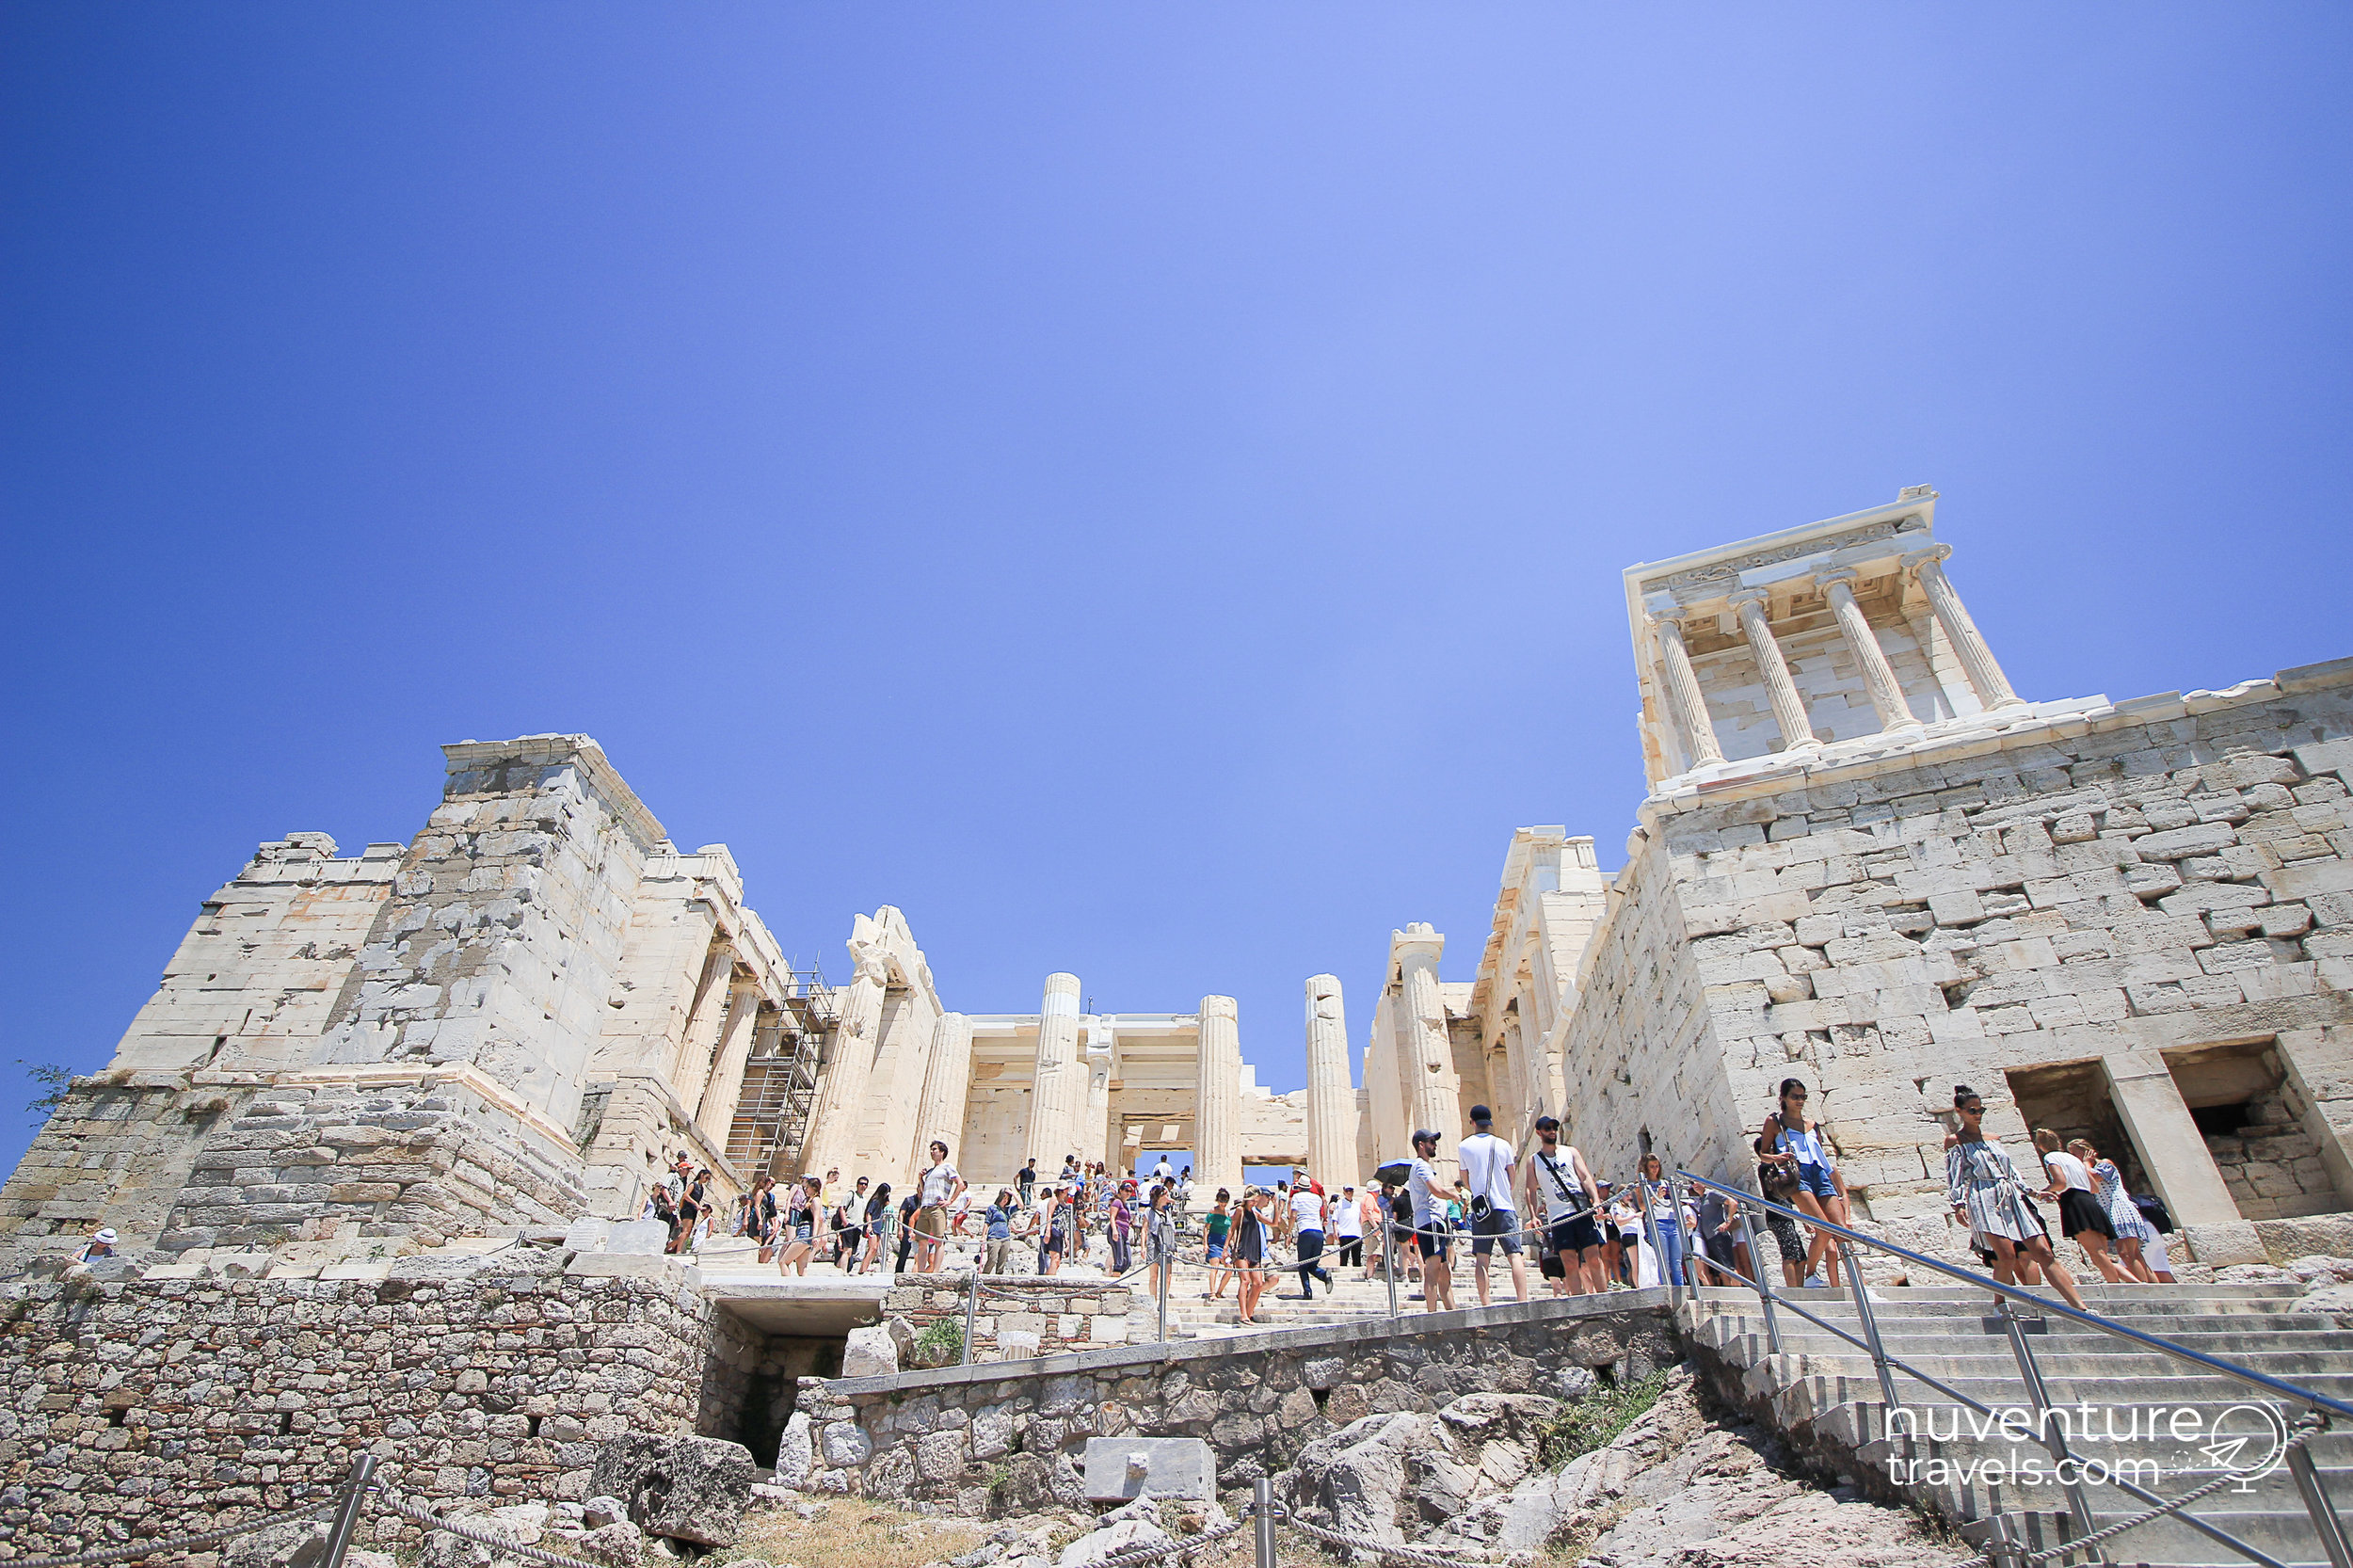
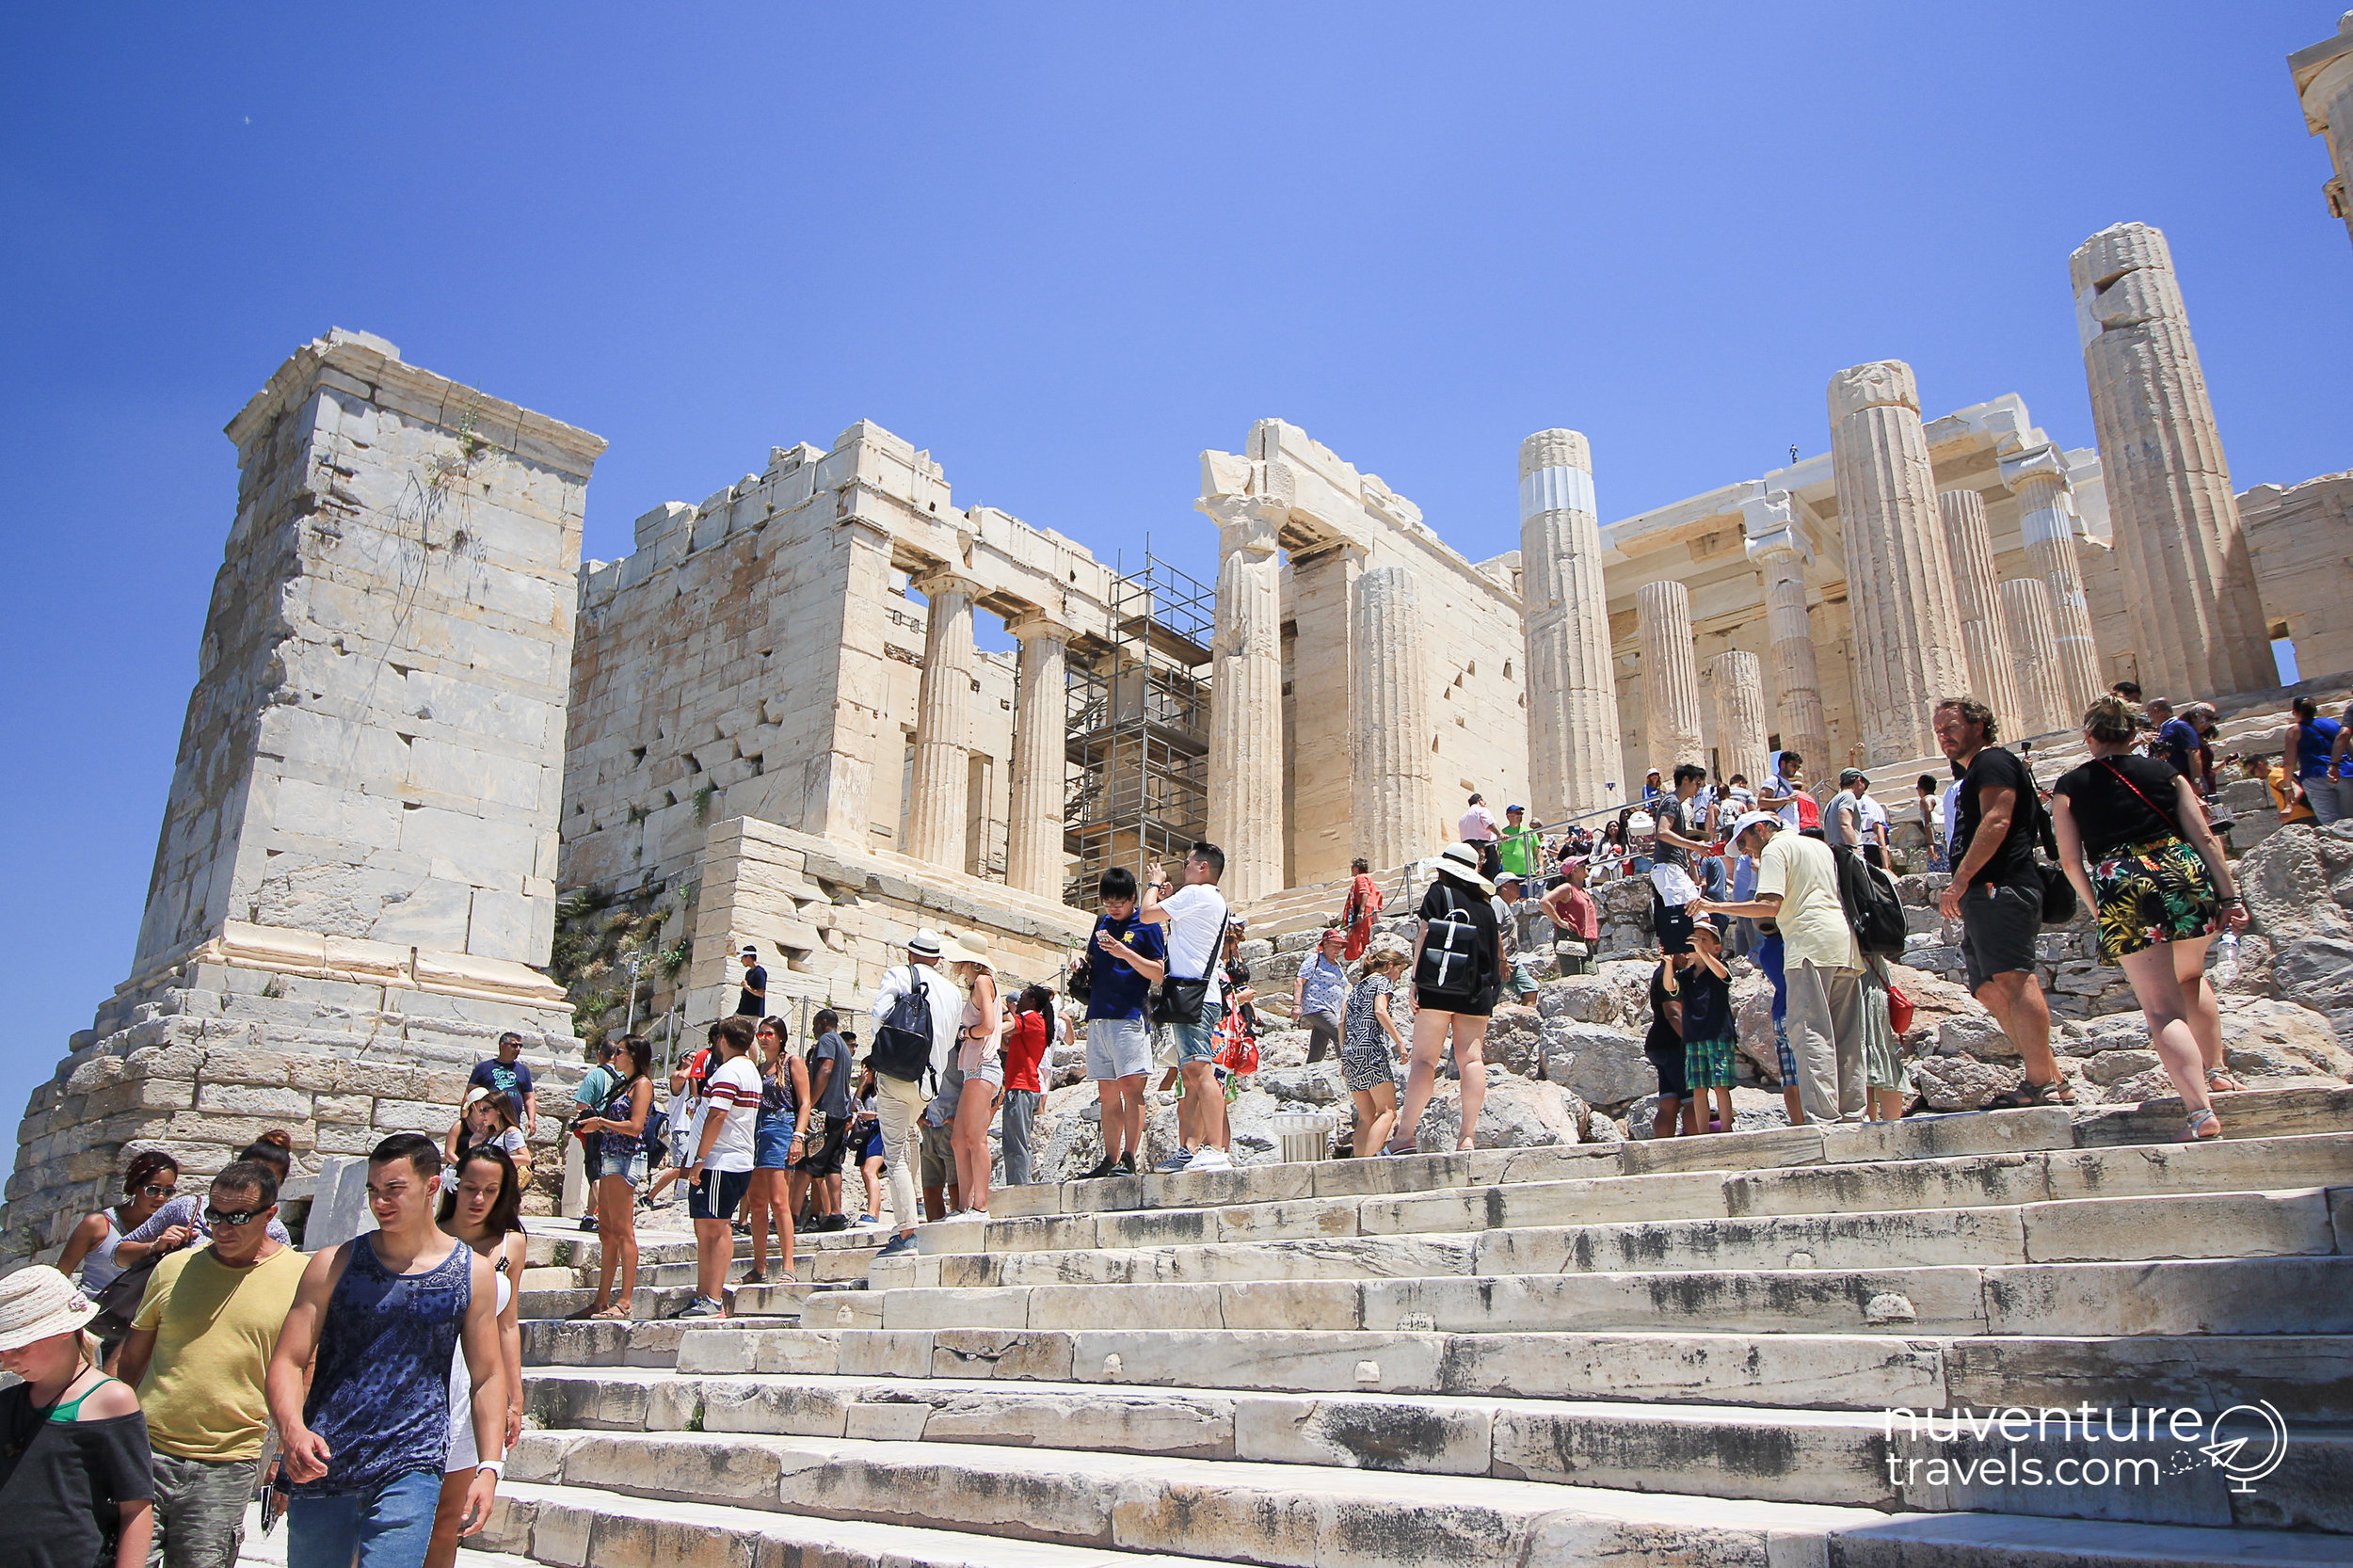
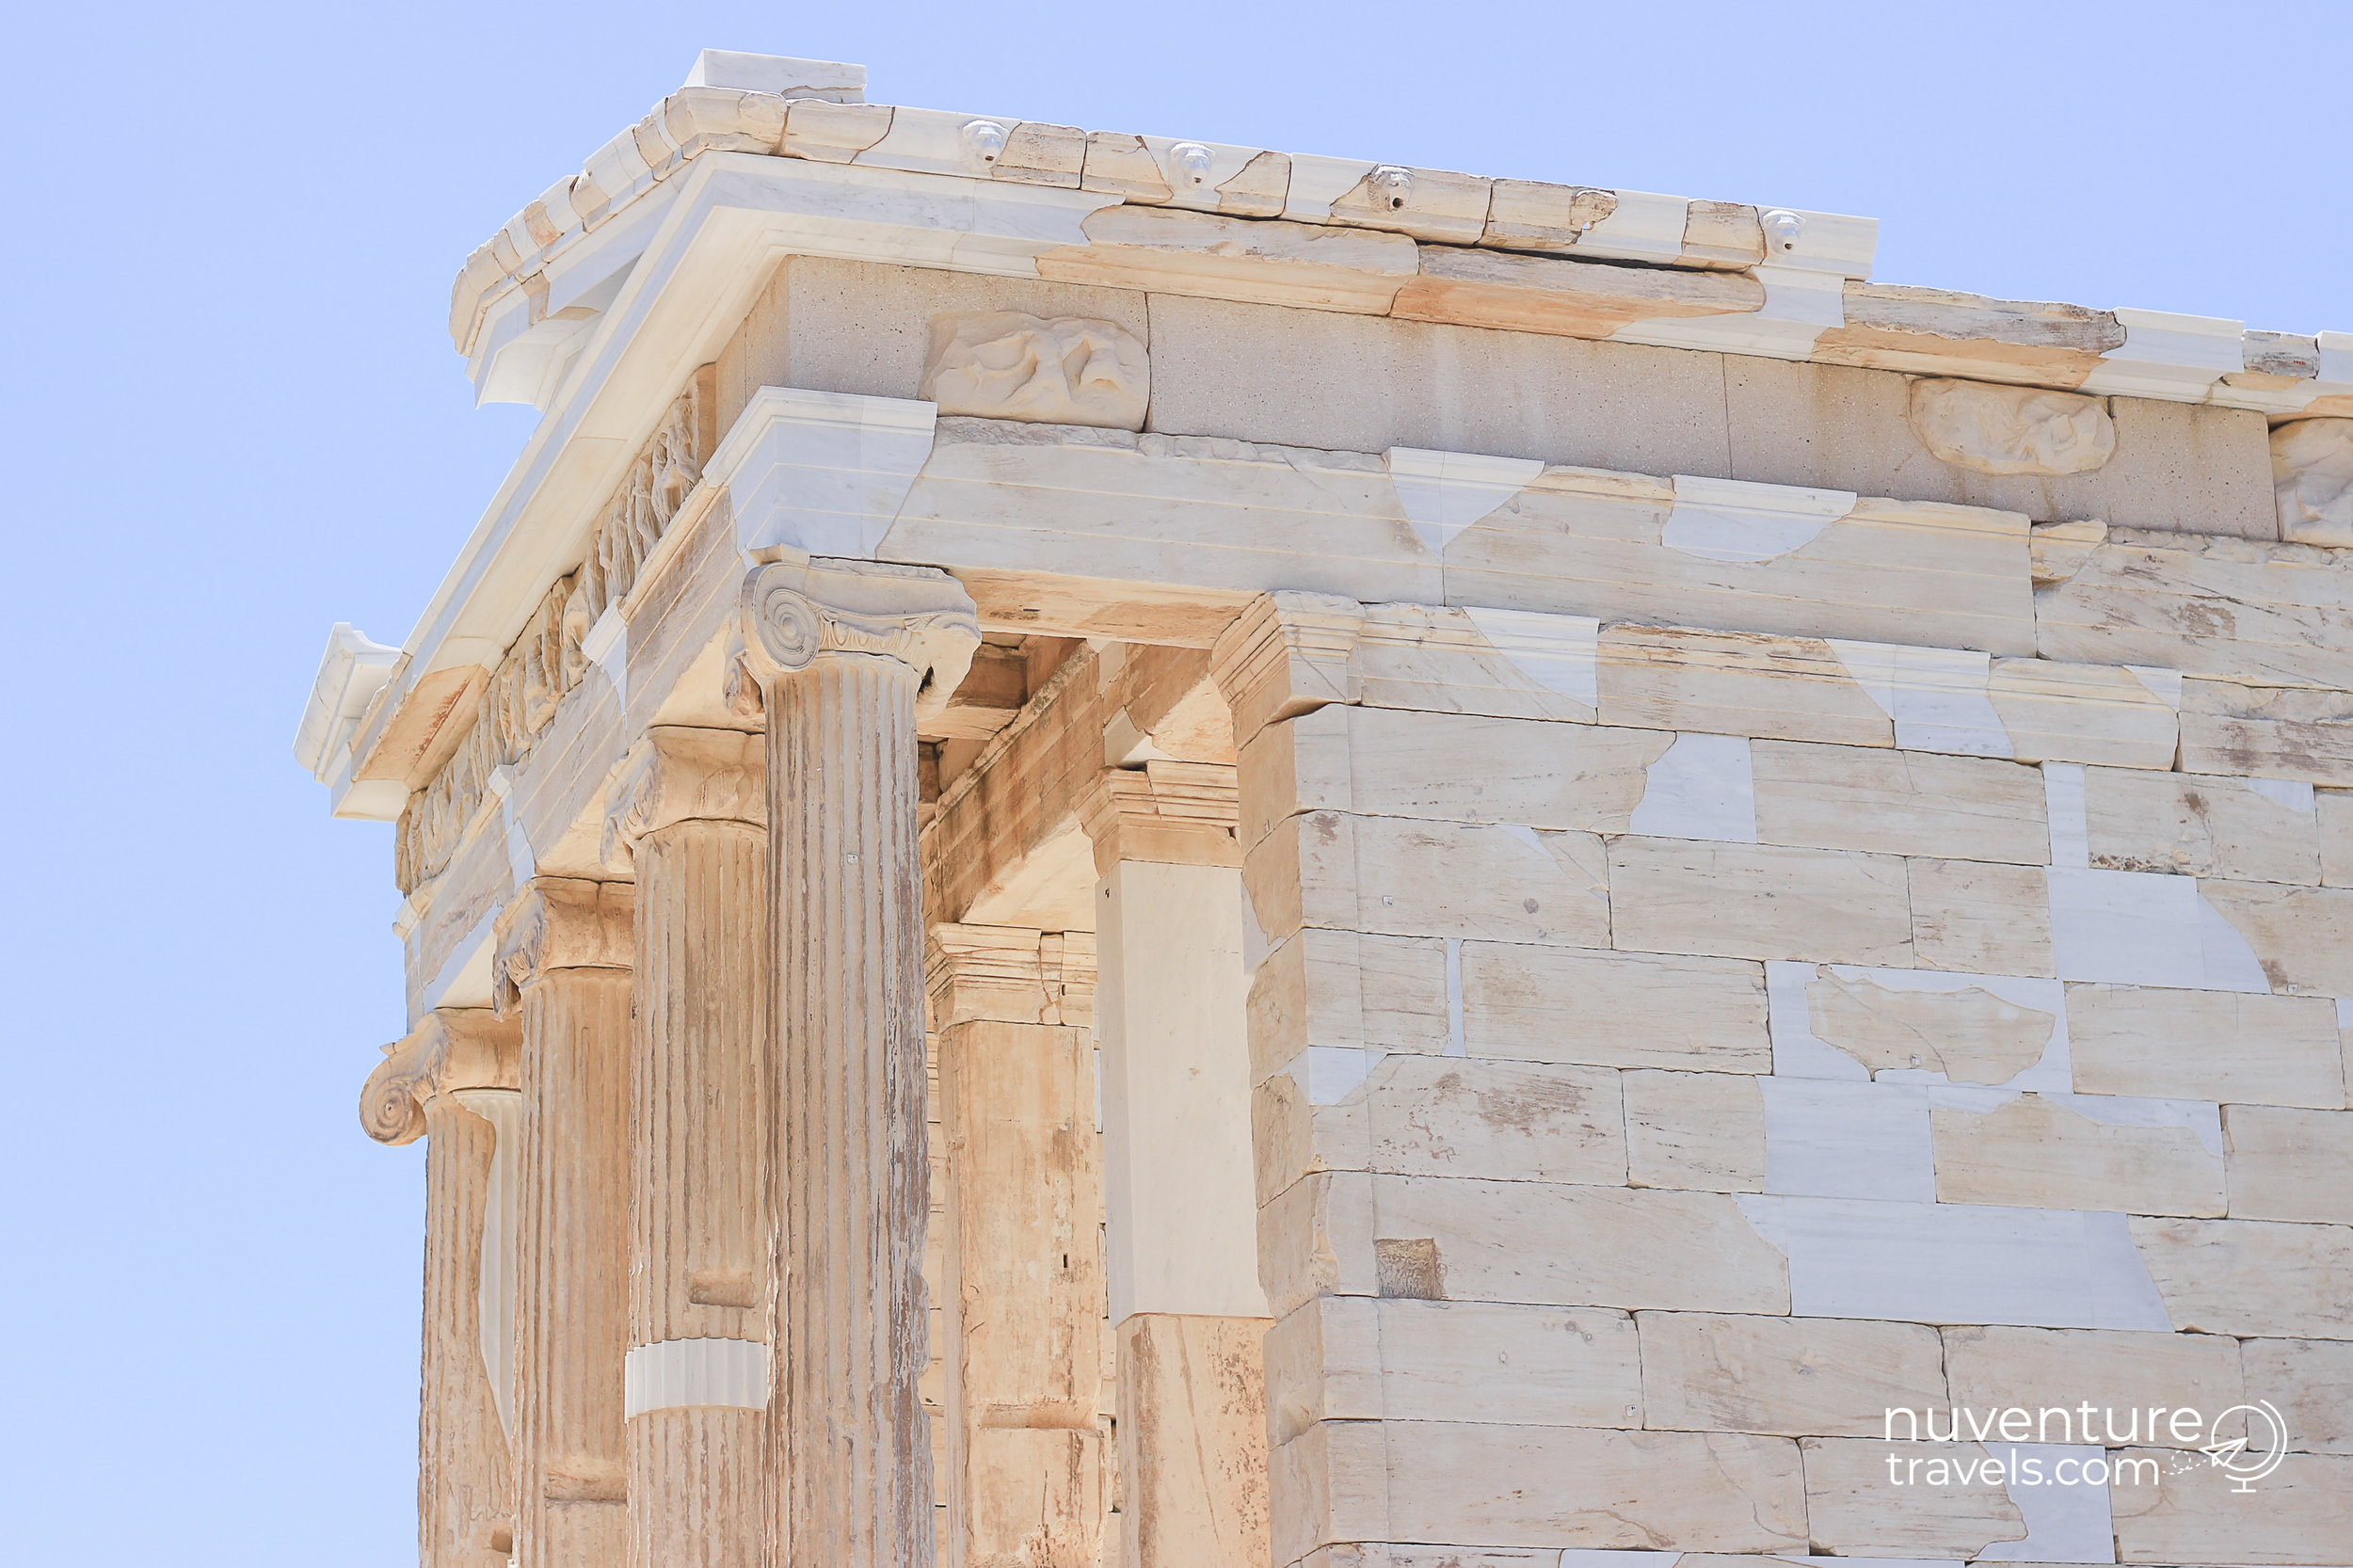
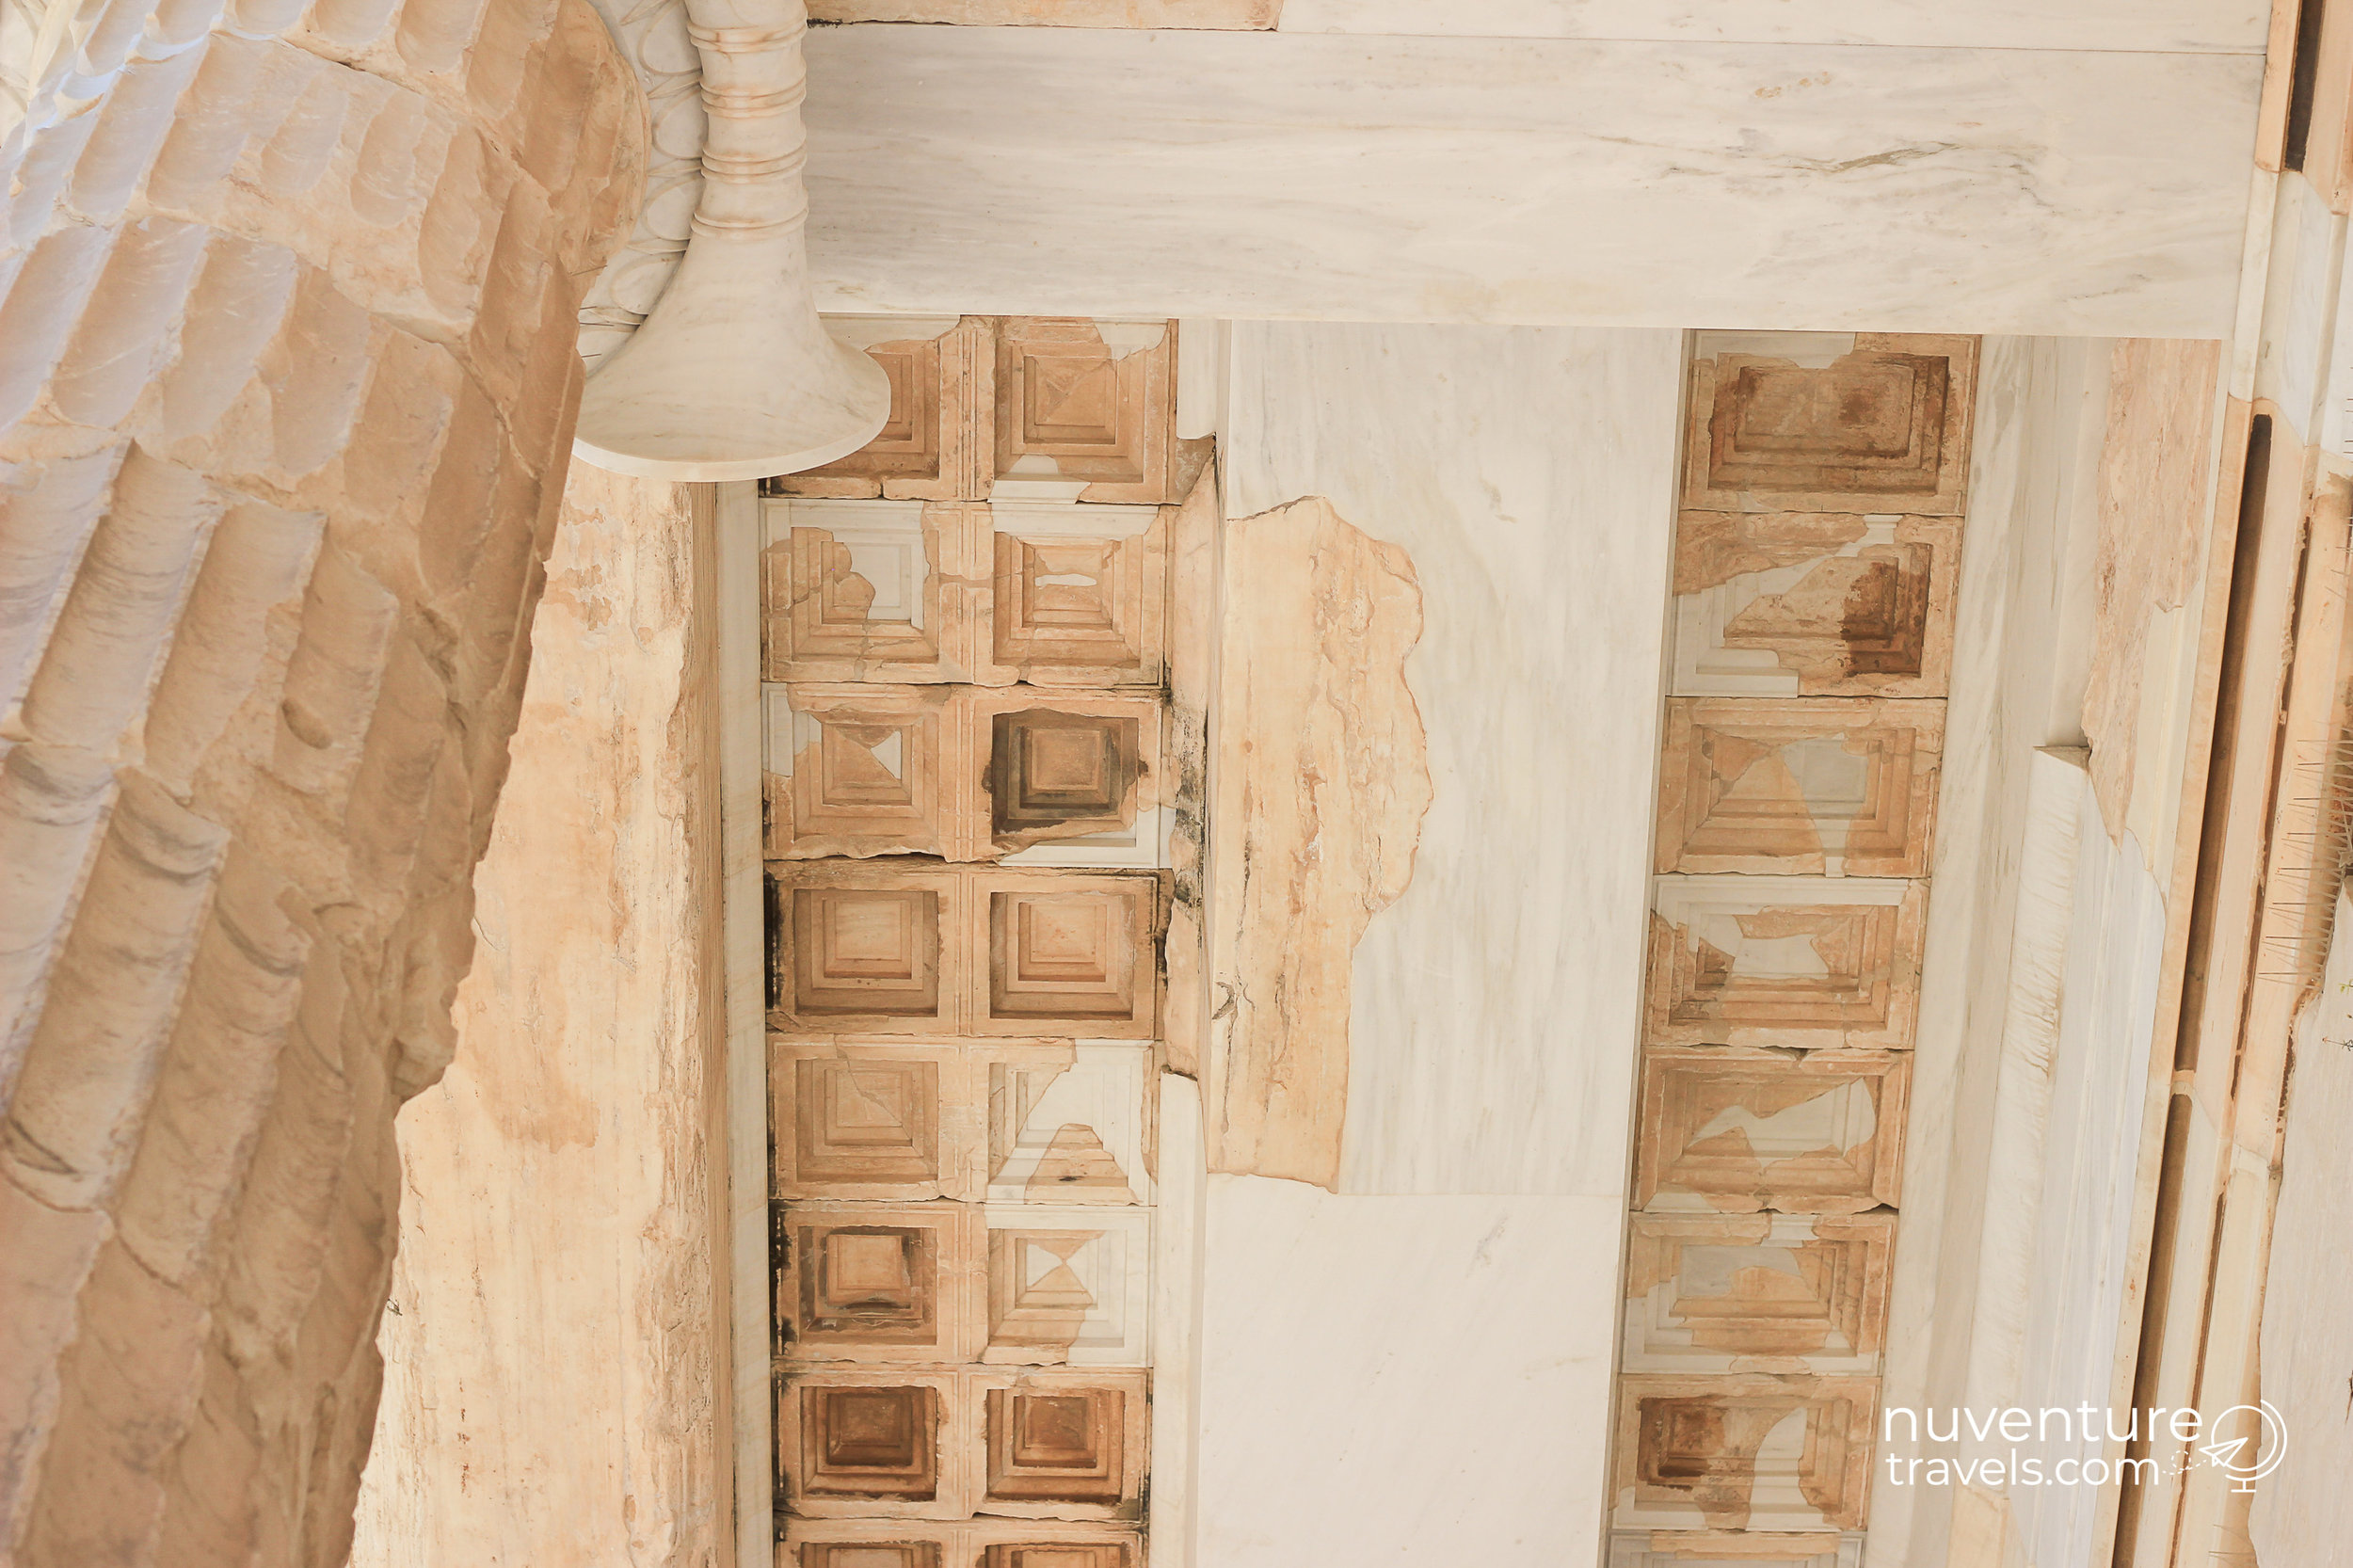
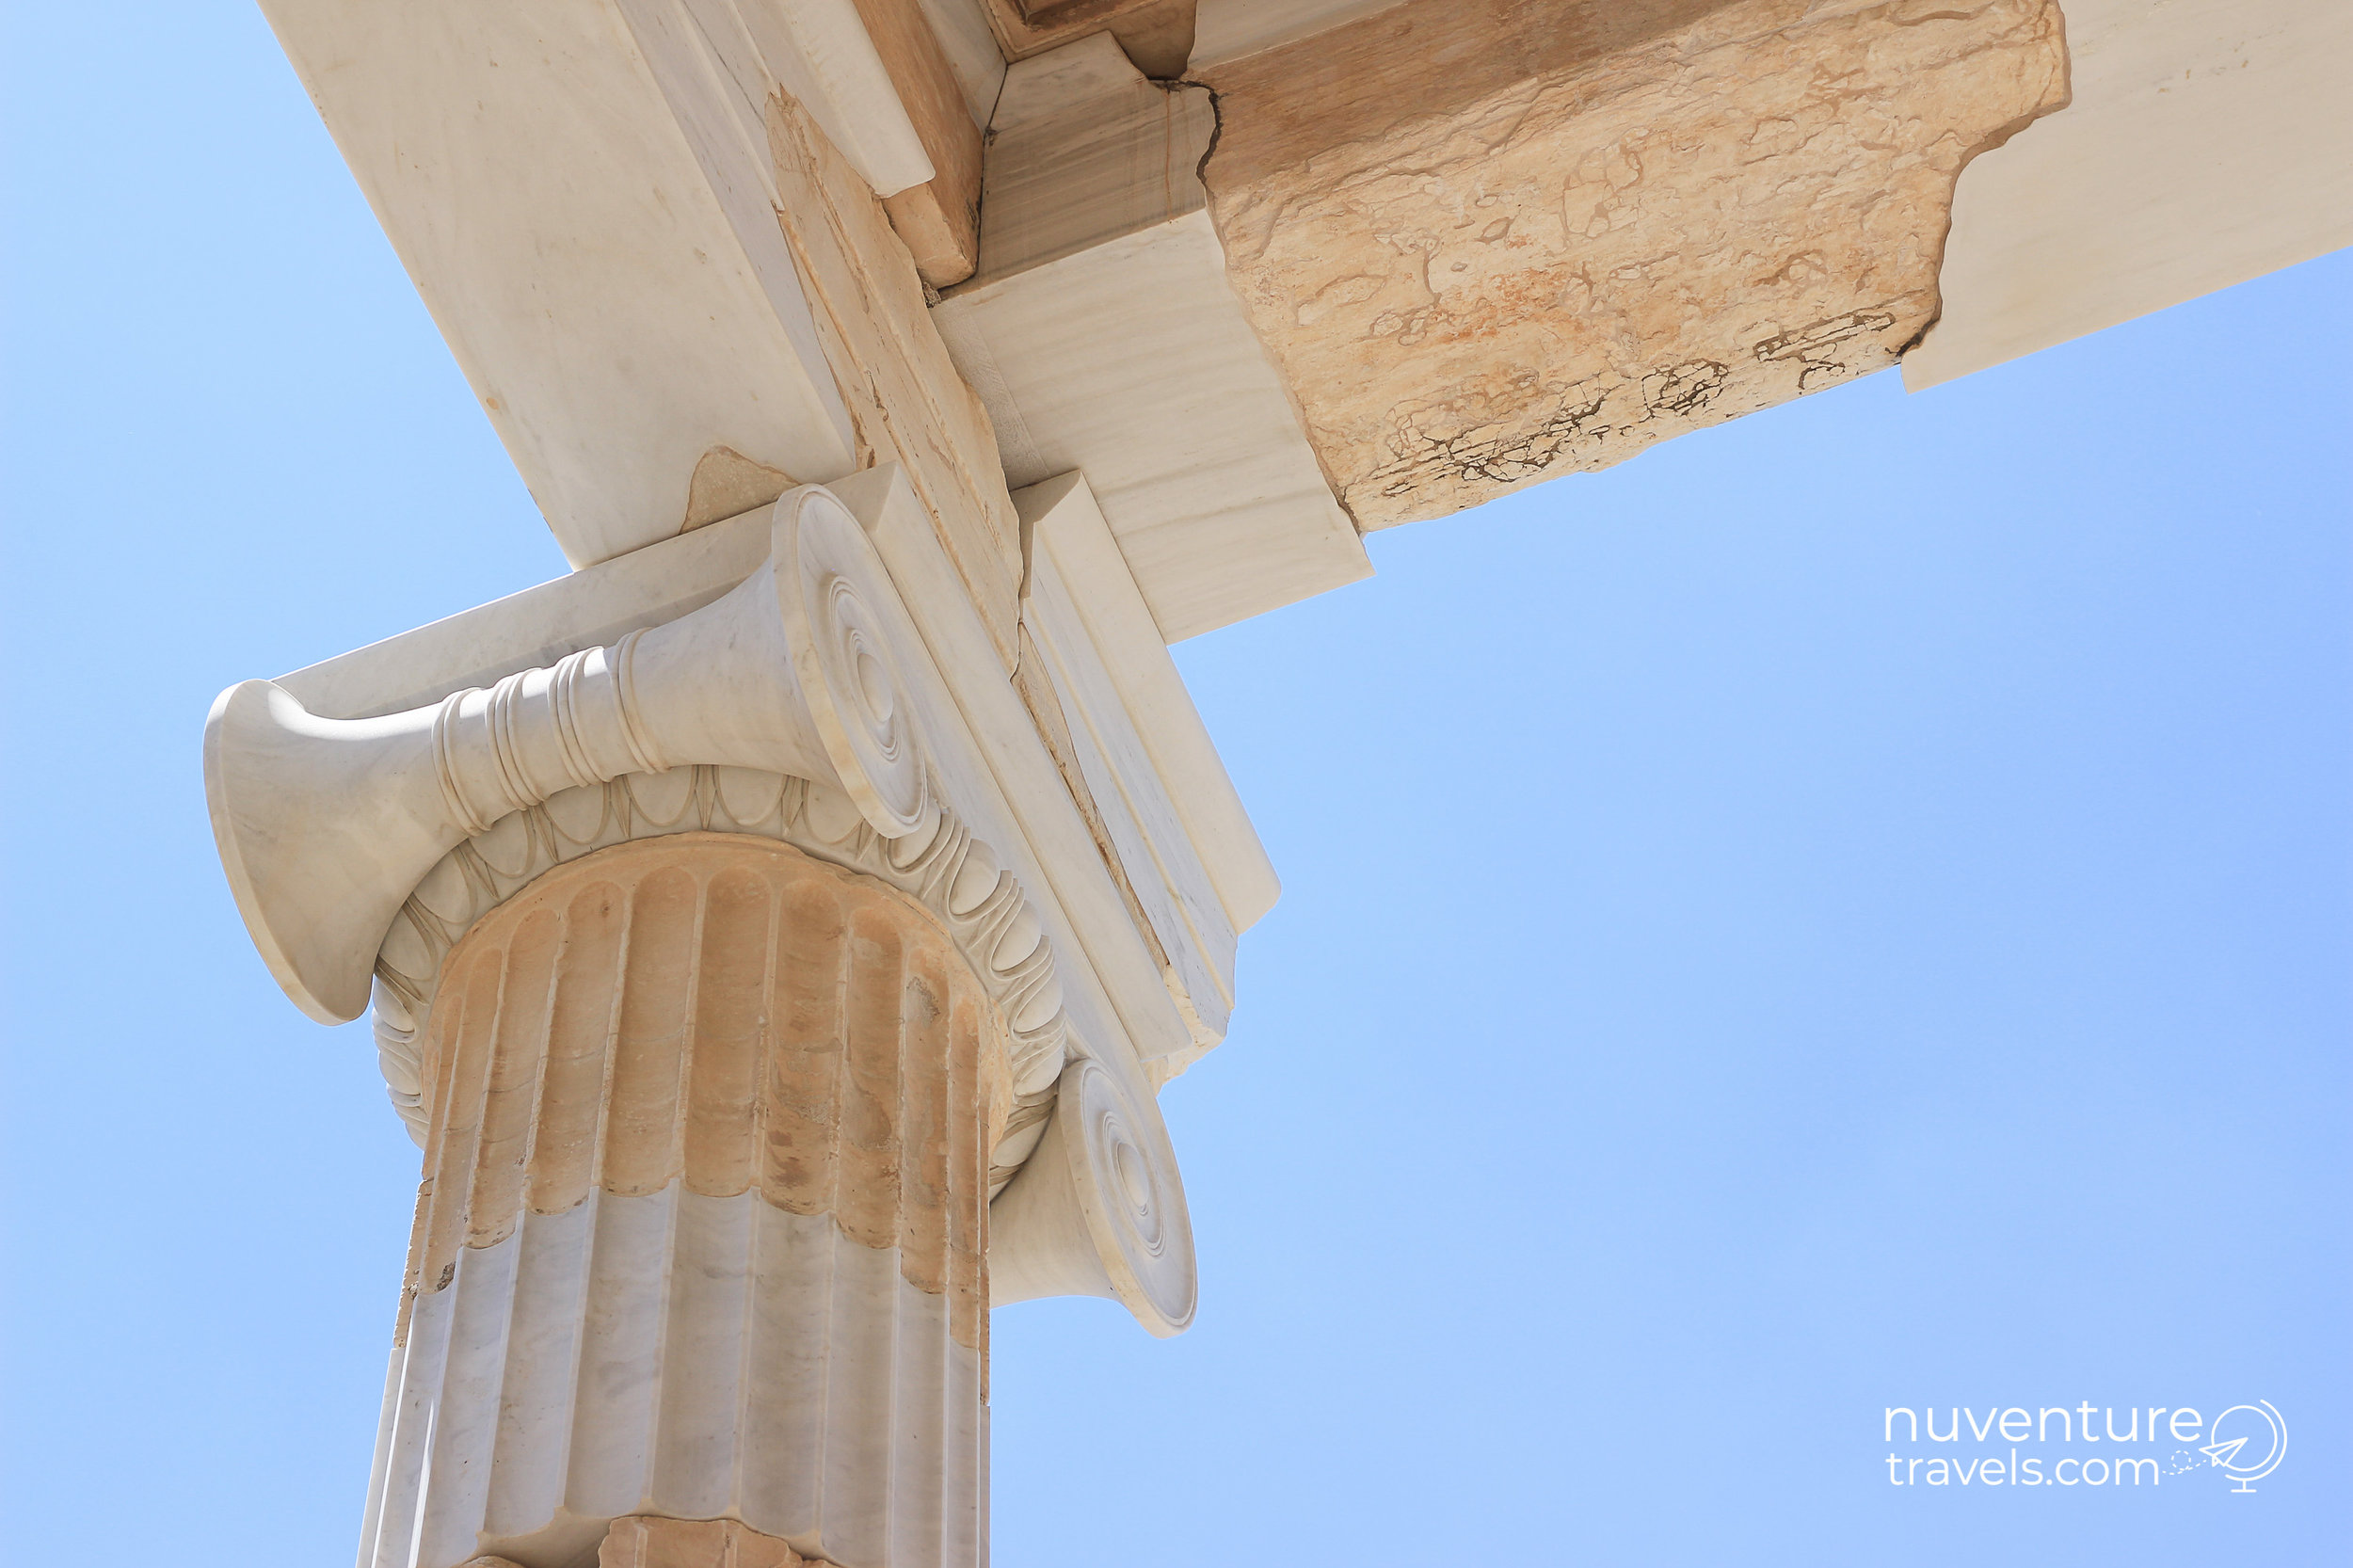
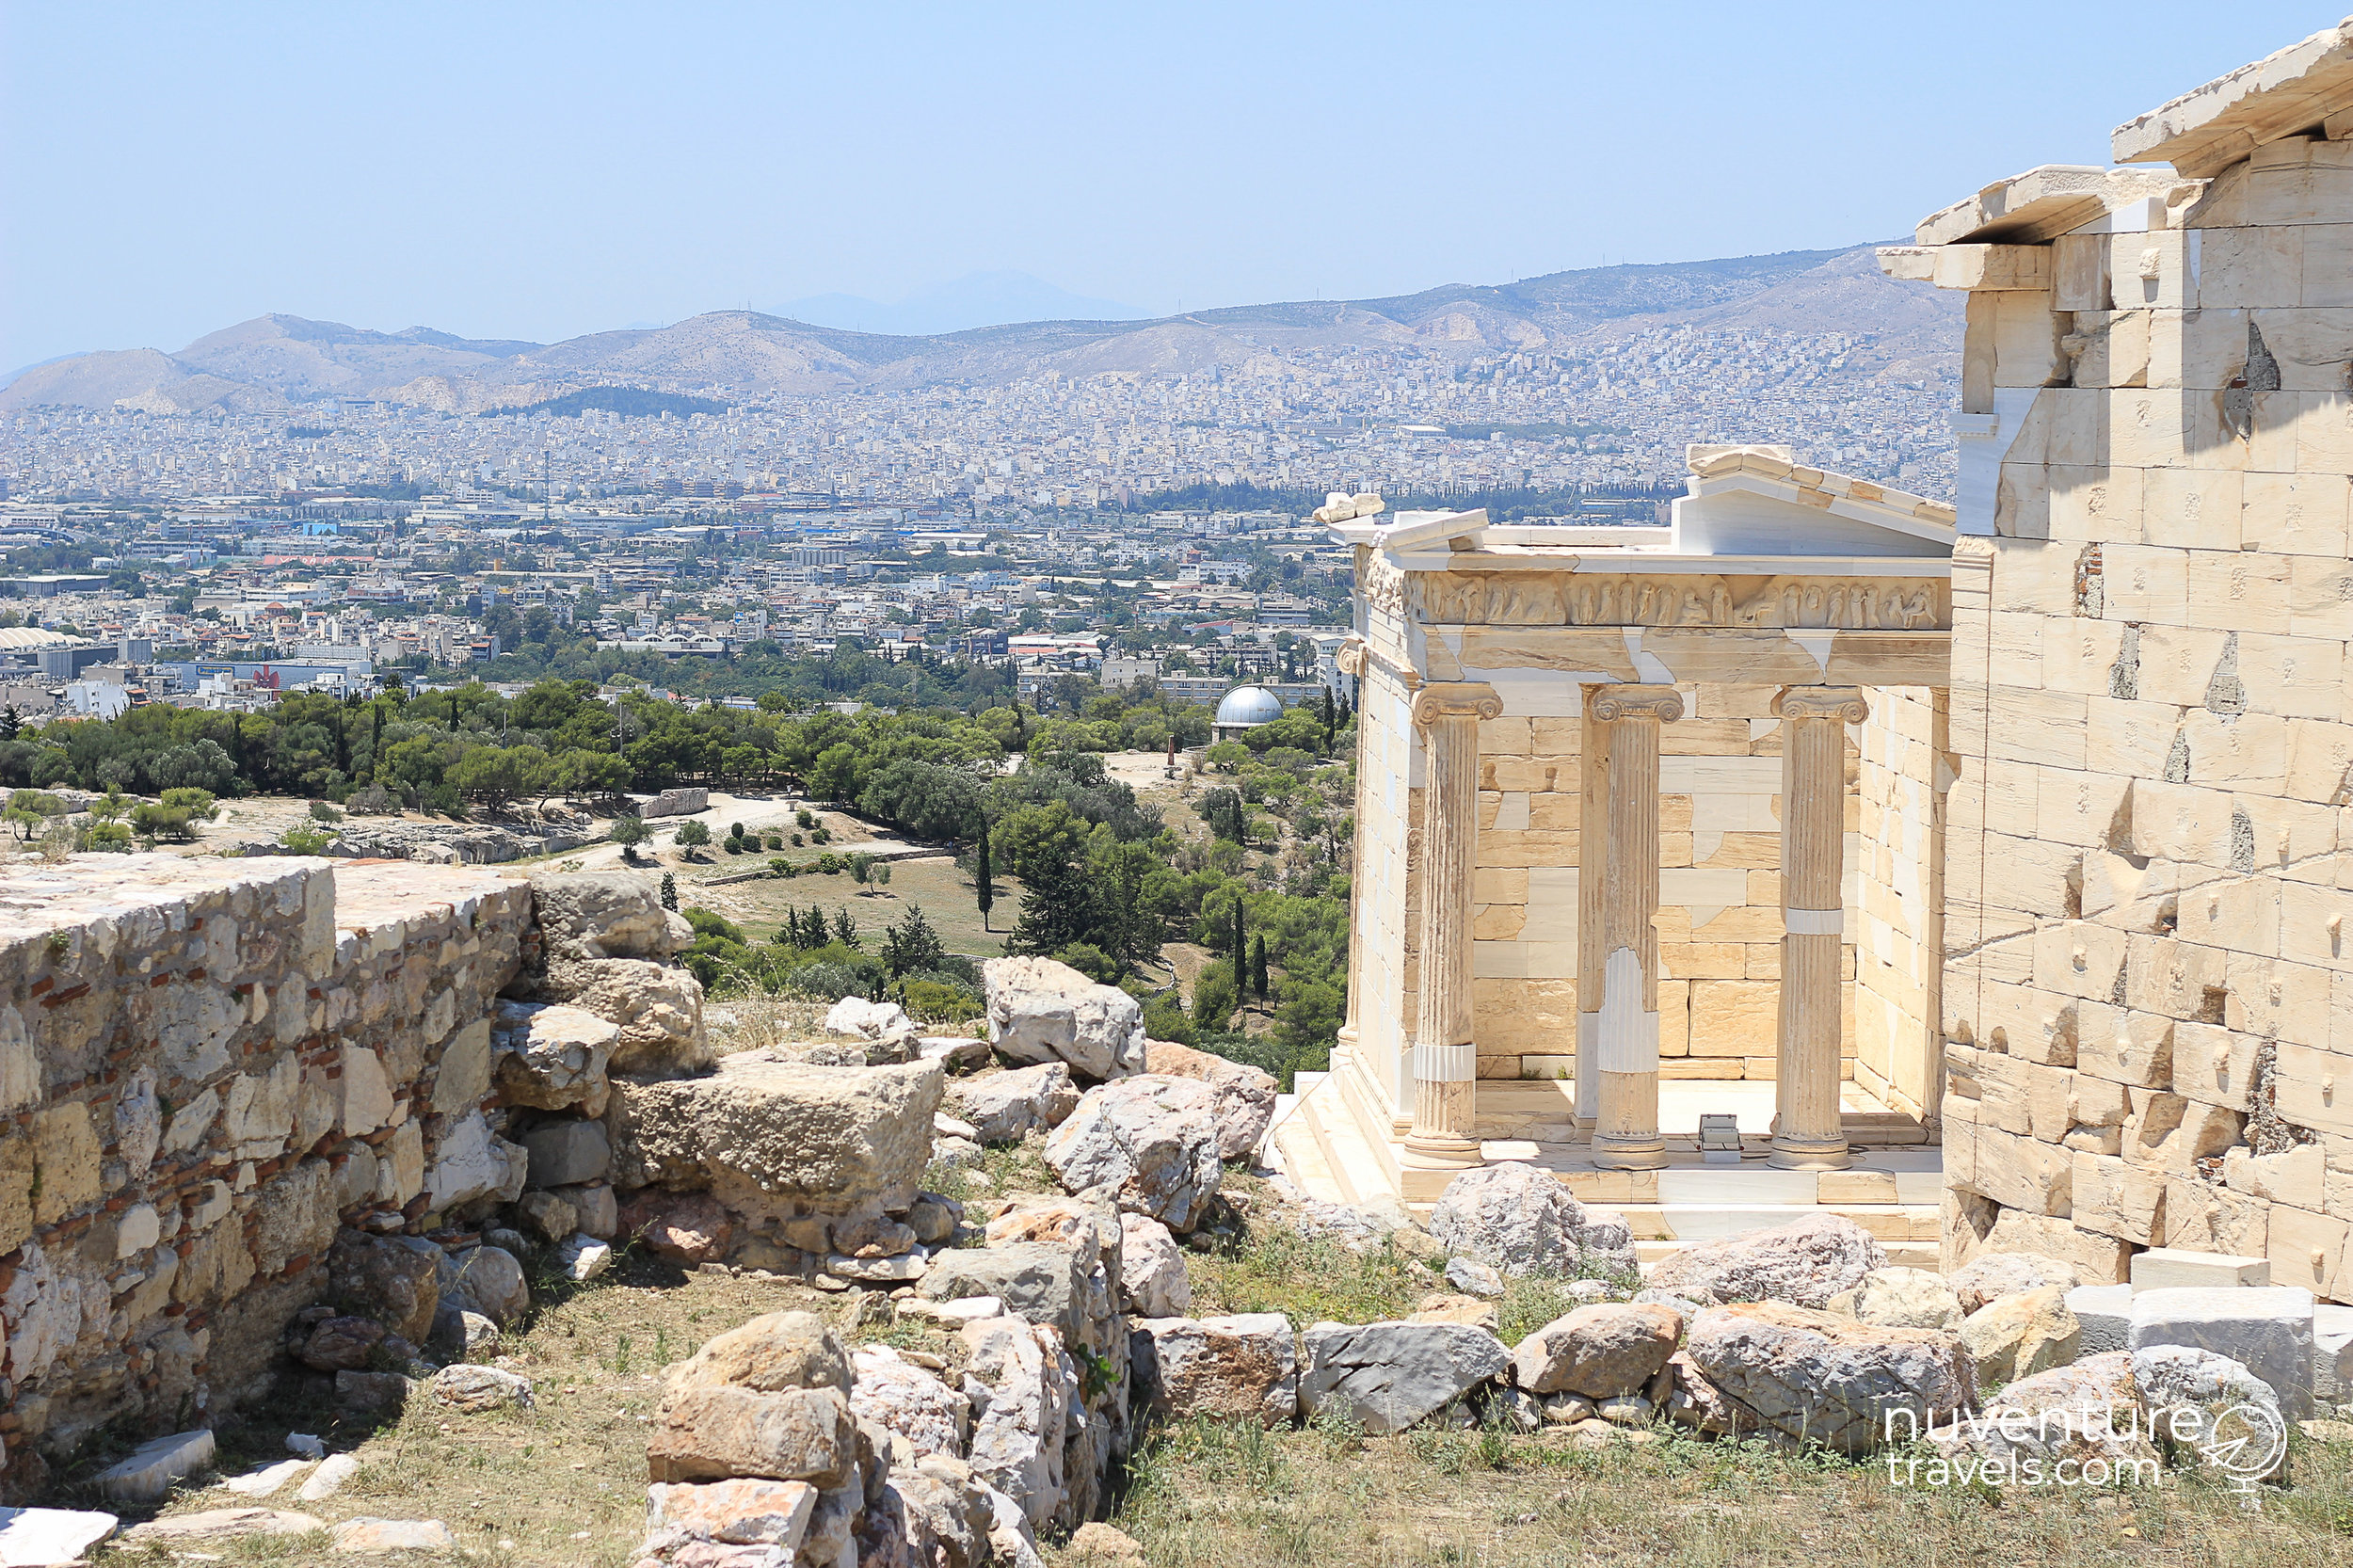
  3. We'll climb the stairs through the first Temple of Athena Nike (the Goddess of Victory)

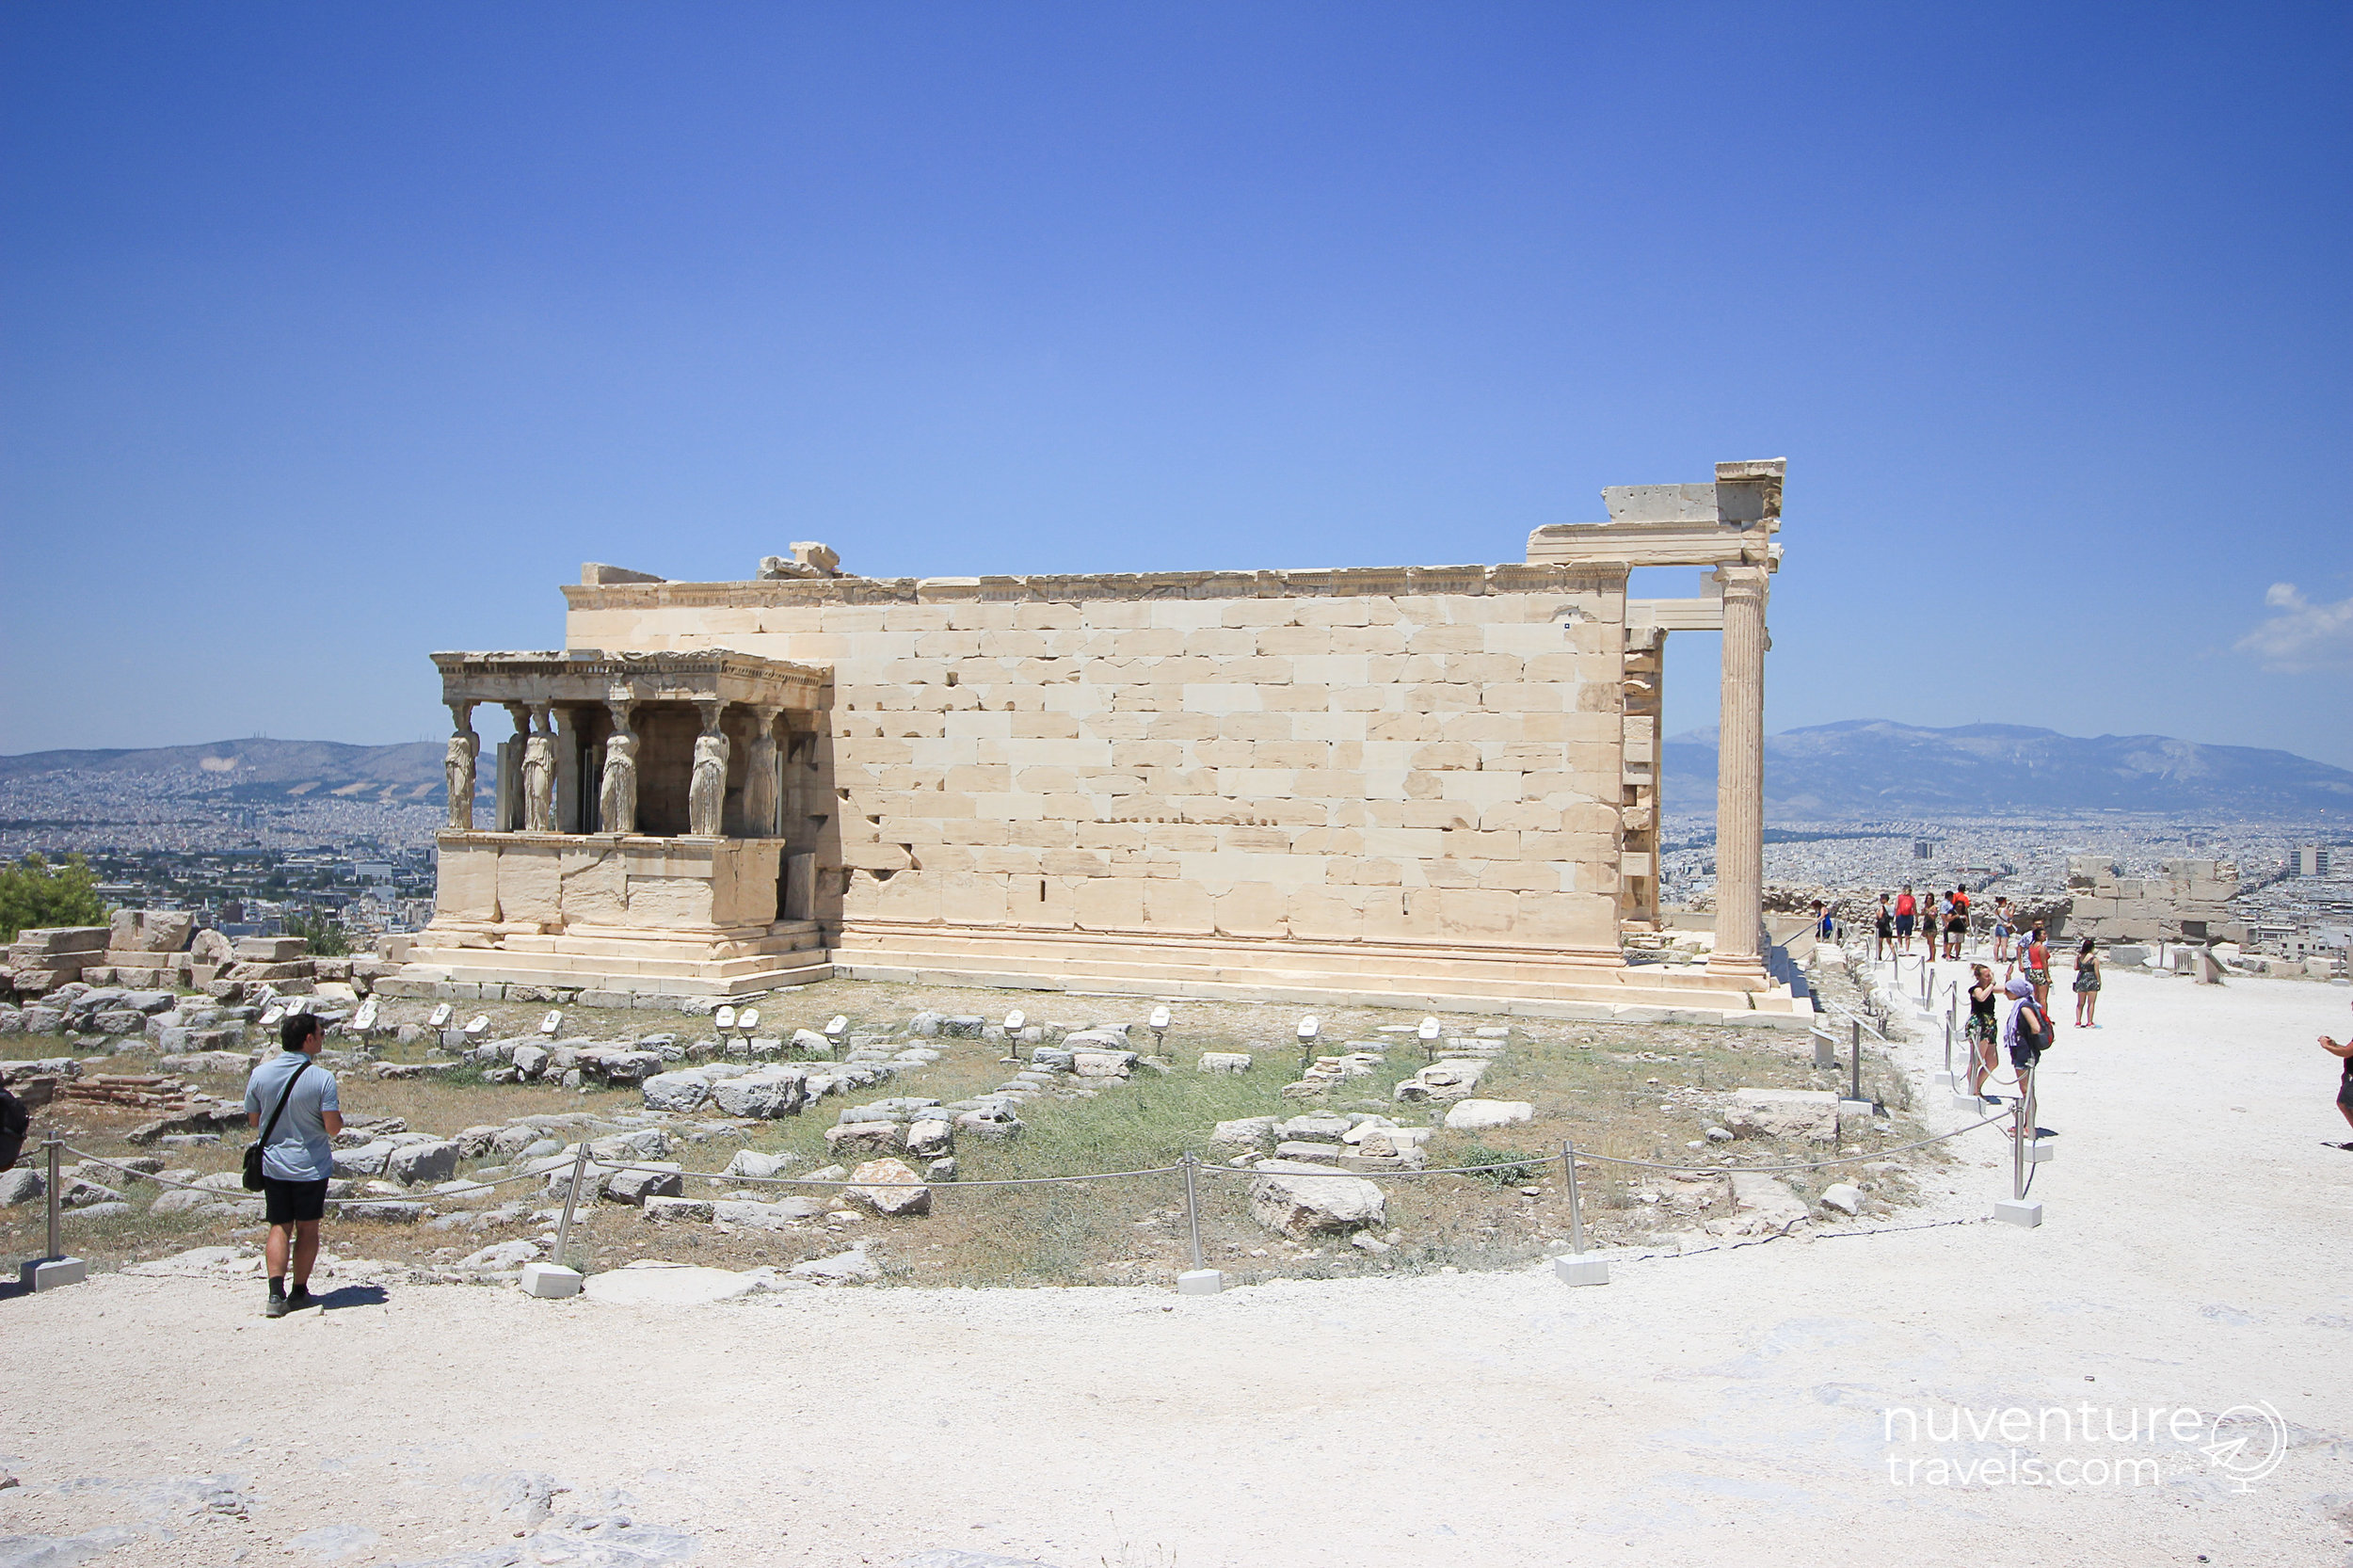
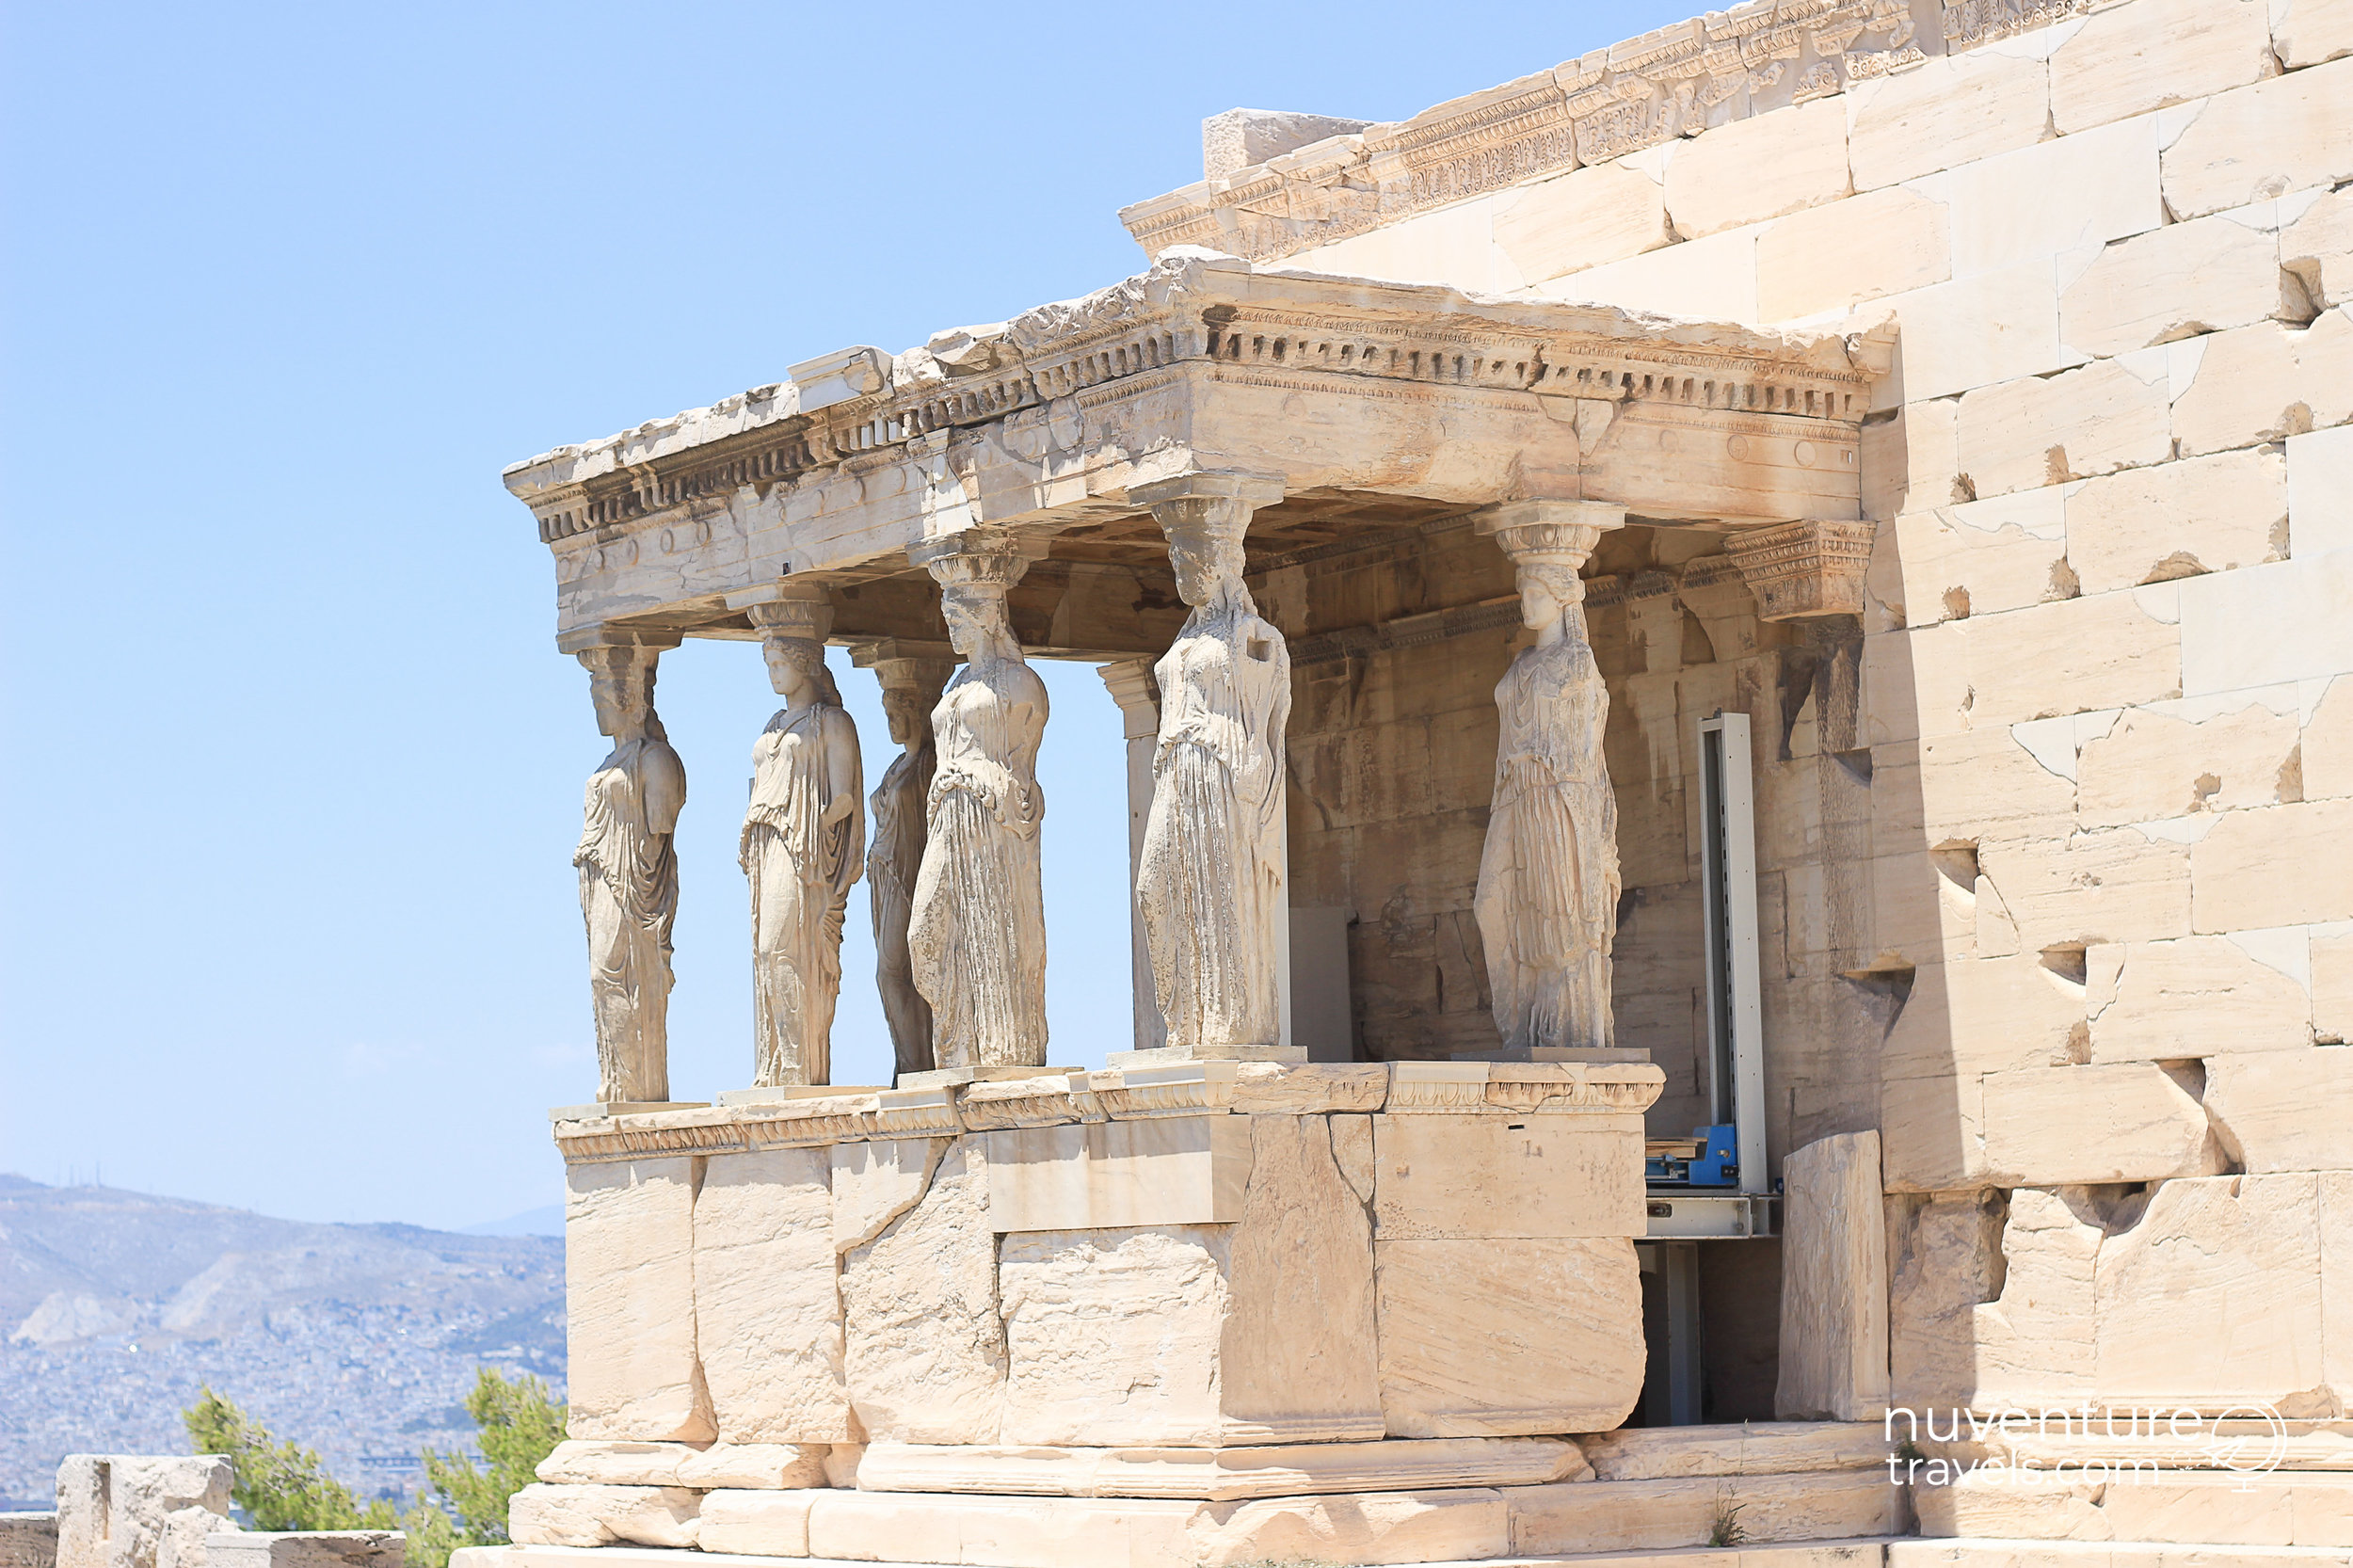
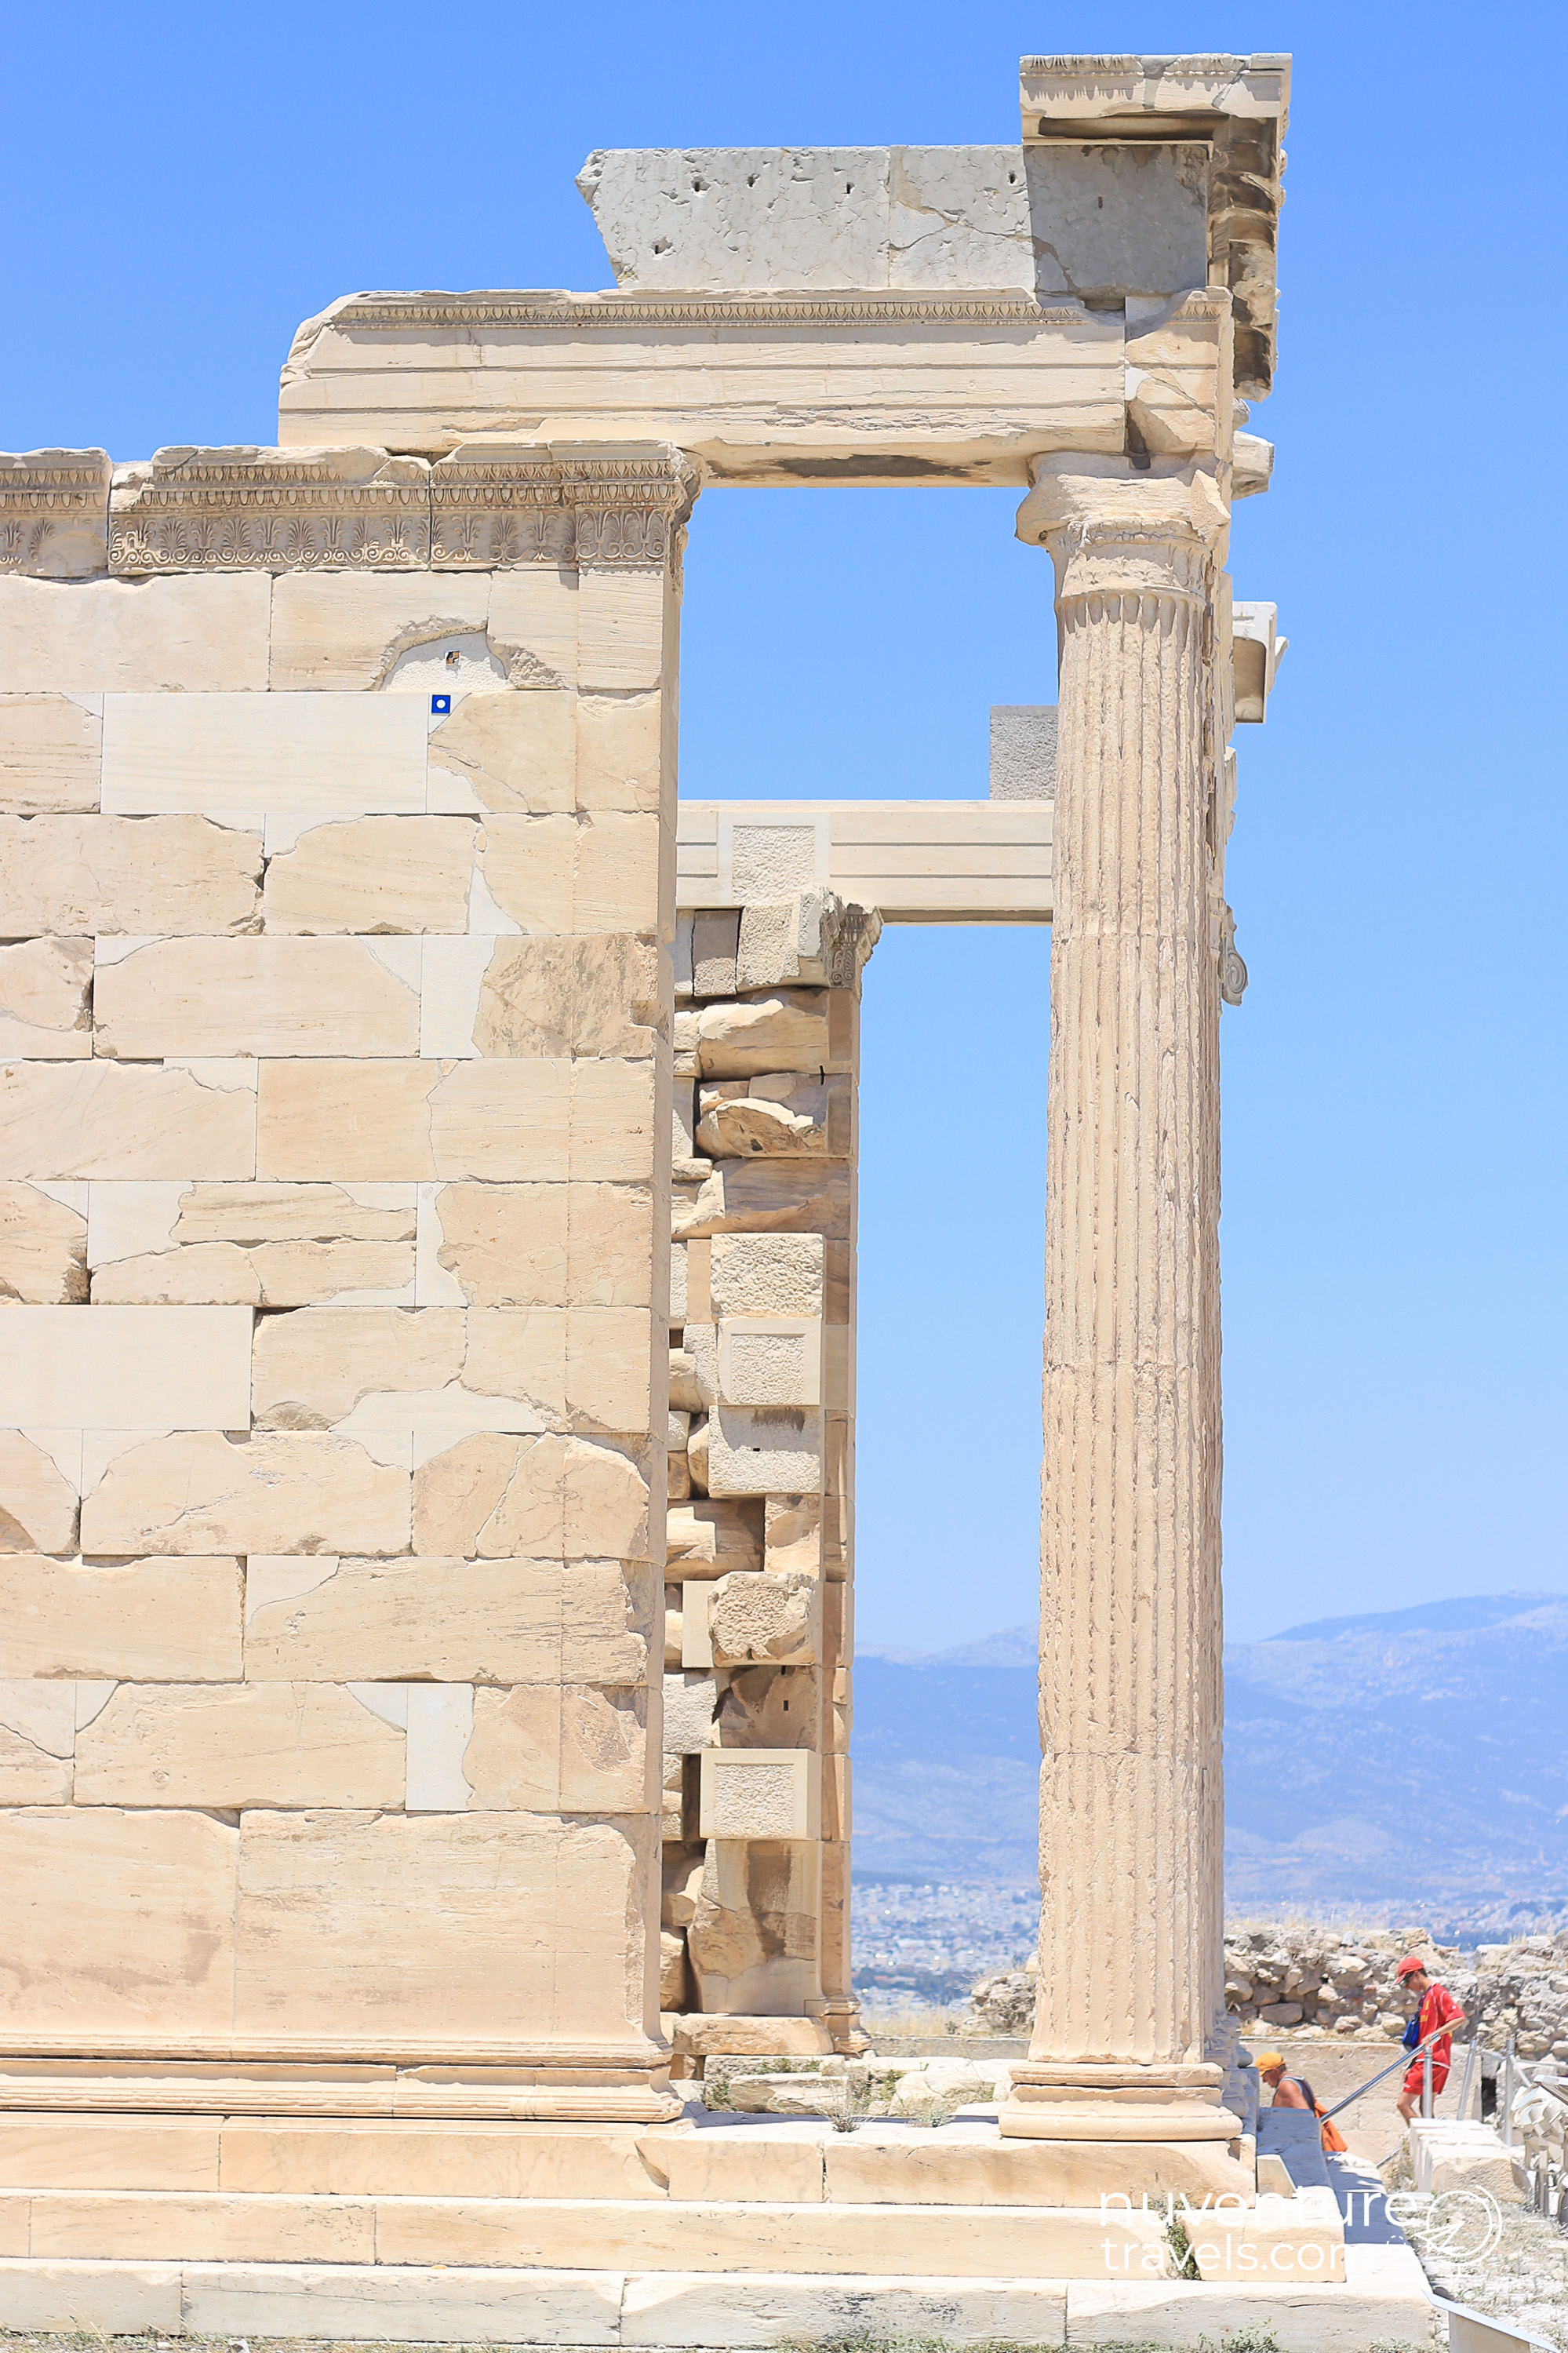
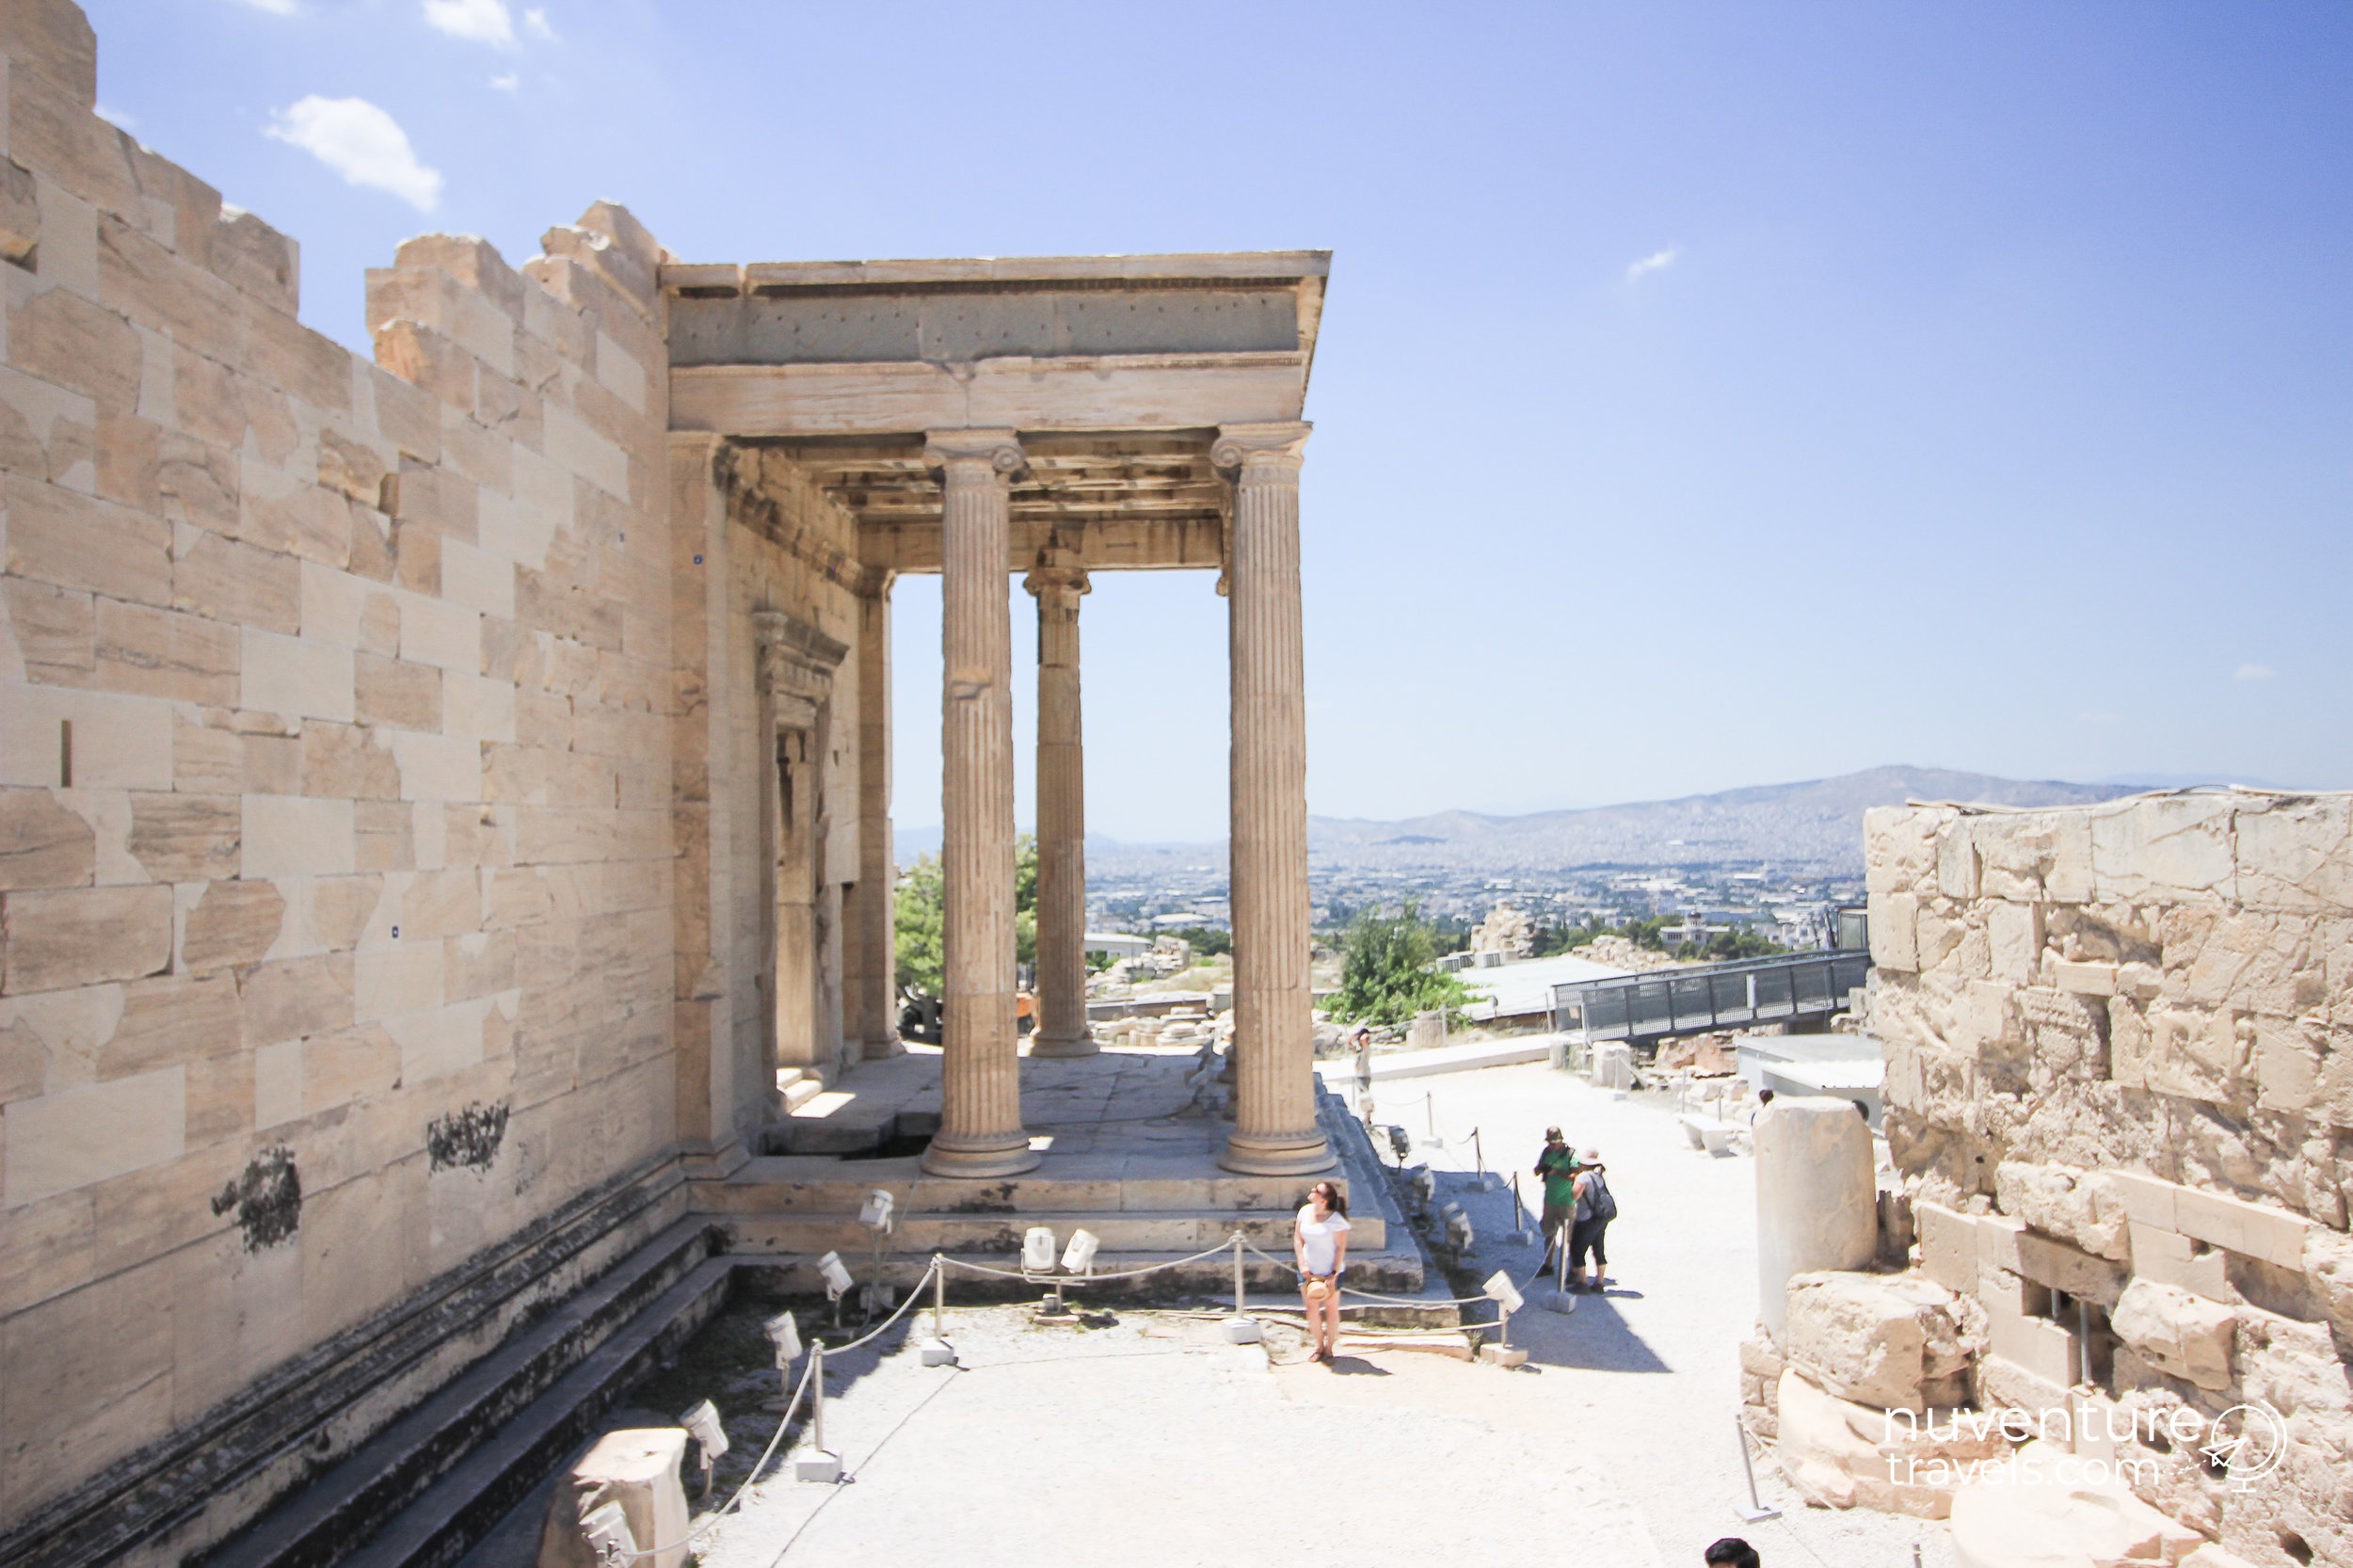
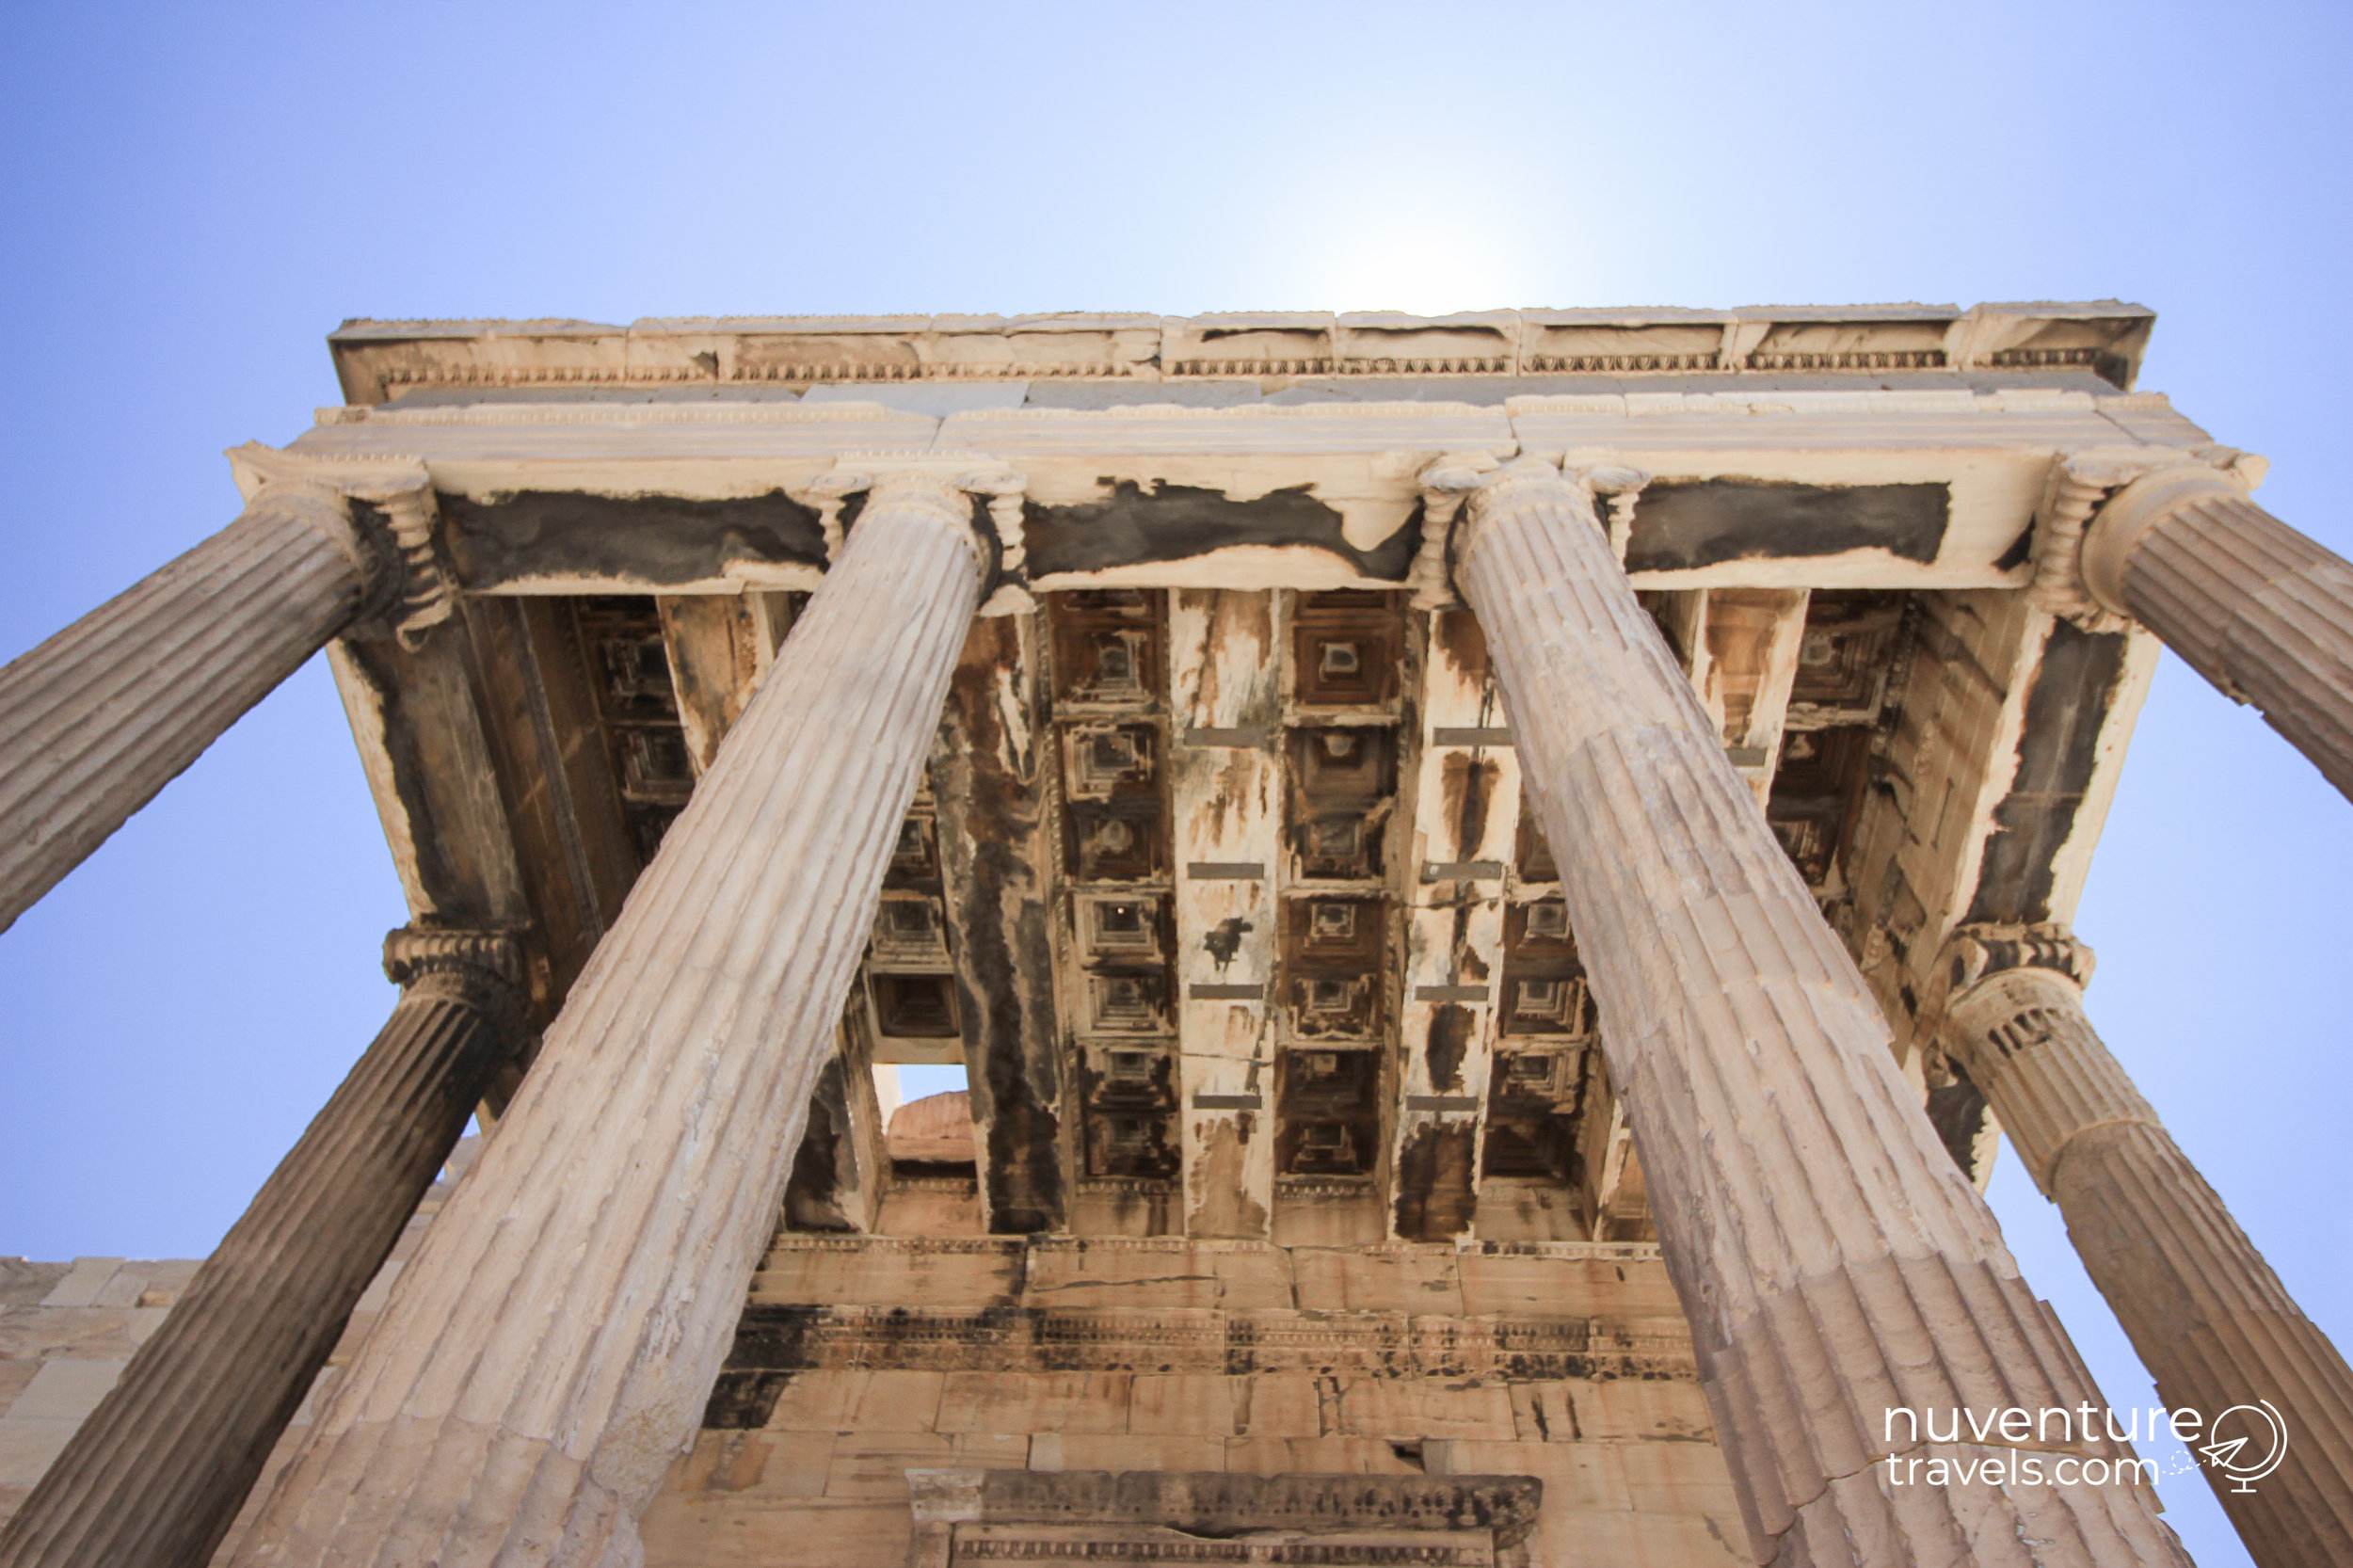
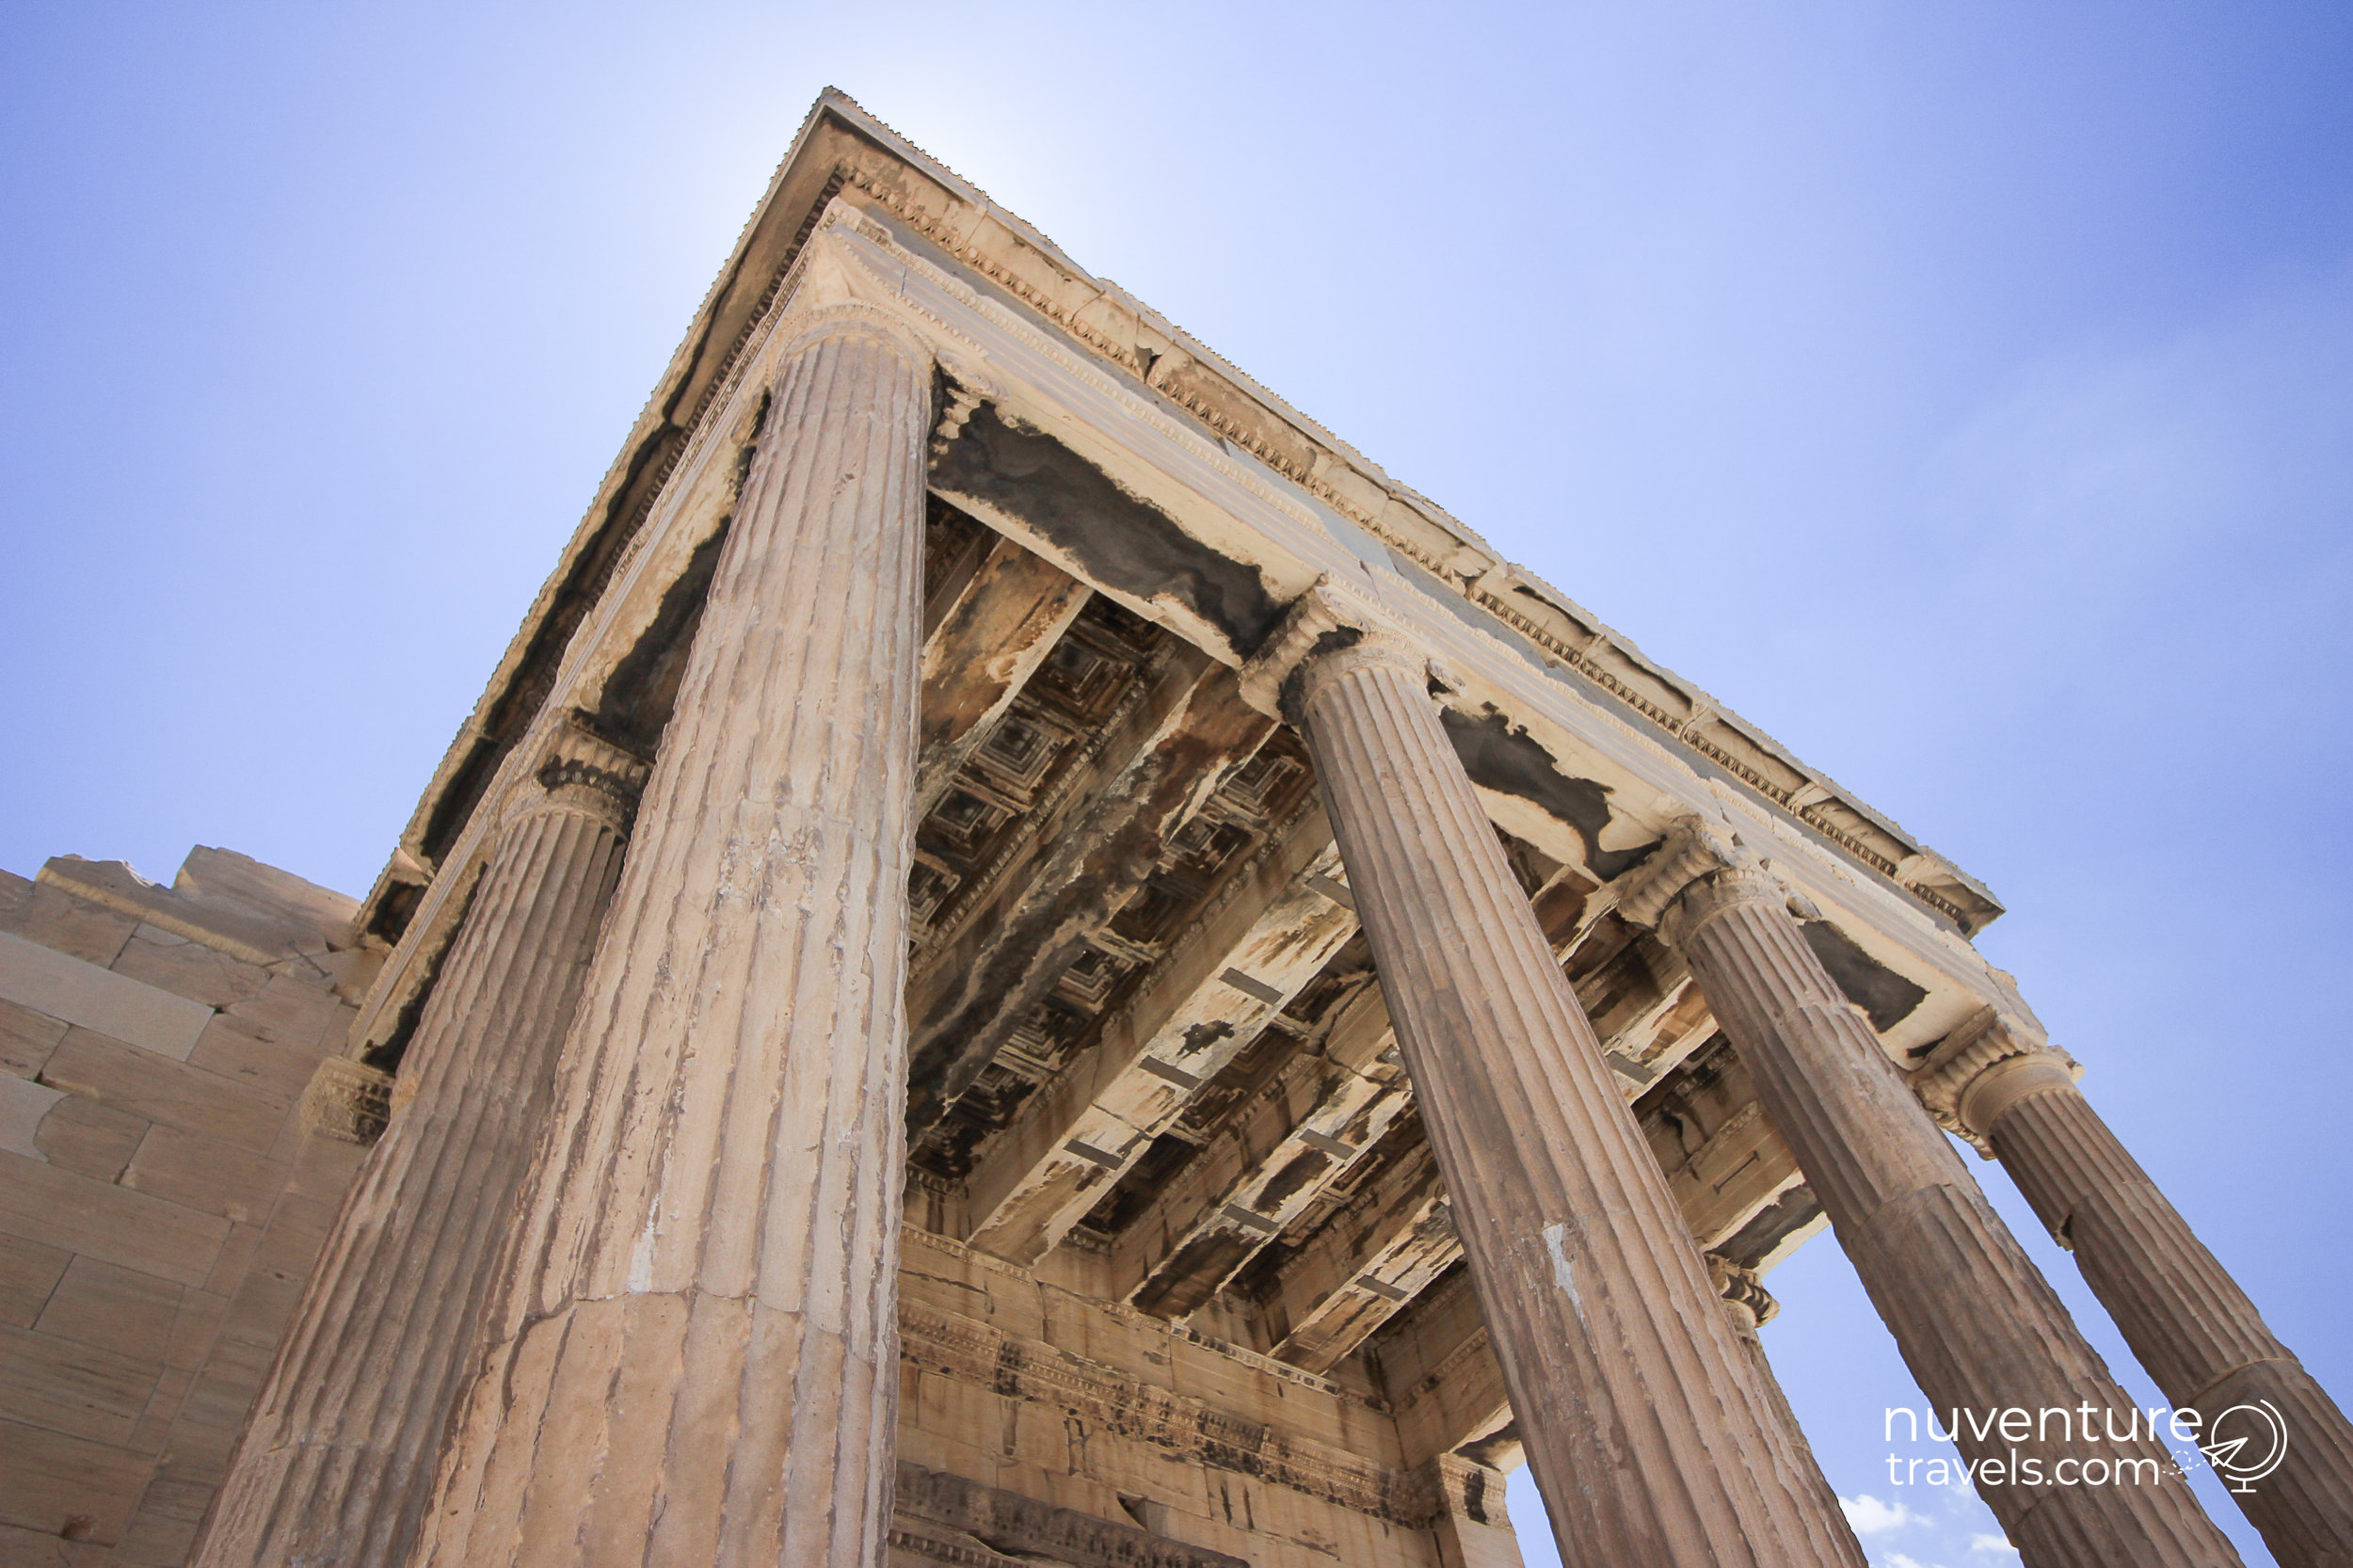
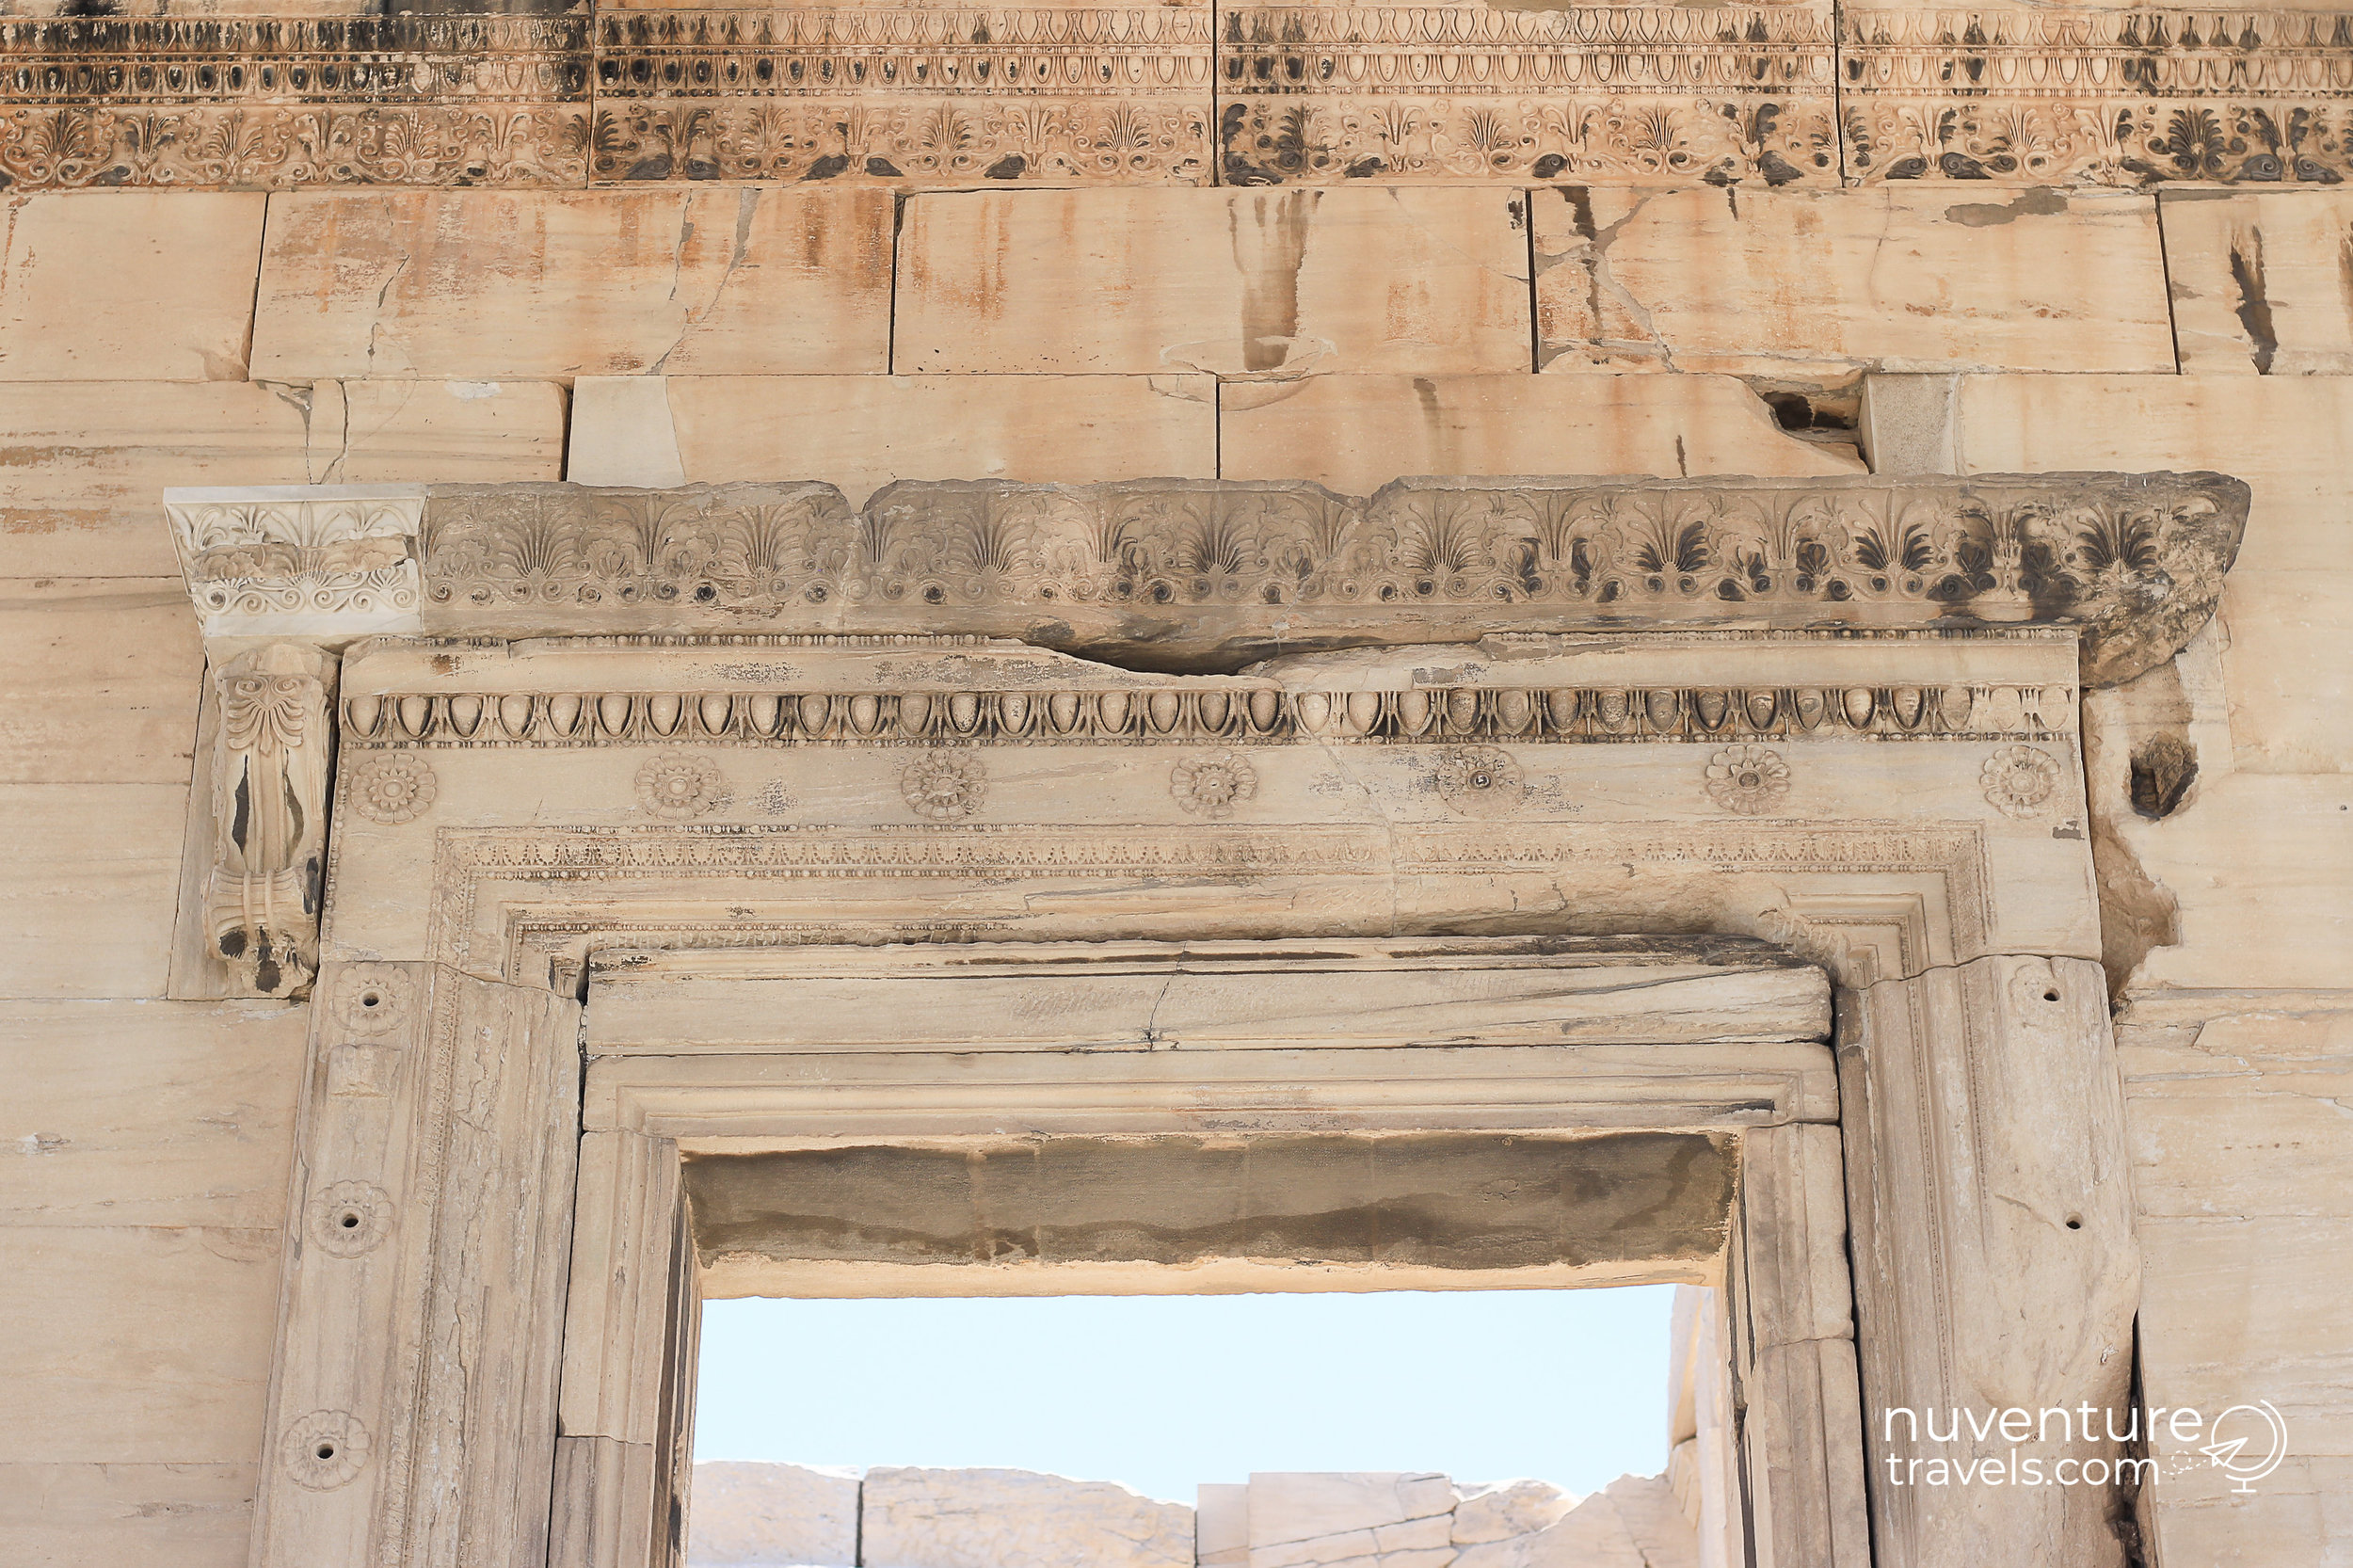
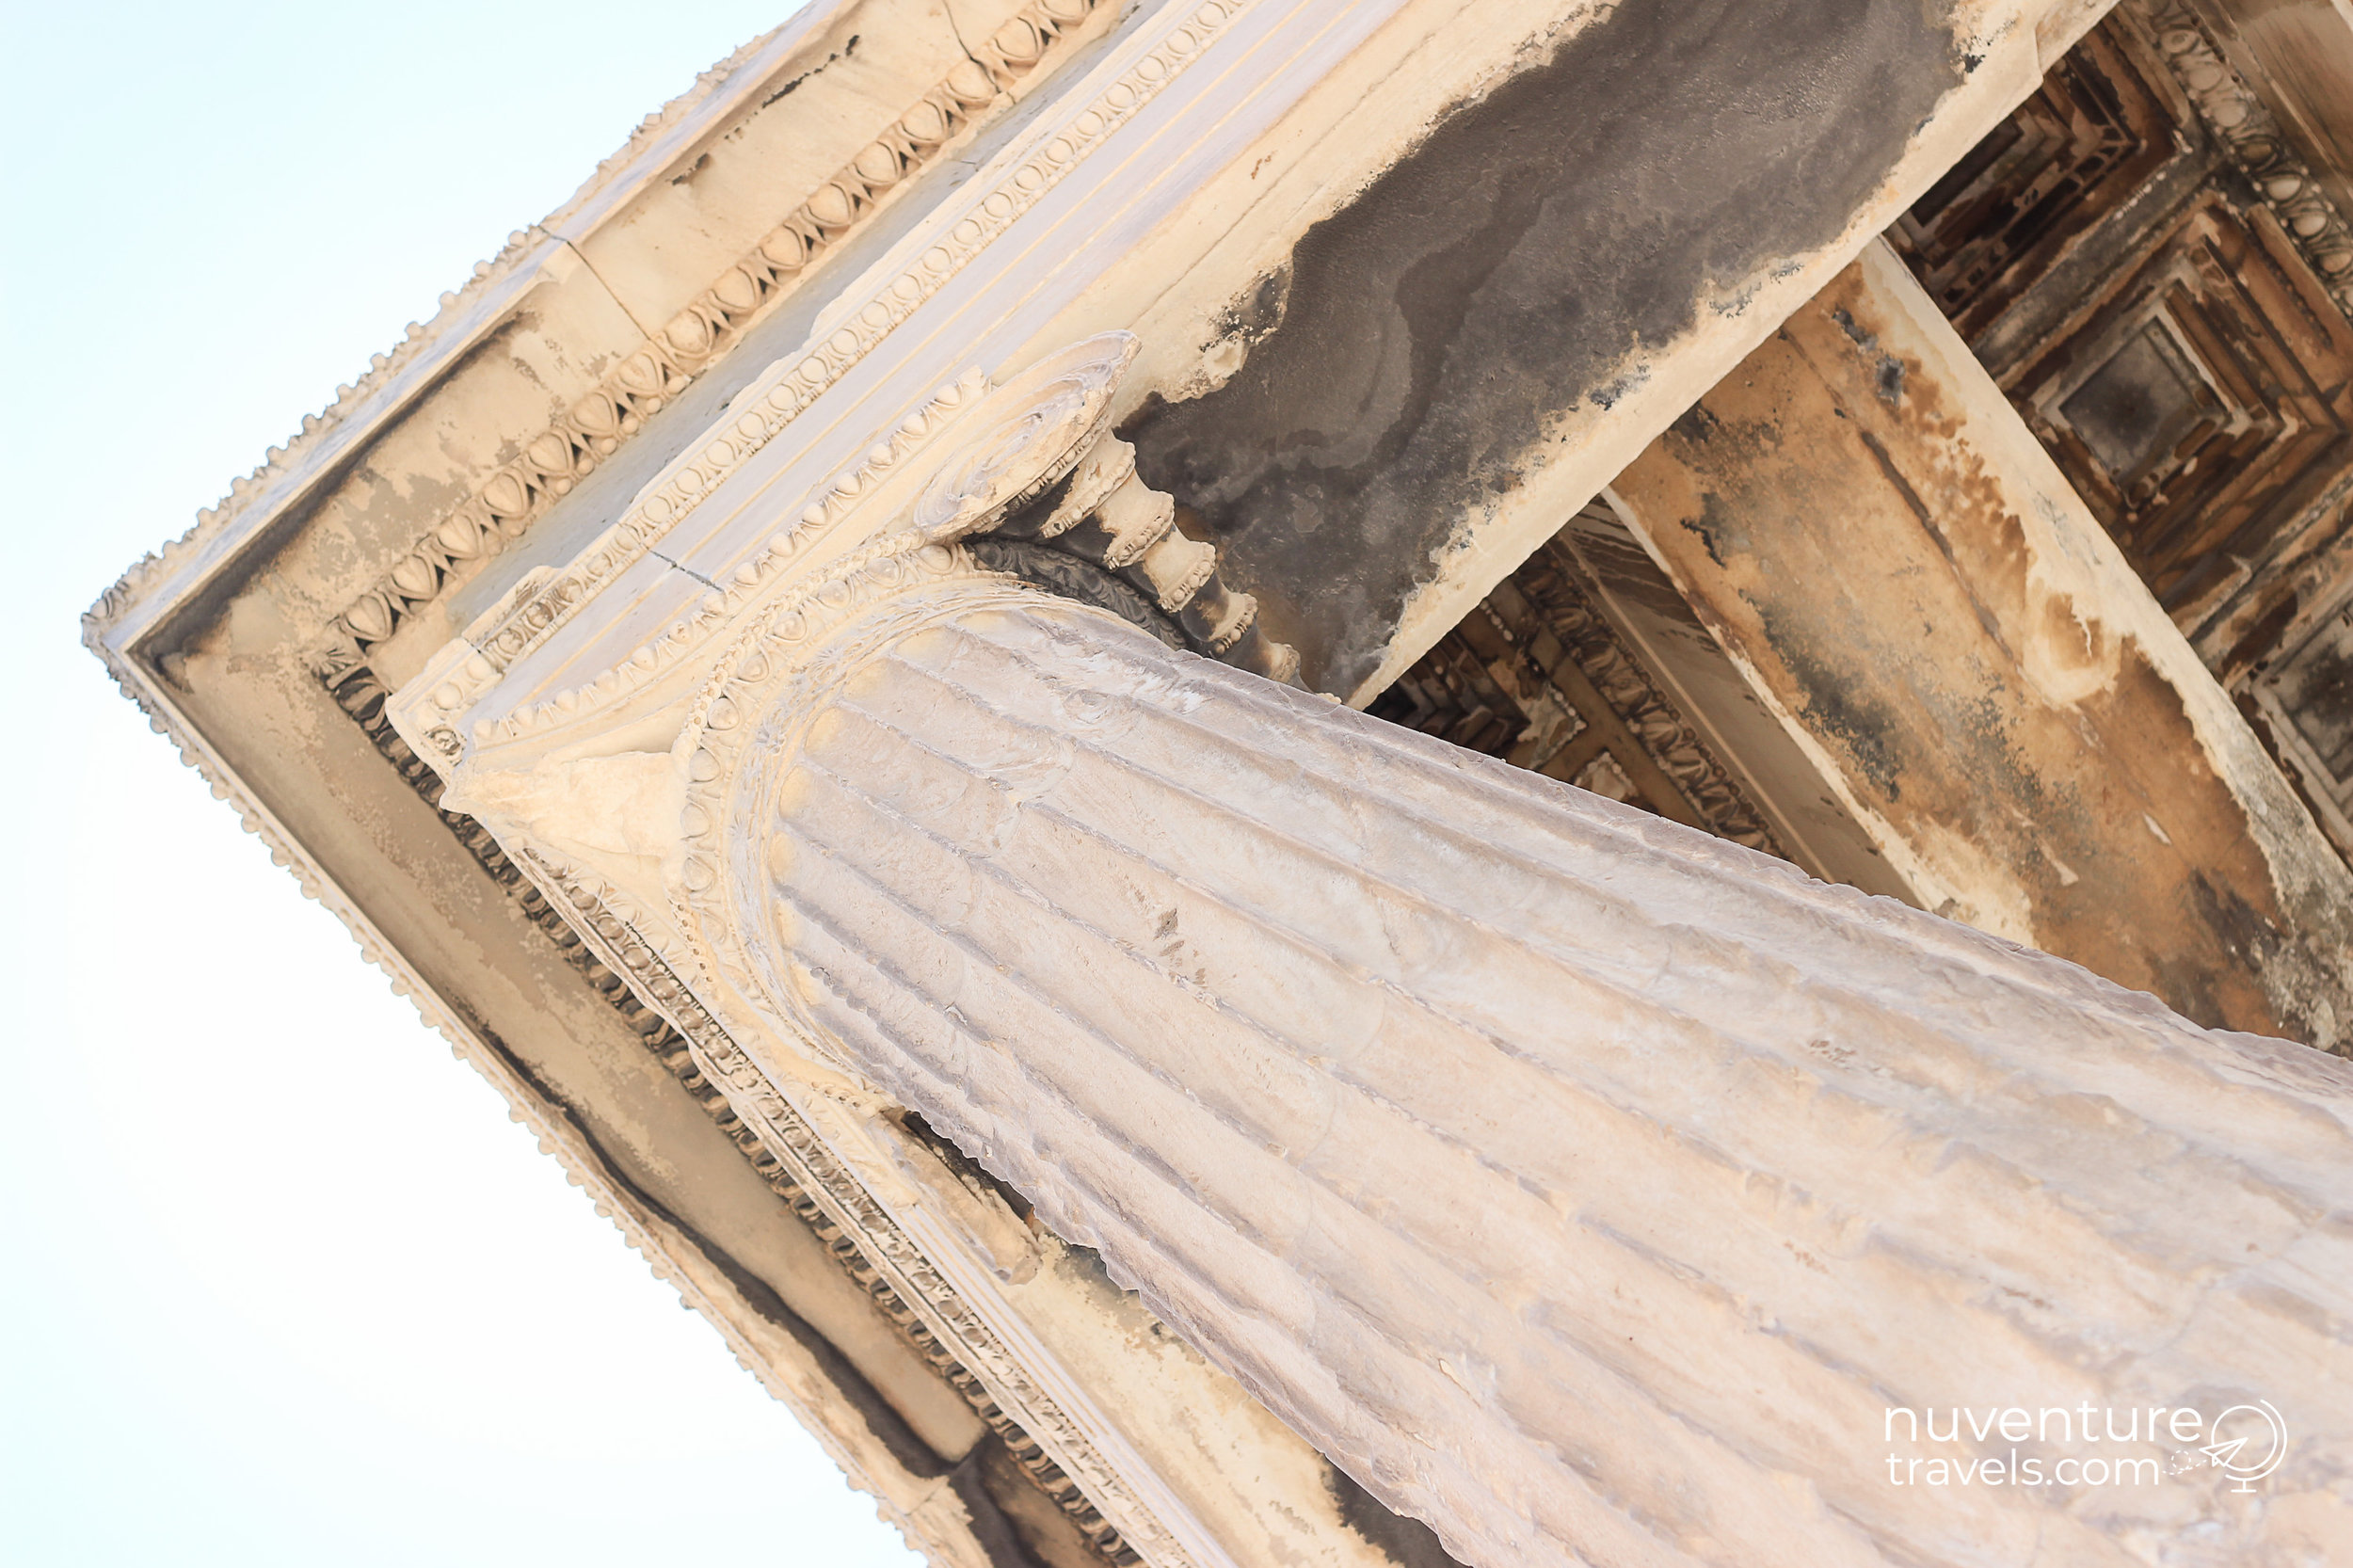
  4. Then we'll take a left at the top of the hill and walk to the temple Erechtheion dedicated to the Goddess Athena and God Poseidon

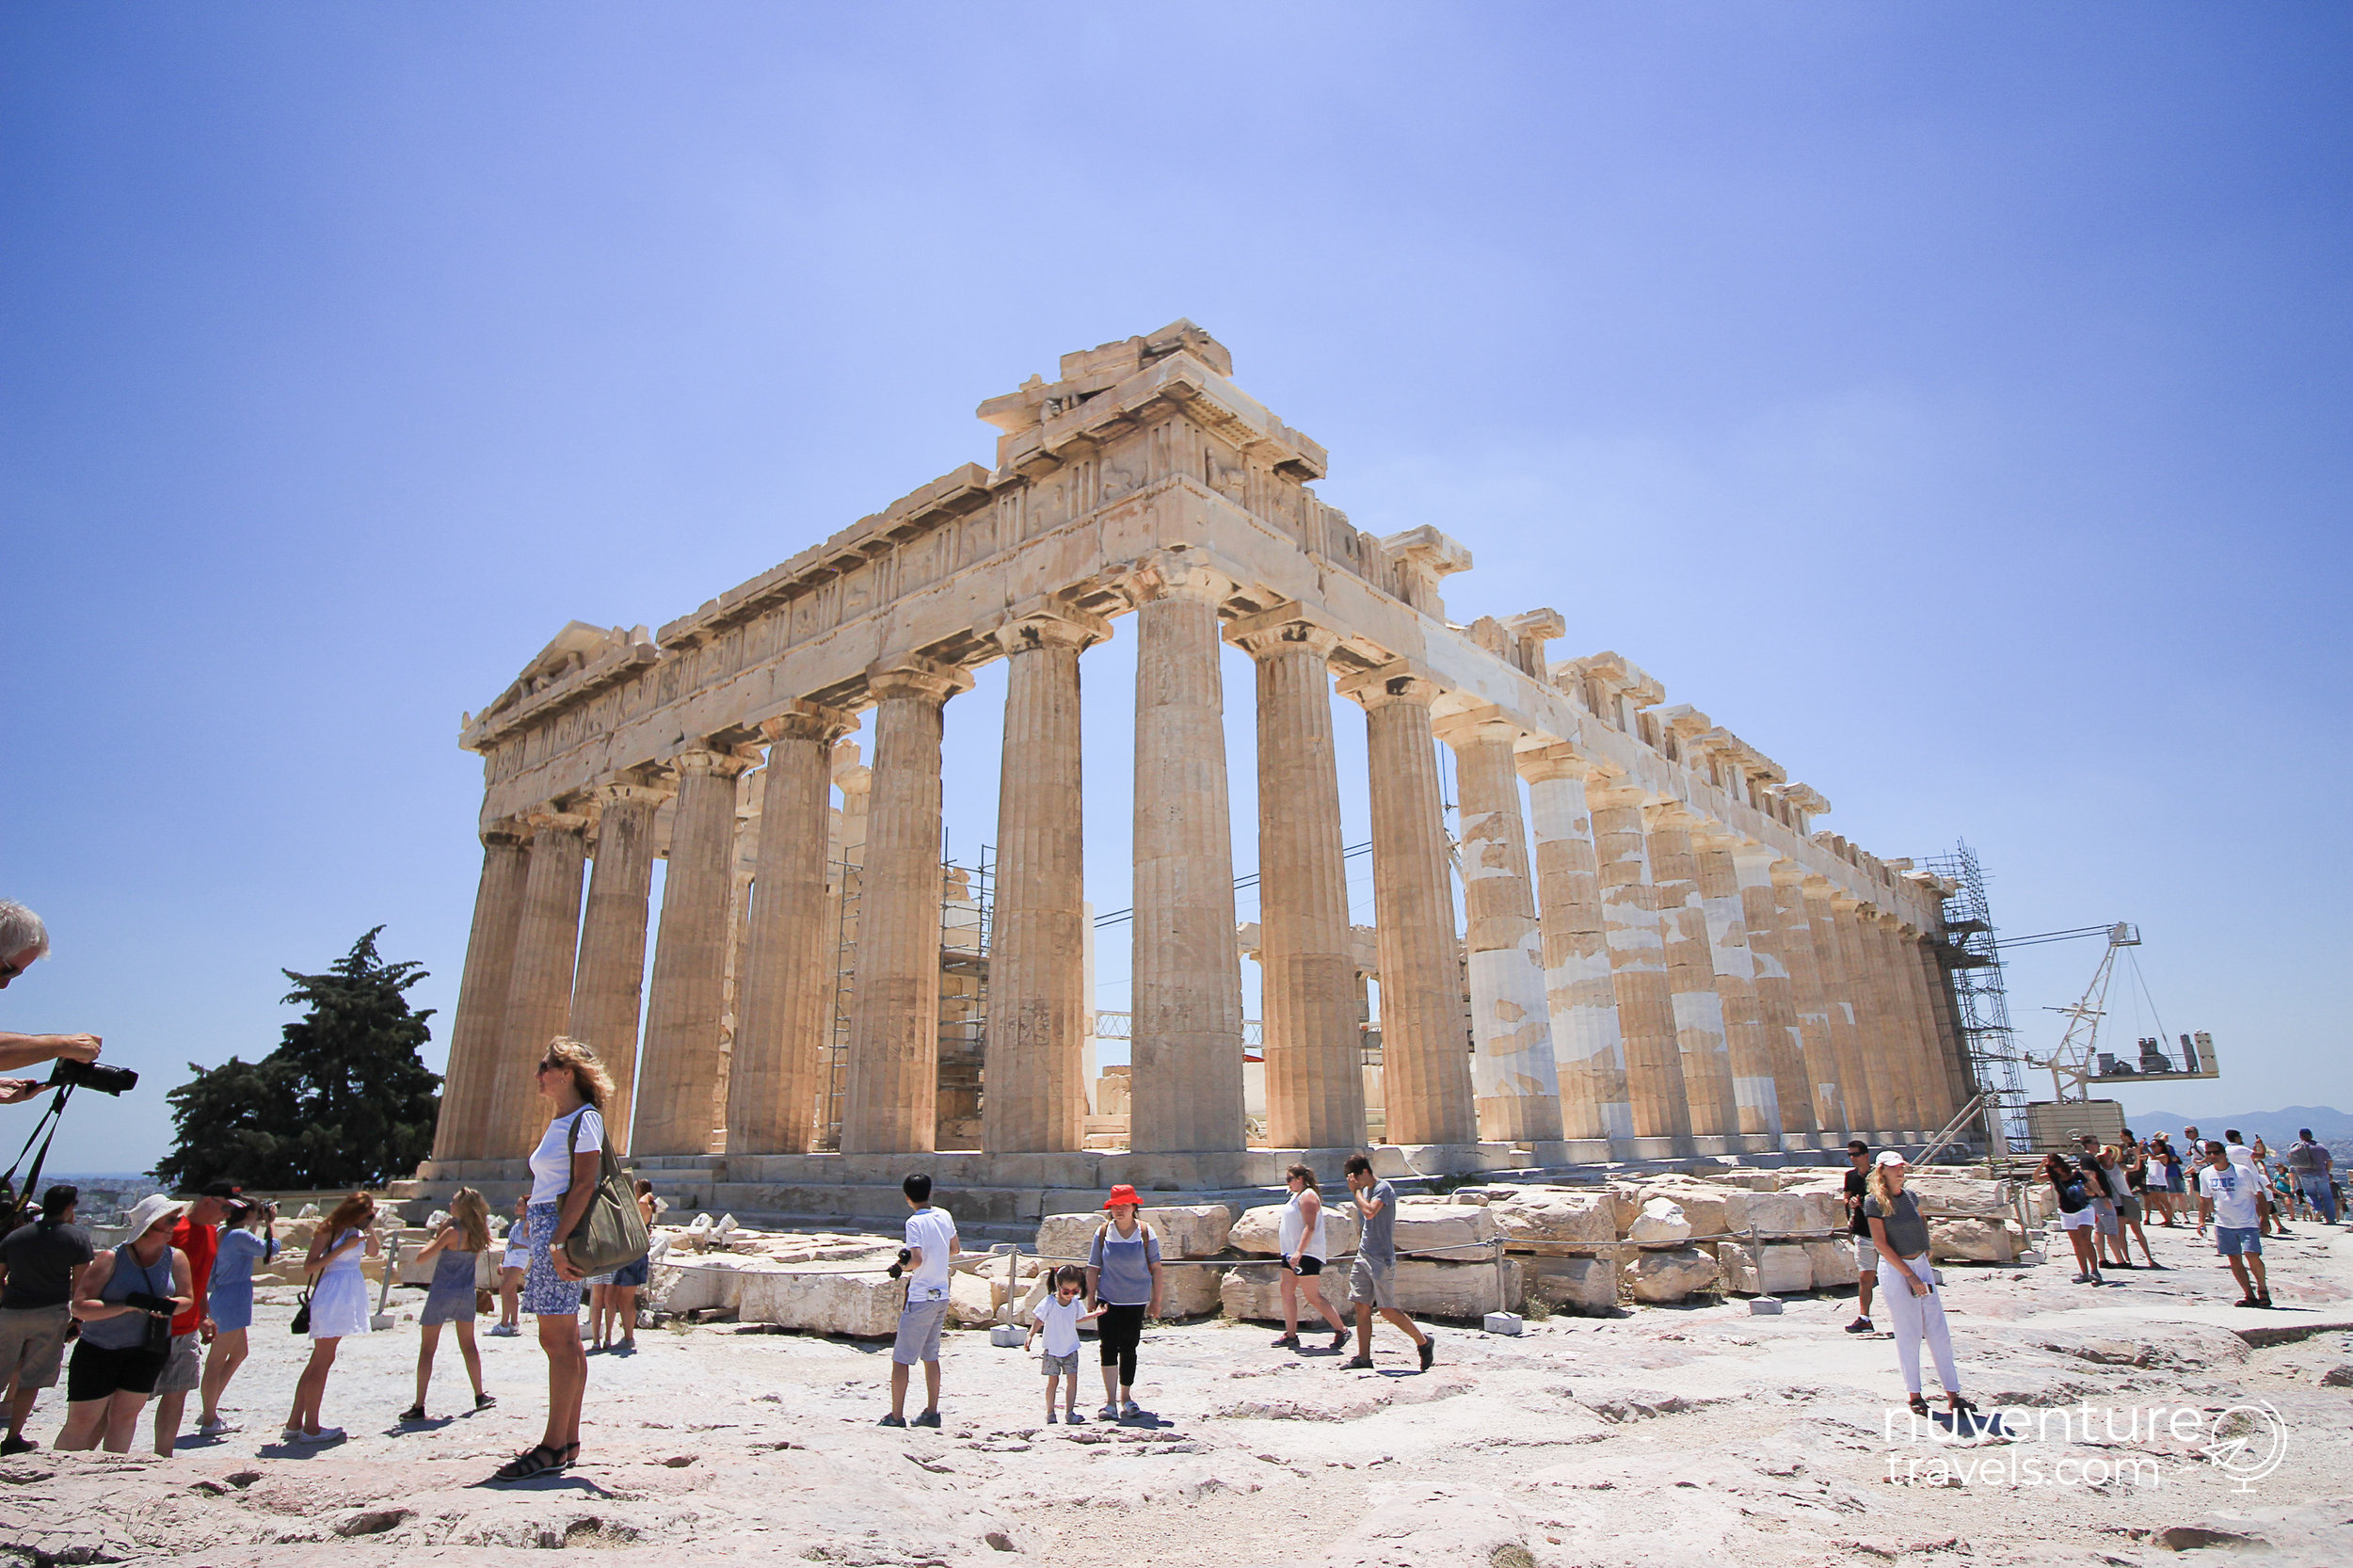
  5. Then, we'll walk around the Parthenon.

Enjoy!


Let's Tour Acropolis & the Parthenon Together!


Still Curious about Acropolis & the Parthenon?

Check out these books to keep learning!


You'll Also Like:

2 Comments

8 Tips for Visiting the Parthenon & Acropolis: 8 Things I Wish I'd Known Before Going

Comment

8 Tips for Visiting the Parthenon & Acropolis: 8 Things I Wish I'd Known Before Going

8 Tips for Visiting the Parthenon and Acropolis Before You Visit

What should you know before visiting the Parthenon and Acropolis? Here's eight tips for your trip I wish I'd known before going.

8 Tips to Visit the Acropolis & Parthenon:

1. Go to the museum first.

We got this advice before going and we totally agree. We recommend going to the museum first to learn the history of the Parthenon so when you get up on Acropolis you know what you're looking at. Also watch the movie they show on the top level of the museum. It quickly shows you the history of the Parthenon. So interesting! And, here's good news, too: The museum's cheaper than a ticket to Acropolis. It's only 5 euro and is air conditioned:)

NuventureTravels.com Tips to Visit the Acropolis and Parthenon in Athens, Greece

2. Consider splitting up your visit to the museum and Acropolis into two different days.

There's so much to learn and see! We split our visit to the museum and going up on Acropolis into two days. We (I mean Adam) likes to read every placard and sign. After several hour of this, my brain's fried. So, we spent half a day in the museum and I spent another half a day on Acropolis (Adam wasn't interested in going- so I went solo). You're learning centuries worth of history here. This makes for a great but exhausting experience if you try to cram it all in.
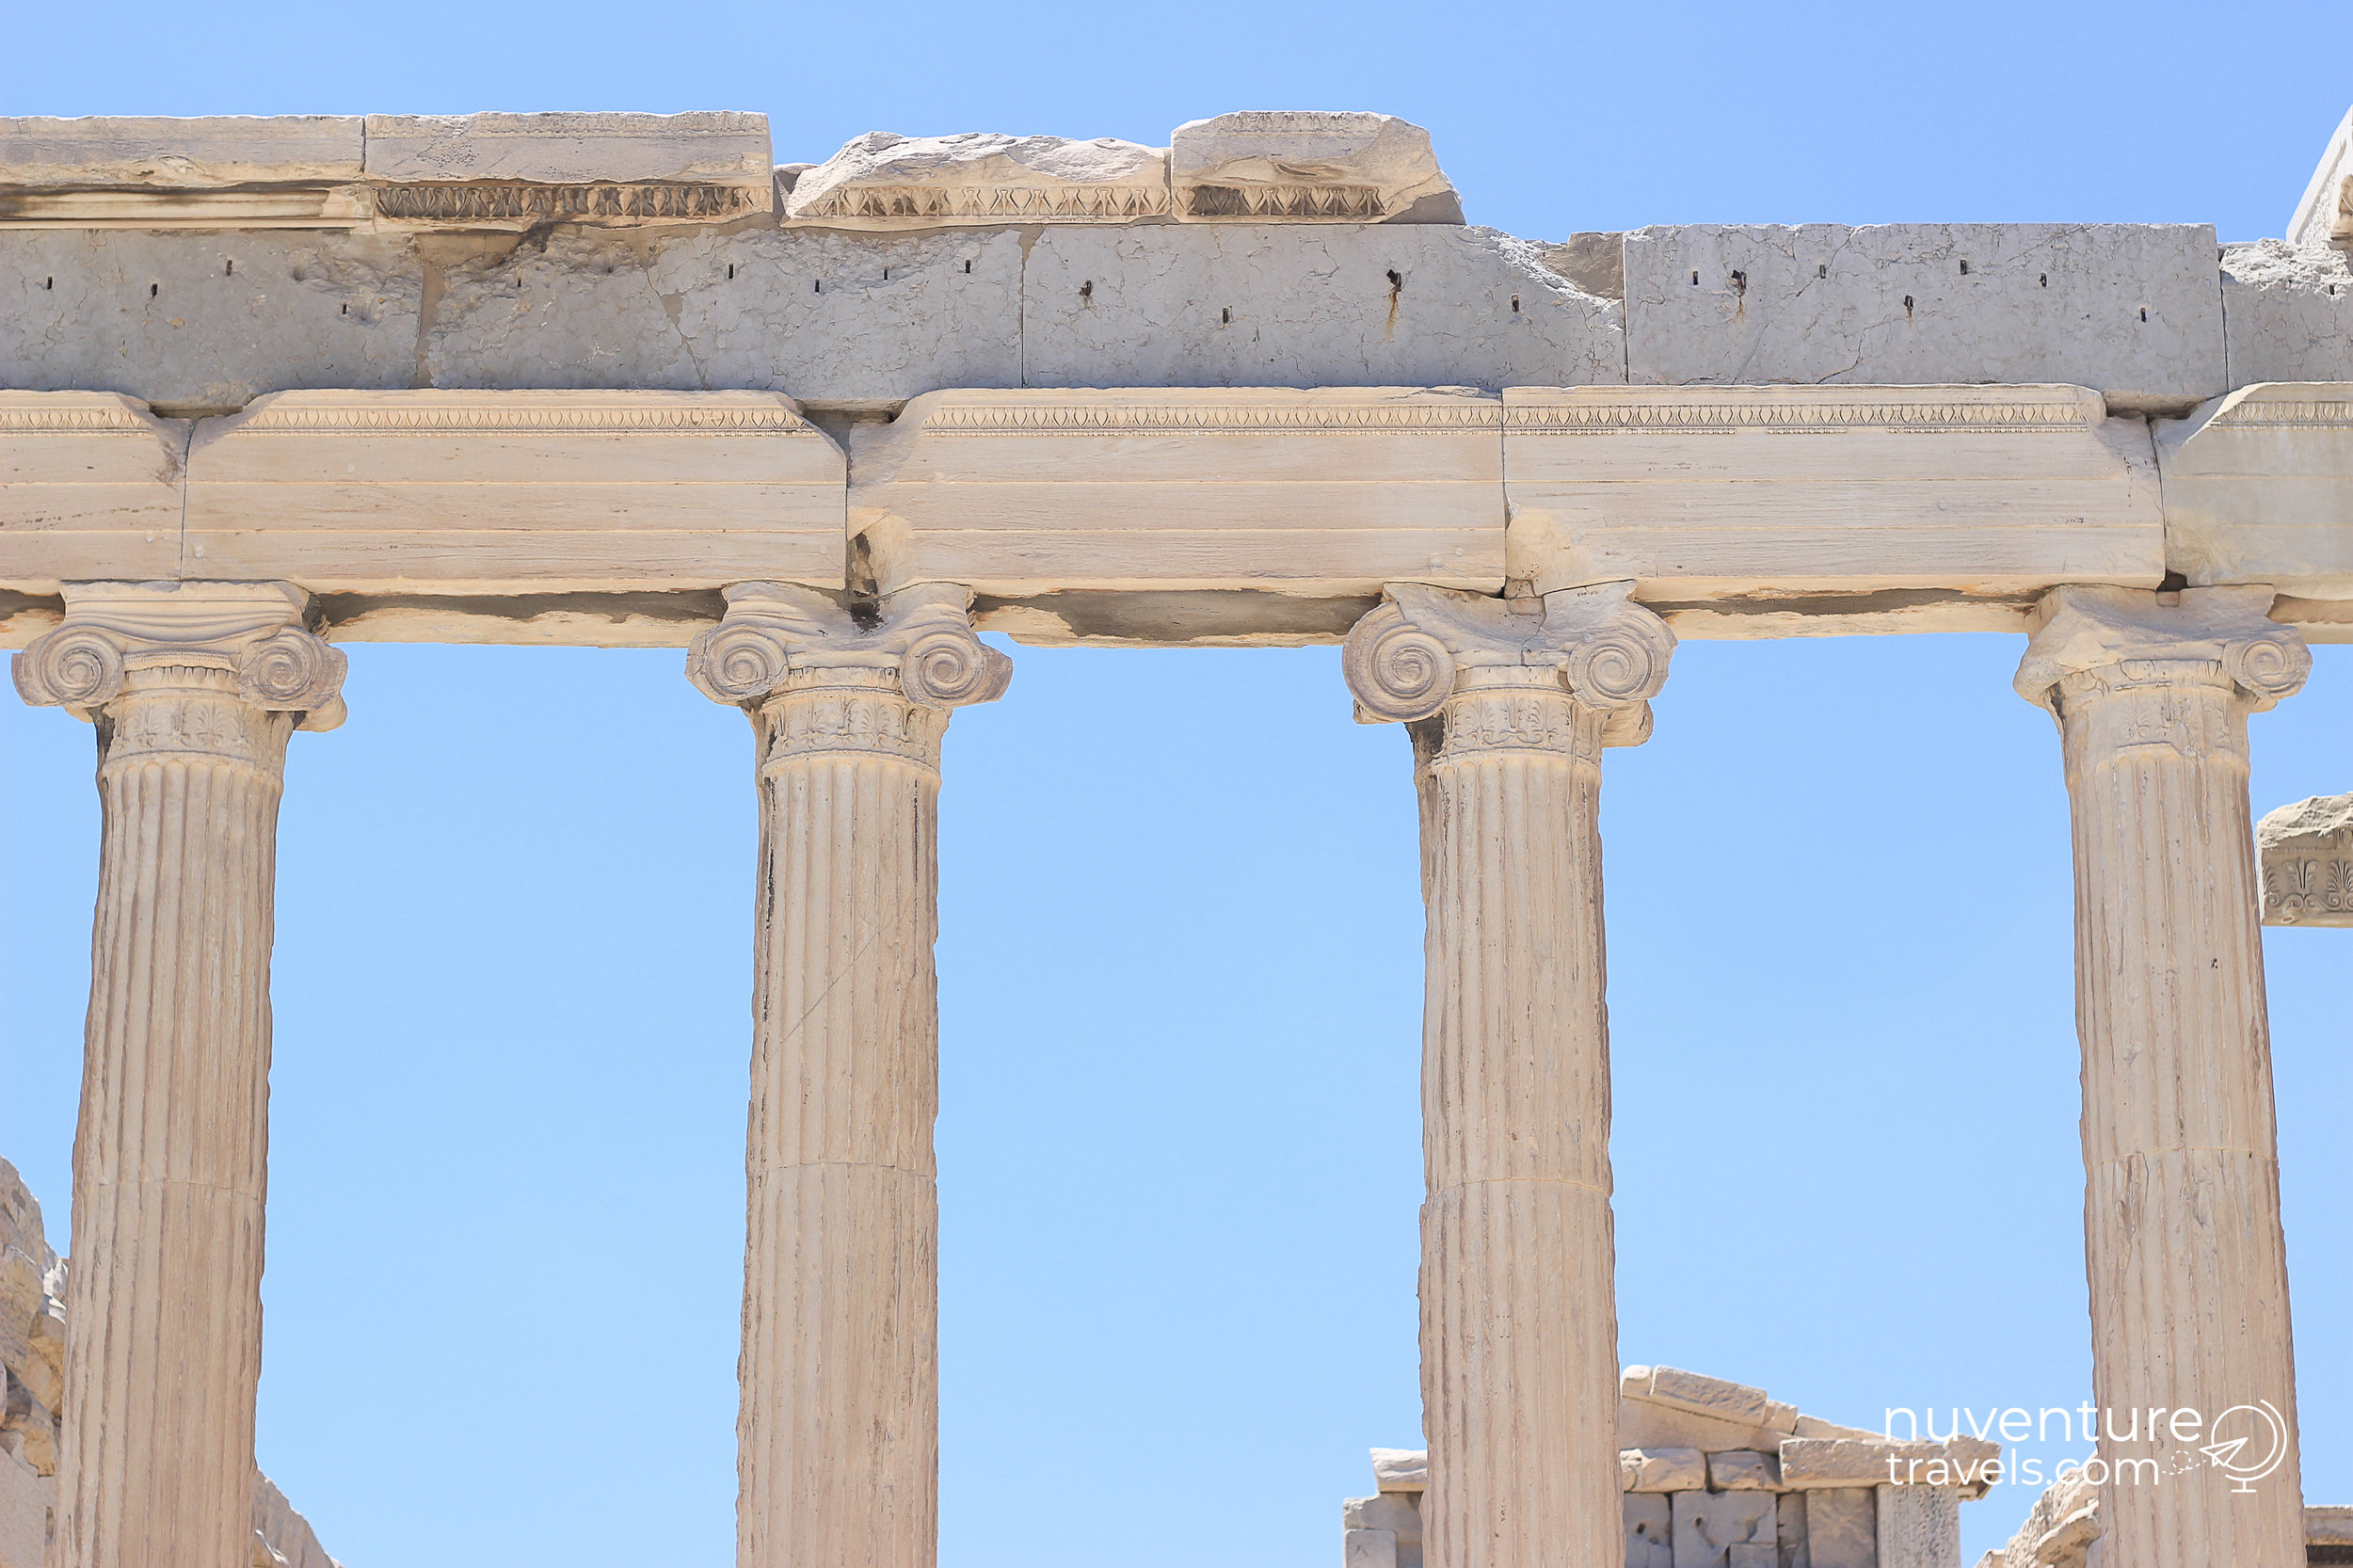
3. Go to the Acropolis early.

I went around lunch at the heat of the day. Mistake! This meant the lines were long to get in and it was so hot, and so bright up there. I made a lot of mistakes with no sunscreen, no water bottle, no hat. I ended my experience fried, dehydrated and exhausted. Learn from my mistakes, and make sure to pack these items
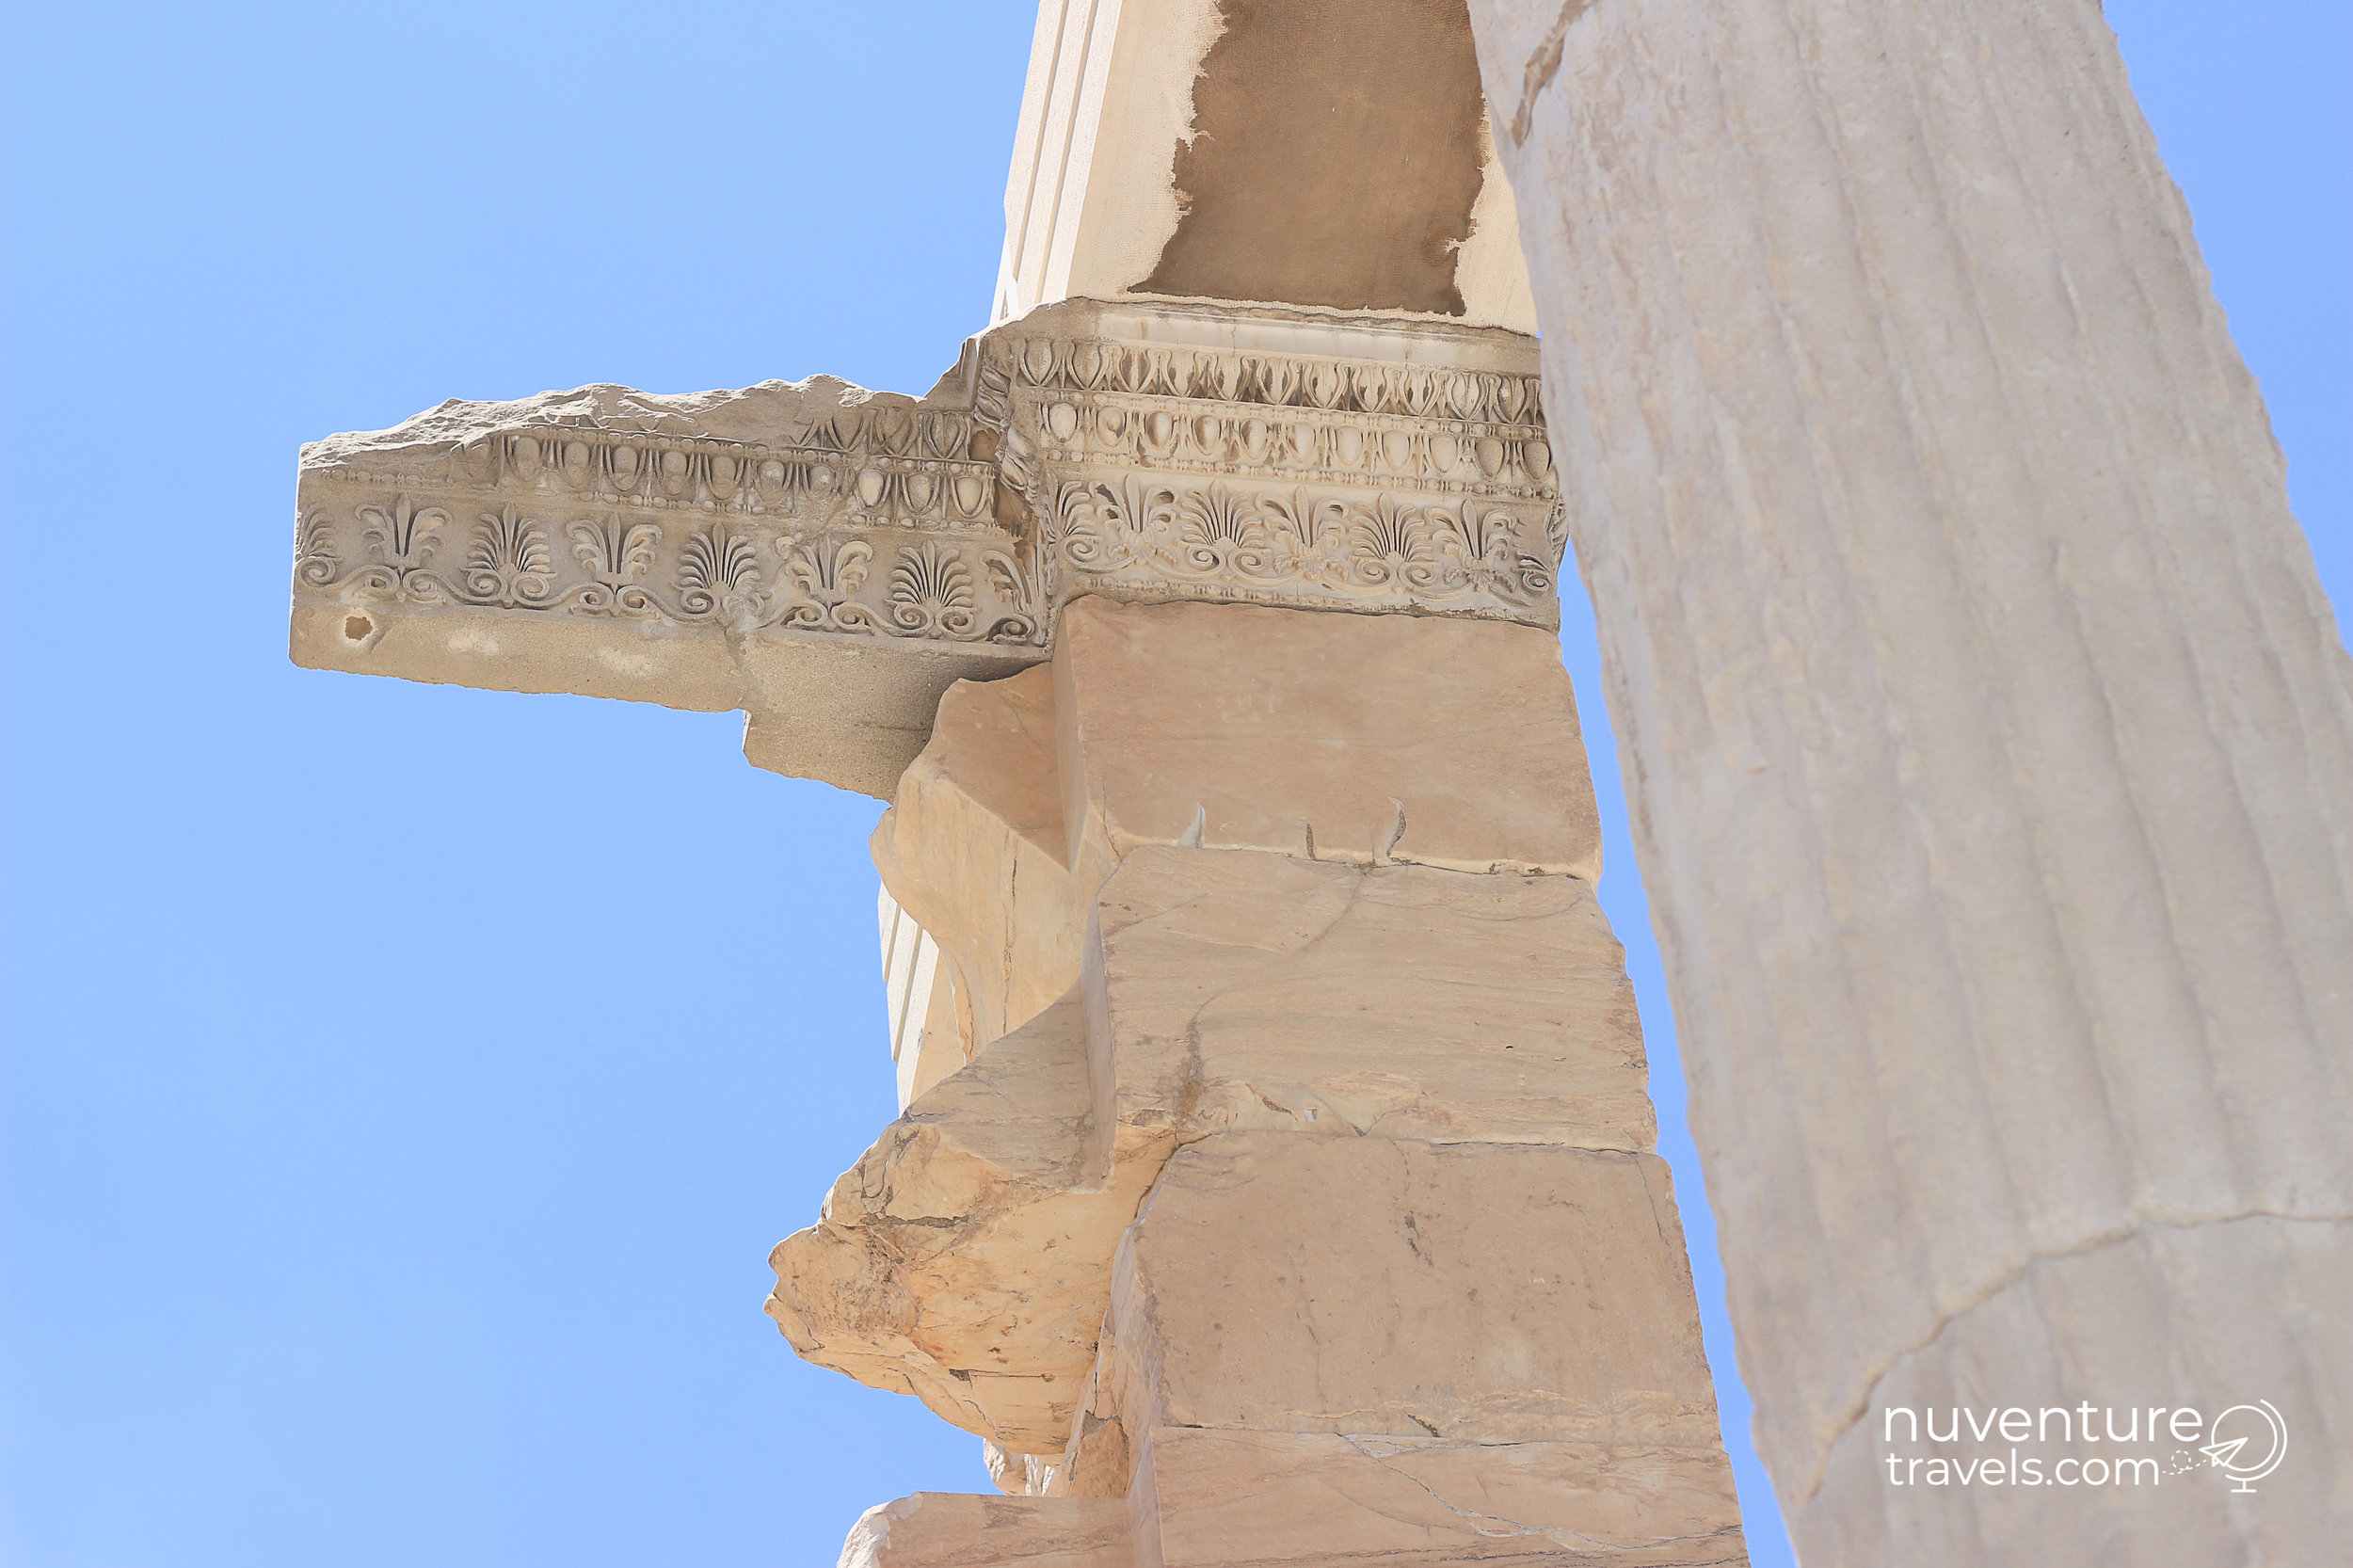
4. Make sure you're in the right ticket line.

Tips to Visit the Parthenon and Acropolis nuventurertravels.com

To get a ticket to enter the Acropolis and head up to the top, you have to pay 20 Euro at the ticket booth. However, there's two lines to buy tickets. One line is for credit cards and the other one's for cash. There's little or no signage to know which line is which, so make sure you're in the right one. This leads to my next tip.

5. Eat before you go and pack lots of water. 

The ticket lines are long and you'll want to spend several hours exploring, so make sure you go on a full belly, pack a snack, and carry water with you to stay hydrated in the lines and up on Acropolis. There's lots of cheap gyro places with bottles of water near the entrance to the Acropolis to get stocked up. 

6. Prepare for the intense sun and bright surroundings!

This means pack your sunglasses, hat, I recommend an umbrella even, and sunscreen. The Acropolis and the area surrounding the Parthenon is very exposed to the intense sun and has little shade. To make the sun's rays even more intense, there's white rock reflecting light at every angle making it super bright up there. So, make sure you're ready for it. Check out my packing list for visiting the Acropolis and Parthenon here

7. Wear shoes with good traction.

The ground is uneven and it's slippery up there! The rock is so warn down from centuries of heavy traffic, I was slipping around up there with my shoes with no traction. I don't recommend flip flops. Make sure to wear shoes with good traction. Again, see my packing advice here

8. Take your time and enjoy it up there!

NuventureTravels.com Tips to Visit the Parthenon and Acropolis

I share all of these hydration and gear tips to help you prepare for a comfortable experience so you can stay as long as you'd like learning, seeing and exploring. The Parthenon is over 2,400 years old and is still standing. What a special place in the world. Enjoy it and soak it in! 

9. Bonus: Read Before You Go

One of the biggest lessons we've learned on our travels is to read a book about the places and topics you'll be traveling to. It's just like when people tell us to read the book before seeing the movie. You learn so many more details from a book than the movie can provide. And once you see the movie, you'll know all the background details and you appreciate the visuals. Same with reading a book before you visit somewhere. By reading the history of the Parthenon before arriving, you'll have a better understanding of this special place and appreciate your visit even more. You'll be able to visualize what happened there.
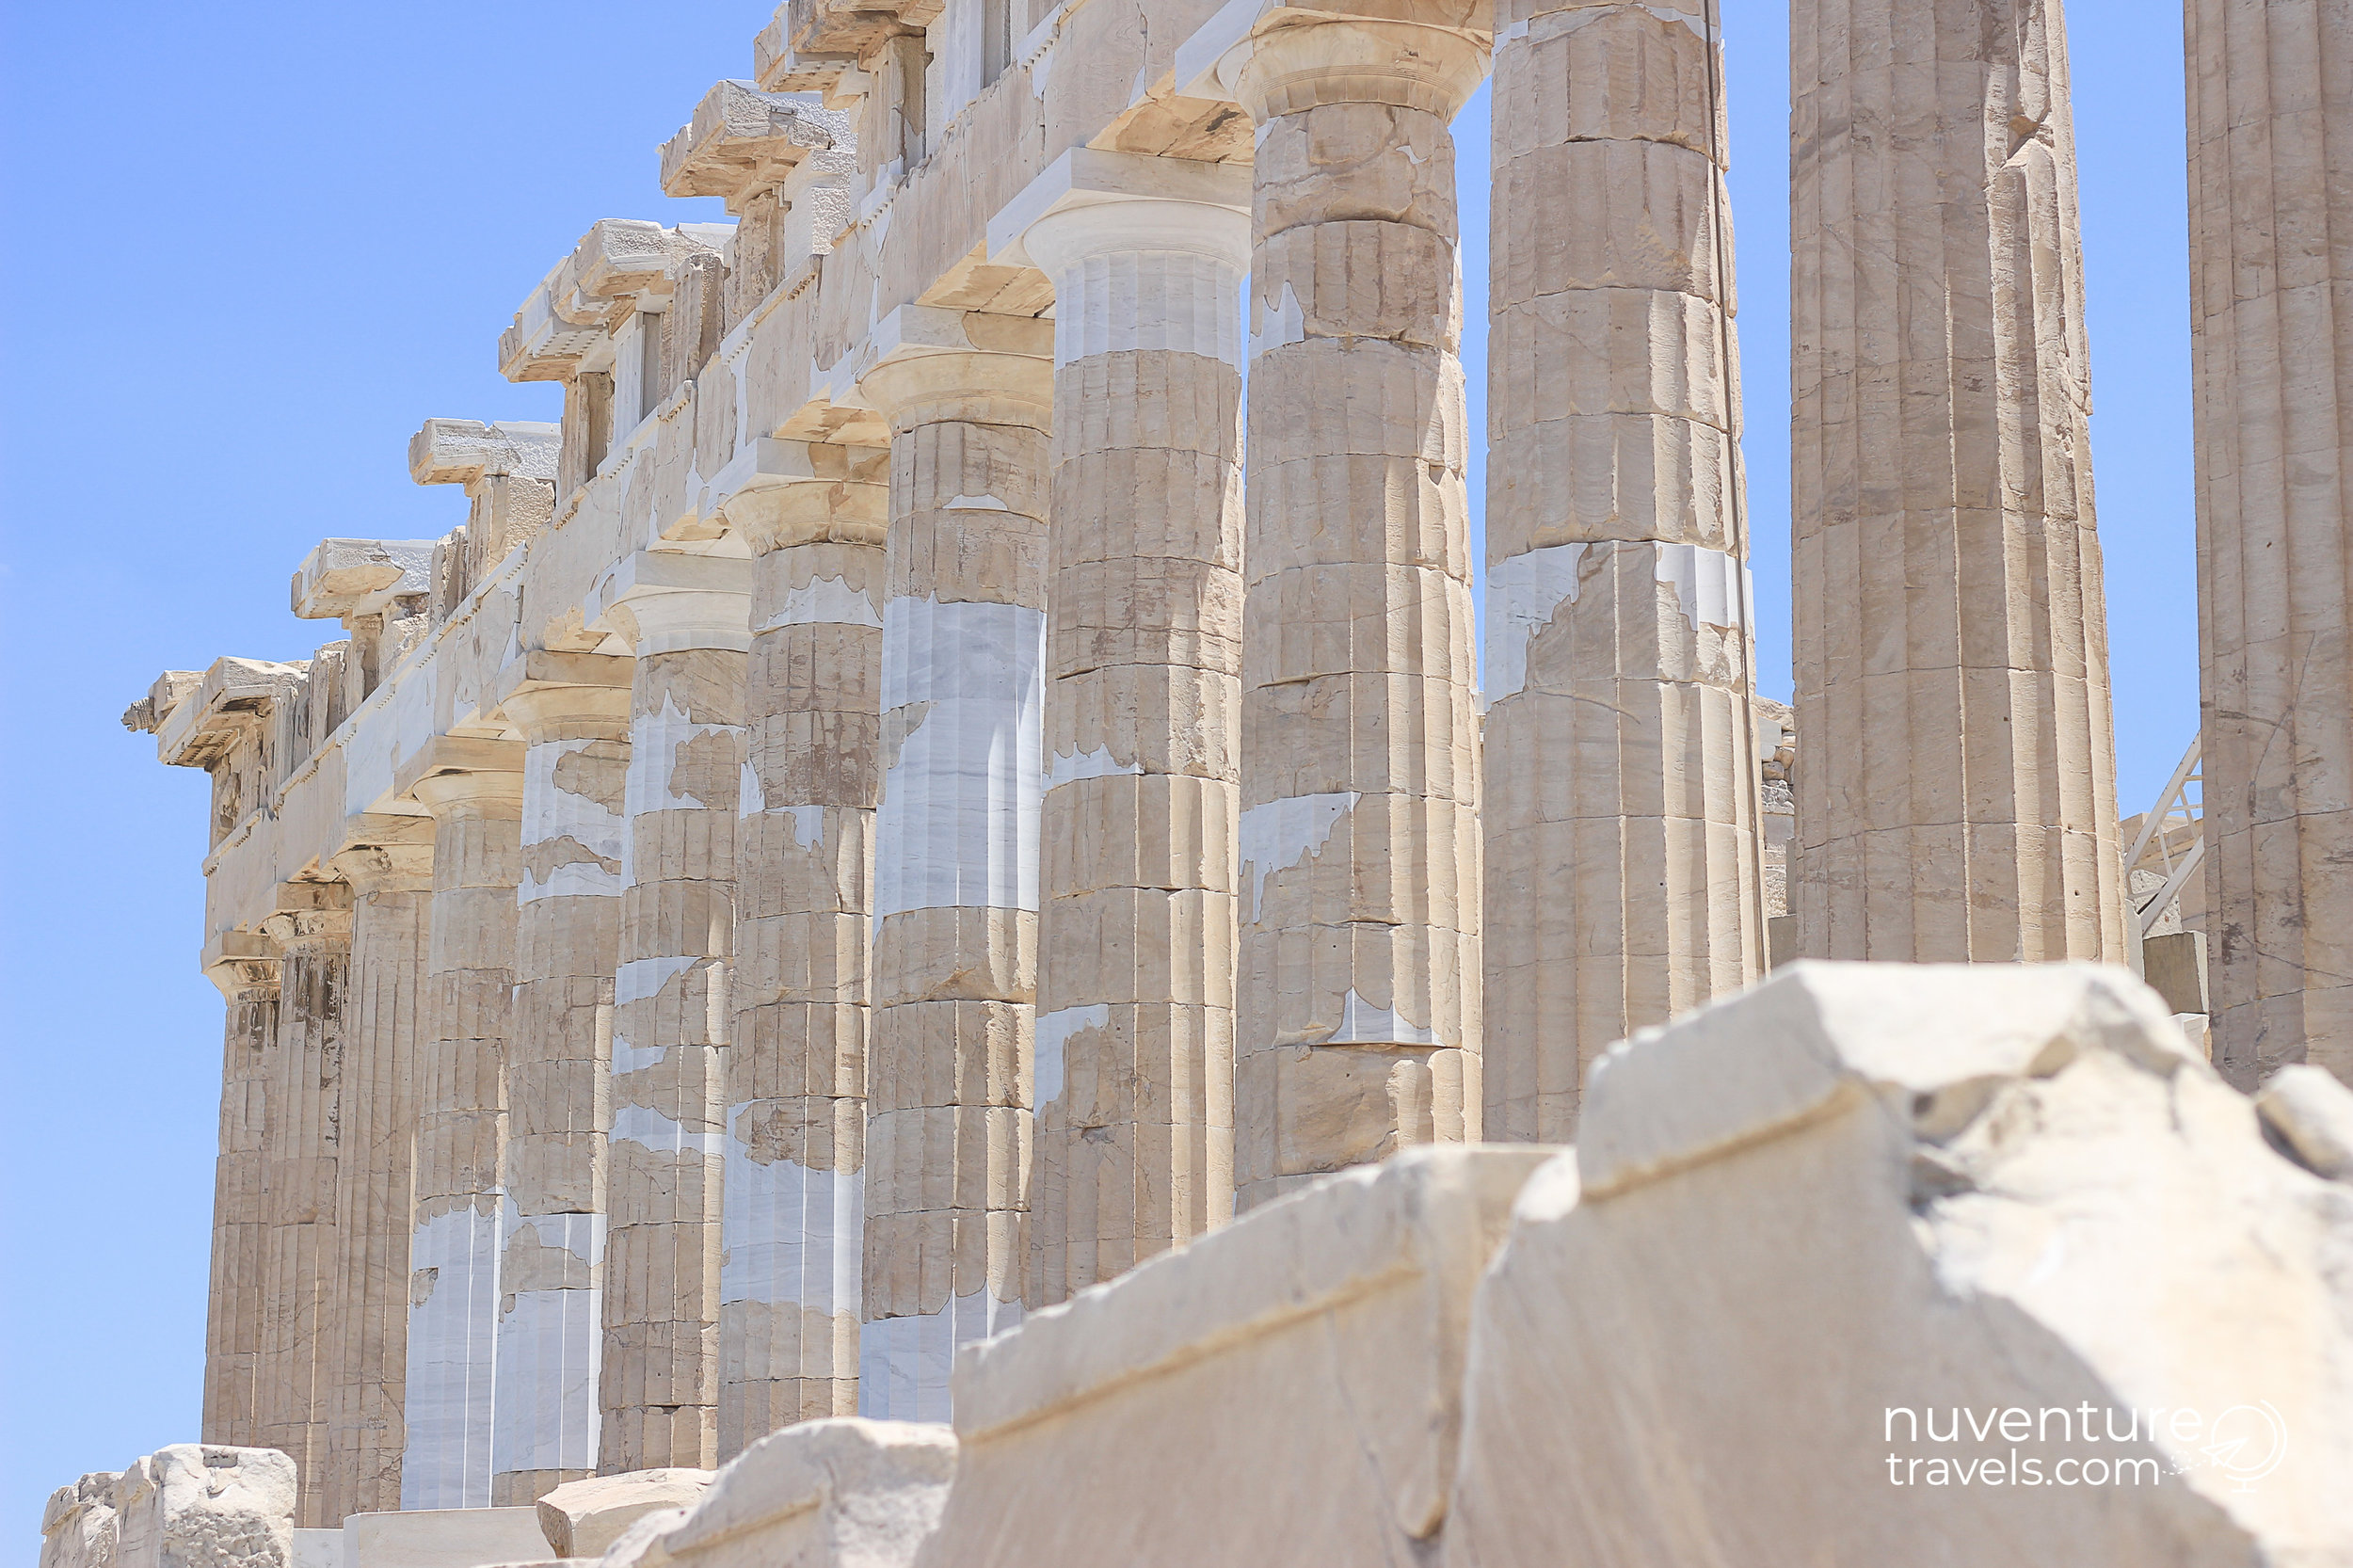
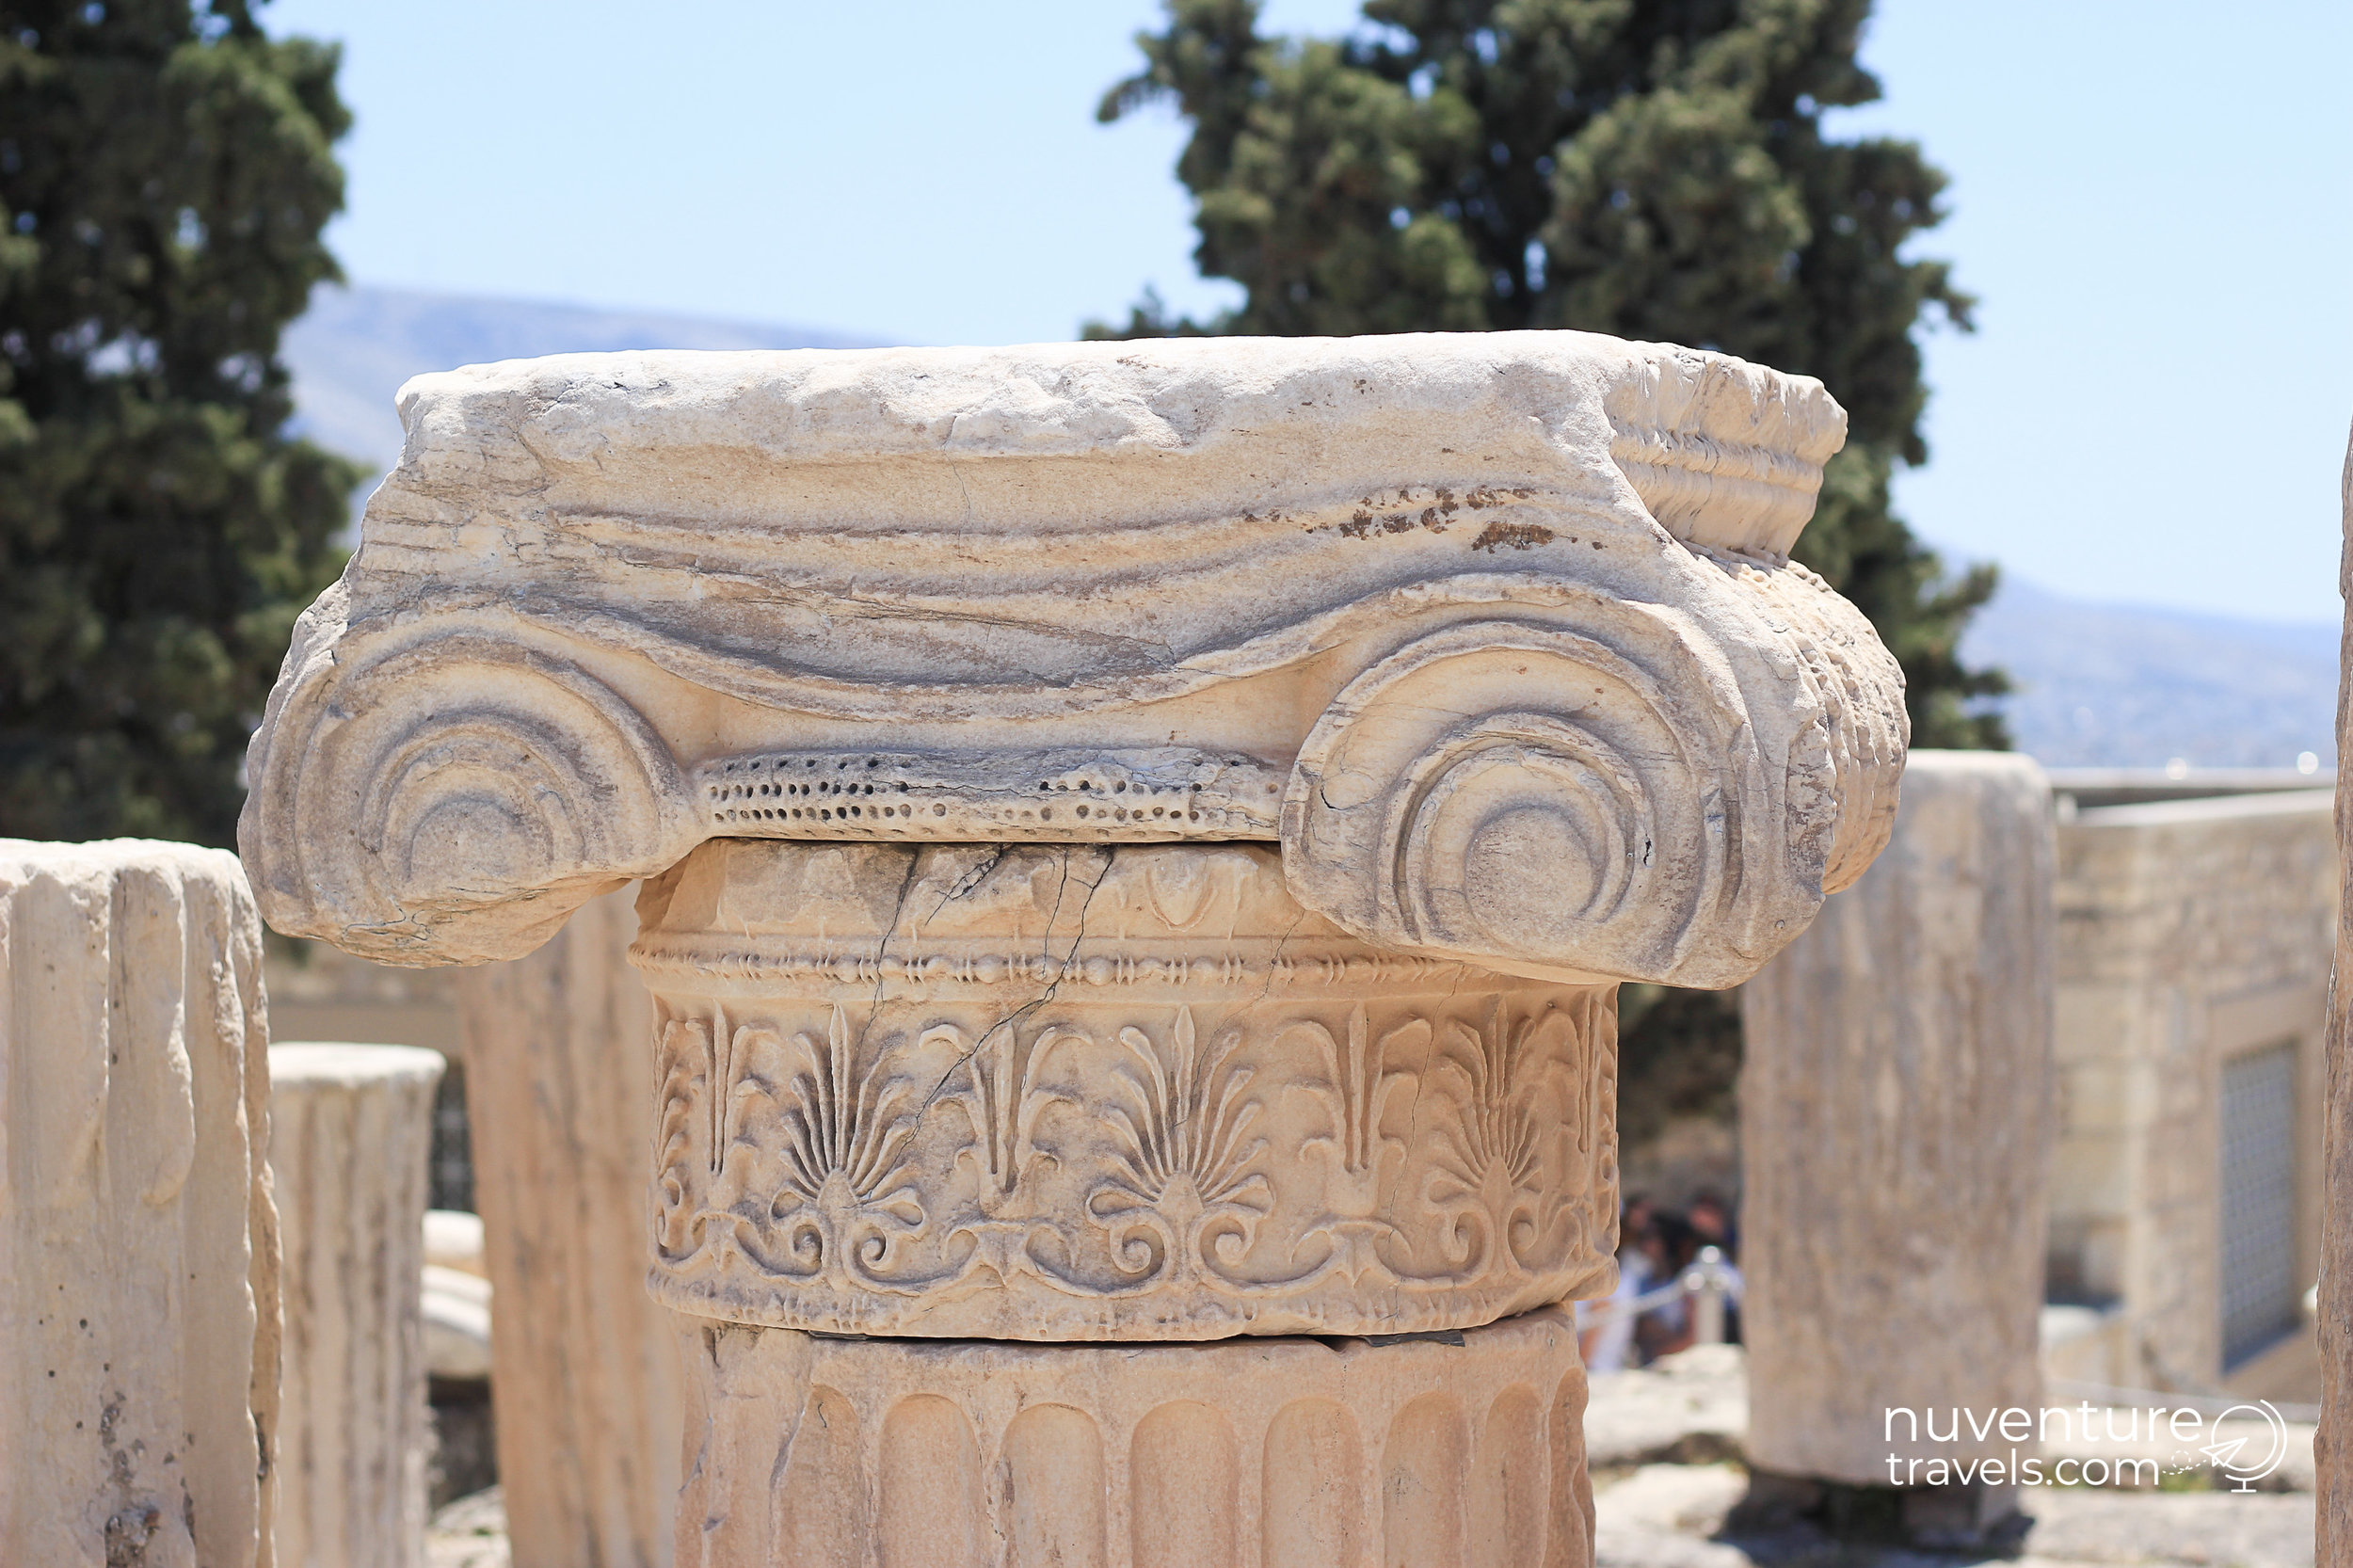
We recommend these two books to learn more about Acropolis and the Parthenon before you visit:


Gift Yourself a Great Visit to the Parthenon!

Download our Packing List for everything you'll need for your visit. 


You'll Also Like:

Comment

Buying a Campervan in New Zealand: Should Your Campervan be Self-Contained or Non Self-Contained? or Certified Self-Contained

Comment

Buying a Campervan in New Zealand: Should Your Campervan be Self-Contained or Non Self-Contained? or Certified Self-Contained

Photo by Nathan Dumlao

Photo by Nathan Dumlao

Buying a Campervan in New Zealand:

Should Your Camper be Self-Contained, Certified Self-Contained, or Non Self-Contained?


This is a really important question to ask yourself when you're thinking about buying a campervan in New Zealand

Your campervan’s status of being self-contained or non self- contained determines how easy it’ll be for you to find designated campsites each night.


What's the Difference?

The difference between self-contained and non self-contained is about your waste situation.

Self-contained vehicles have their own toilet and tanks to hold the waste inside (everything's self-contained). With this kind of camper, it's easy to park up and camp for the night. 

Non self-contained means your vehicle is not self-sustainable and does not have a toilet or holding tank inside. This means you have to have a public toilet available at your designated campsite each night. 

This was us. We bought a non self-contained minivan that was converted to a camper. We always had to find a designated campsite for non self contained vehicles each night. 

Our biggest help with this: the app CamperMate! The app shows you campsites near you and categorizes them as self-contained or non self-contained campsites. It'll also show you dump sites for self-contained campers. Whatever campervan you get, download the app! It'll be your best bud in NZ!


OUR EXPERIENCE BEING NON SELF-CONTAINED

Klondyke Corner Campsite in Arthurs Pass

Klondyke Corner Campsite in Arthurs Pass

We campervanned NZ for five months in our non self-contained camper, Bernie. He was a minivan with a bed in the back:)

We always found a campsite, but for non self-contained campers, it's difficult to find designated campsites in the popular areas like the Coromandel Peninsula, Queenstown, Auckland, and the Franz Joseph Glacier.

In those areas, we found ourselves spending more time and gas money driving further out to campsite locations and passing many self-contained sites on the way. We had our moments of jealousy and wanting our own loo!

Other friends have campervanned NZ after us, and we always suggest to them to buy a self contained camper. 


THE SELF-CONTAINED SITUATION

Why is this a big deal? New Zealand has a ton of tourists coming in and they're on a mission to protect their landscapes from tourists dropping their pants relieving themselves everywhere. Totally understandable.

So, many communities prefer tourists in self-contained campers than tourists in non self-contained ones. I totally get it.

So how do you become self-contained?

Officially, self-contained means your van is in accordance with specific standards to protect the environment and public health from bad waste disposal. Essentially, this means a self-contained campervan has a toilet, holding tank, and fresh water for doing your duty.

Self Contained Photo from Backpacker Guide

Self Contained Photo from Backpacker Guide

Self-contained vehicles show proof of being self-contained with this blue and white sticker on the back of the campervan.  

However, folks were finding these stickers and illegally slapping them on their non self-contained vehicles to have more camping options.

To combat this, district councils have designed a new level of proof of certification where self-contained vehicles need to be inspected, approved, and show certification on the windscreen with a green label like the one shown in this picture.  These vehicles are Certified Self-Contained.

Certified Self Contained Photo by CamperMate

Certified Self Contained Photo by CamperMate

If you're leaning toward a self-contained vehicle, make sure the vehicle is Certified Self-Contained. This way, you’ll be able to camp at any campsite in NZ. Campers with self-contained vehicles without certification need to pay close attention to signage at campsites to make sure they’re in a designated area for their vehicle. Some campsites only allow certified self-contained vehicles to camp.


Requirements to Be Certified Self-Contained

As of October 13, 2015, New Zealand Motor Caravan Association Inc. stated on its website the specific requirements a vehicle has to have to be certified self-contained.

The vehicle must have “sanitary and safe installation of the following:

  • Fresh water supply: 4L per person per day (i.e. minimum 12L per person)

  • A sink

  • Toilet: 1L per person per day (i.e. minimum 3L net holding tank capacity per person)

  • Holding tank: 4L per person per day (i.e. minimum 12L per person) and monitored if capacity is less than the fresh water tank

  • An evacuation hose

  • A sealable refuse container (with lid)."


Types of Self-Contained Vehicles

We saw all types of self-contained vehicles. There are large caravans specifically designed to be self-contained and there are minivans out there modified to be self-contained.

For normal backpacker campers, you have a higher chance of finding a utility van or pop-top that’s self-contained, than a sedan, hatchback, or minivan, simply due to the design and available interior space in the campervan.


SHOULD YOUR CAMPER BE SELF CONTAINED OR NON SELF CONTAINED?

Like we shared, when friends ask us what they should buy, we give them our guide book and always tell them to find a self-contained camper. These are more expensive, though, so it's your decision. 

If you're still not sure, here's some benefits and limitations to both choices we found in our five months campervanning NZ. 


SELF CONTAINED pROS & CONS


BENEFITS OF BEING SELF-CONTAINED

  1. You’ll have more camping options, especially in popular areas of the country.

  2. You won’t have to drive as far to find a campsite each night.

  3. You’ll save money on petrol, since you don’t have to drive as far to find campsites.

  4. You’ll have fewer late night arguments with your travel partner when you’re both tired and desperate to get settled at a campsite.


LIMITATIONS OF BEING SELF-CONTAINED

  1. Self-contained vehicles are normally more expensive than non self-contained vehicles.

  2. Most of these vehicles are big and bulky. Some campsites may be difficult to get into and navigate through.


NON SELF-CONTAINED PROS & CONS


BENEFITS OF BEING NON SELF-CONTAINED

  1. Vehicles are normally less expensive than self-contained vehicles.

  2. These vehicles are smaller, allowing you access down less traveled roads.

  3. These types of vehicles allow you to blend in more like a local instead of standing out as a tourist. Non self-contained vehicles are vehicles local families and local businesses would drive; sedans, hatchbacks, minivans, and utility vans.

  4. There’s less maintenance to worry about. With self-contained vehicles you have to worry about fixing the plumbing if anything should go wrong.

  5. You don’t have the added worry of dumping and cleaning the holding tanks on your holiday.


LIMITATIONS OF BEING NON SELF-CONTAINED

  1. You have less camping options than self-contained vehicles, especially in popular areas like Queenstown, Auckland, Franz Joseph Glacier, and the Coromandel.

  2. You may find yourself spending more time and money on petrol getting to a designated non self-contained campsite each night.


Ready to Campervan New Zealand, but Not Sure How?

We've got you covered!

Get our step-by-step guide to save you money, time and stress figuring it out yourself. Let's get you on the road exploring right away. 

We guide on where to buy, how to get one on a budget, what to look for when test driving, tips to negotiate the price down, what government forms to complete, how to find free and cheap campsites, and heaps more. 

Your book was soooo stinkin helpful!
— Brooke M.

Comment

Campervanning New Zealand: Should You Get a Petrol or Diesel Campervan?

2 Comments

Campervanning New Zealand: Should You Get a Petrol or Diesel Campervan?

Photo by Jake Melara

Photo by Jake Melara


Campervanning New Zealand:

Should You Get a

Petrol (Gas) or Diesel Campervan?


When we arrived in New Zealand and were on the hunt to buy our campervan, we noticed diesel prices were a lot less than petrol (gas) prices at the pump. Seeing this, we started specifically looking at diesel campers to buy to save money on gas.

After doing some research, we realized we were being mislead by the prices shown at the petrol stations.


PRICE DIFFERENCE = ROAD USER CHARGE (RUC)

The difference in the prices at the pump is due to when New Zealand has petrol and diesel drivers pay their Road User Charges (RUCs). 


WHAT'S A RUC?

A Road User Charge (RUC) is a tax to drive on New Zealand's roads. 


WHEN DO YOU PAY YOUR RUC?

New Zealand has petrol drivers pay their RUCs differently than diesel drivers. 


PETROL

Petrol drivers pay their RUC taxes when they're paying at the pump for their petrol. The tax is included in the price of the petrol. So, you pump your petrol, pay, and you're on your way.


DIESEL

Diesel RUCs aren't as simple because they're not included in the price of diesel. That's why diesel prices are lower on the signs than petrol prices. As a diesel driver, you have to take an extra step and purchase a RUC distance license separately.


HOW TO GET A RUC AS A DIESEL DRIVER?

For diesel vehicles, for every 1,000 km you drive, you must pay for a RUC distance license prior to driving the new distance. So, driving a diesel camper requires more work to stay on top of your RUC licenses.


WHERE TO GET A RUC? 

Here are some places you can pop in and buy a RUC distance license: 

  • www.nzta.govt.nz/online

  • Automobile Association (AA)

  • BP truck stops, and some BP service stations

  • Post shops

  • Vehicle Inspection New Zealand

  • Vehicle Testing New Zealand


PRICE OF A RUC?

Effective on July 1, 2015, NZTA stated that a vehicle less than 3.5 tonnes owes NZ$62 for each 1,000 km license

Depending on where you purchase the RUC license, there may be transaction fees added to the cost of the license, ranging from NZ$4.80 to NZ$7.80 per license.


Which is Cheaper: Petrol or Diesel?

Okay, so you pay more for petrol at the pump. But, diesel has all these license fees and seems like more of a hassle. 

Which one saves you money in the long run?

We learned from our research, there’s been a long-standing argument by local Kiwis of which one is cheaper in the long run: petrol or diesel? Many people say the long-term cost is the same.


MAINTENANCE COSTS

We also heard a diesel engine is more complicated and expensive to get repaired than a petrol engine. 


OUR EXPERIENCE

What did we do? With all this informaiton, we went with petrol. All of our research said the long-term cost was the same, so neither would save us money.

And, diesel seemed like more of a hassle to track of your kilometres and staying current with your RUC distance licenses. It was one more thing to have to think about on our road trip. And, we heard a diesel engine is more expensive to fix if something went wrong.

So, we decided to buy a petrol campervan. You can see more of our experience buying here


Ready to Buy a Campervan, But Not Sure How?

We've got you covered!

Get our step-by-step guide to save you money, time, and stress figuring it out yourself. Let's get you on the road right away in your own camper. 

We guide you on the whole process from where to buy, how to get one on a budget, what to look for when test driving, tips to negotiate the price down, what government forms to complete, how to find free and cheap campsites, and heaps more. 

Your book was soooo stinkin helpful!
— Brooke M.

2 Comments